
Quick Setup
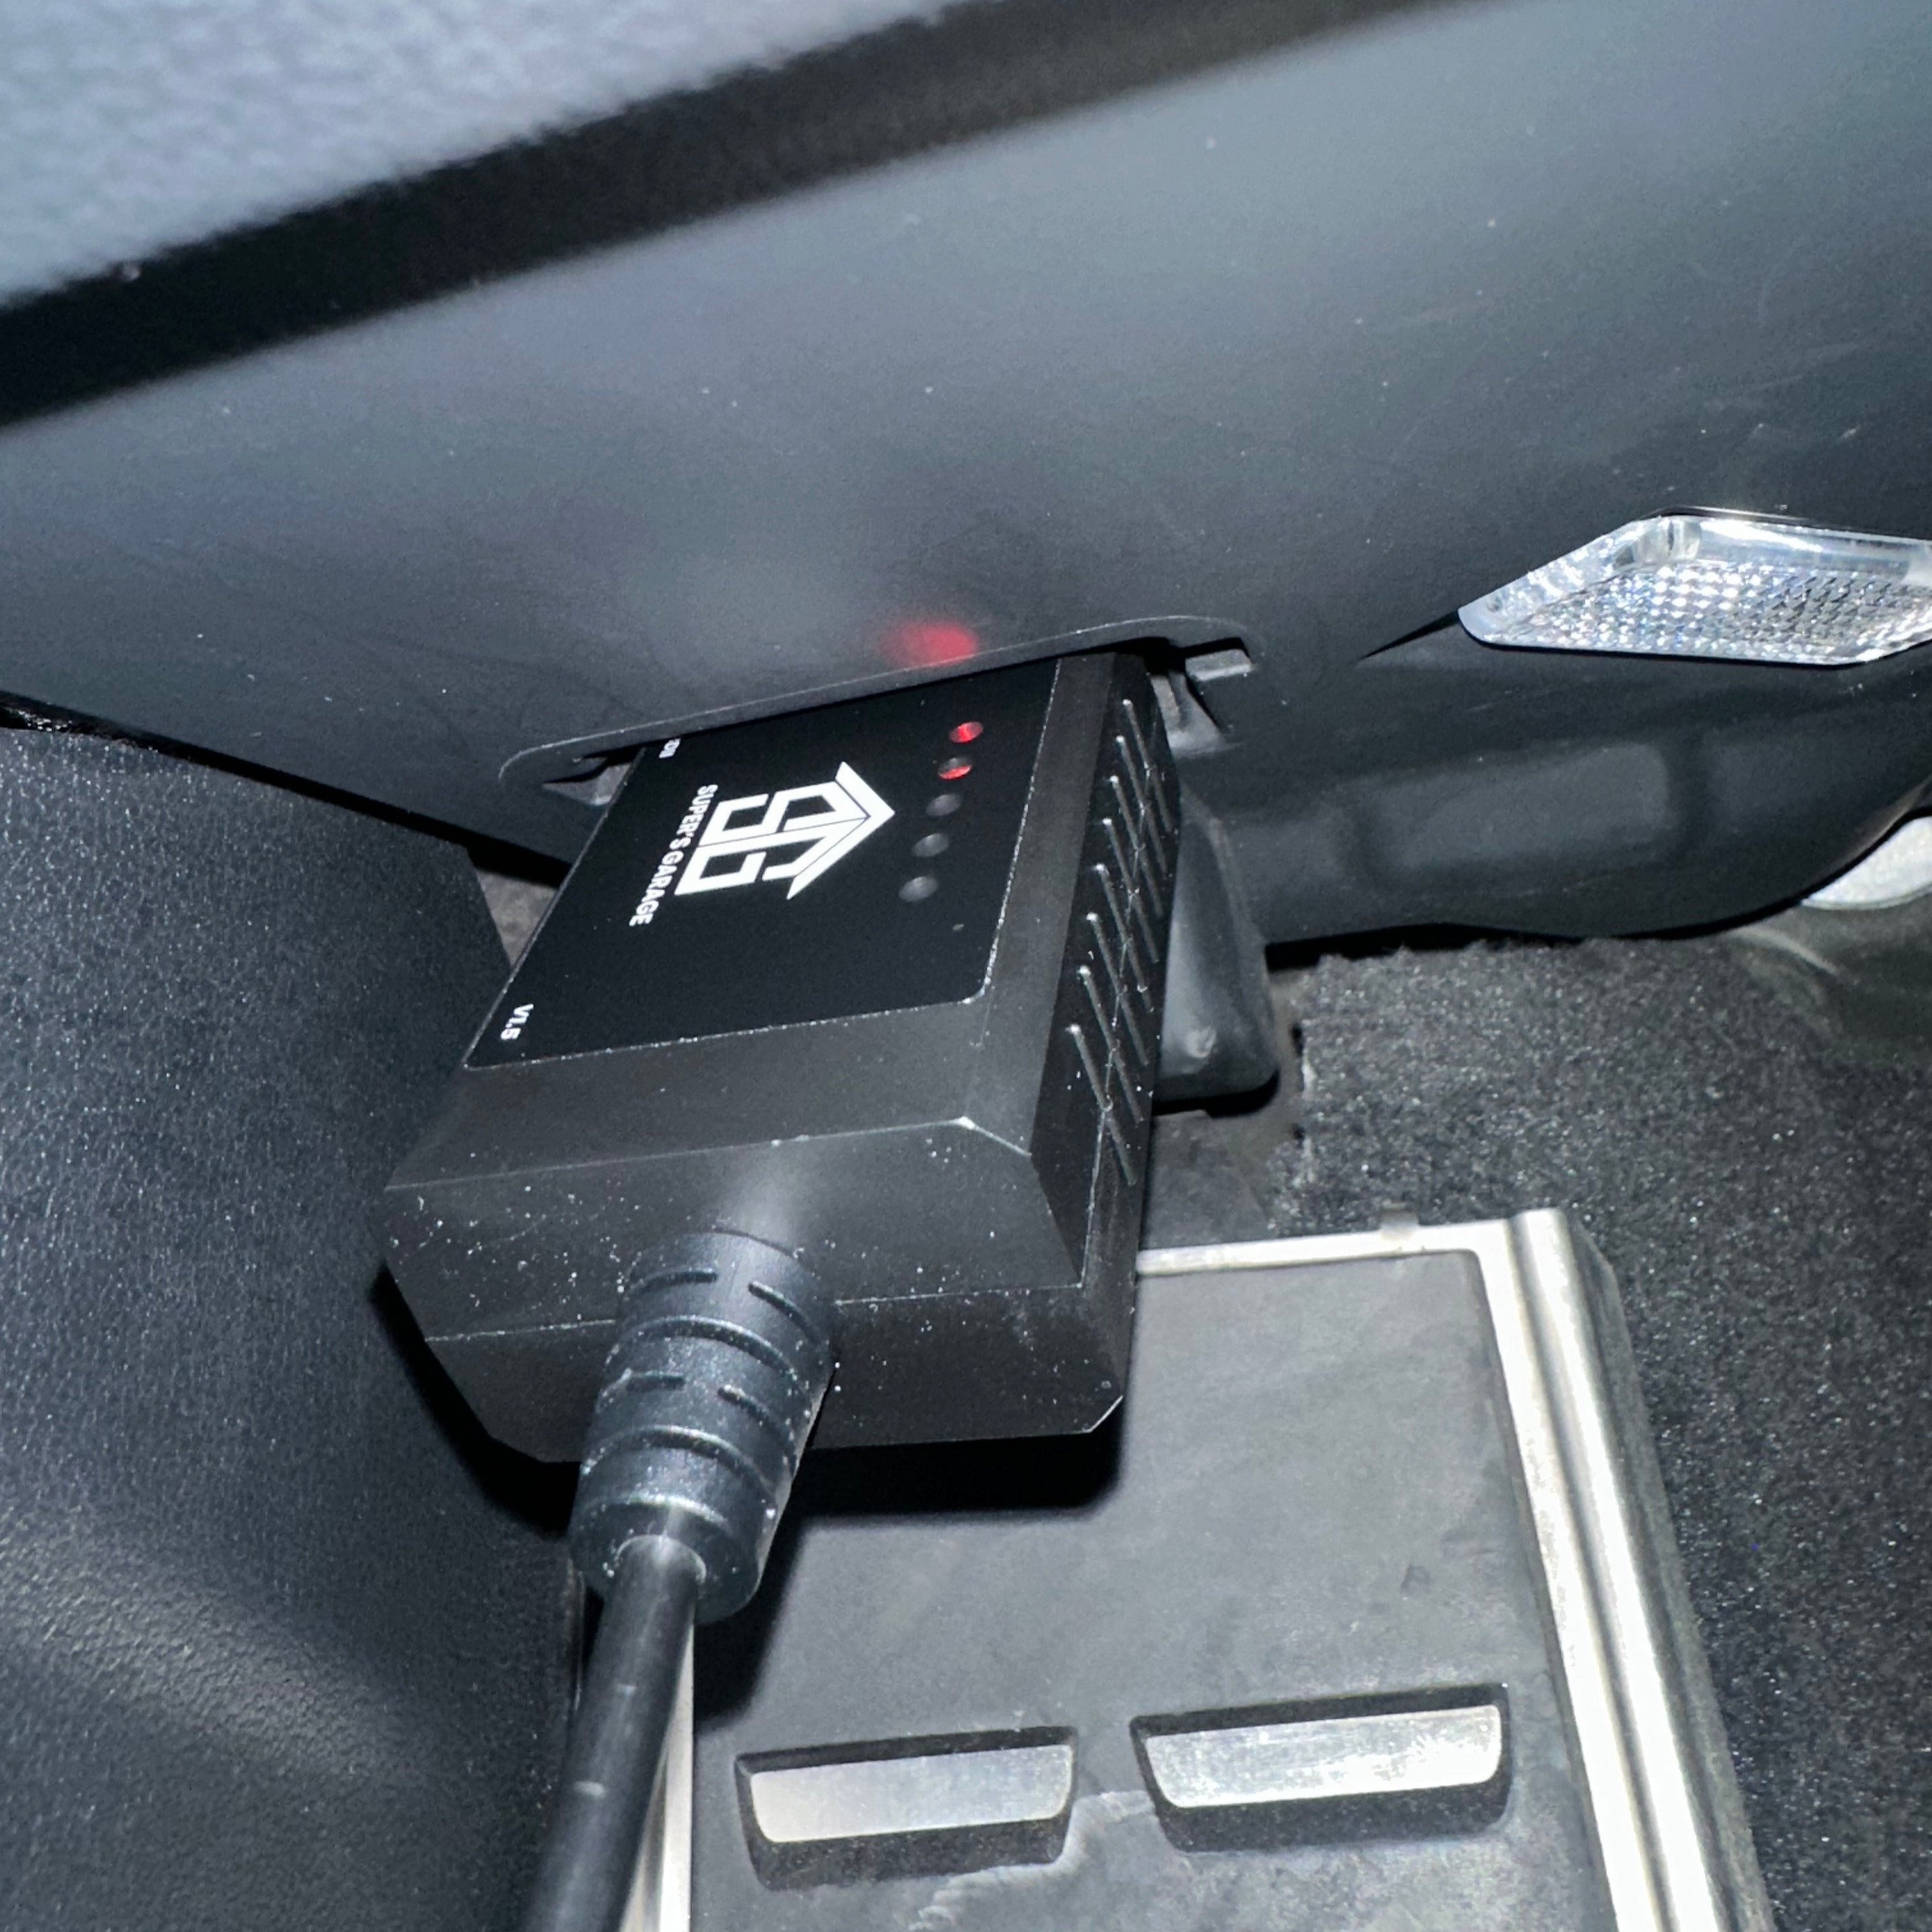
Plug in the OBD2 reader under your dash on the driver's side.
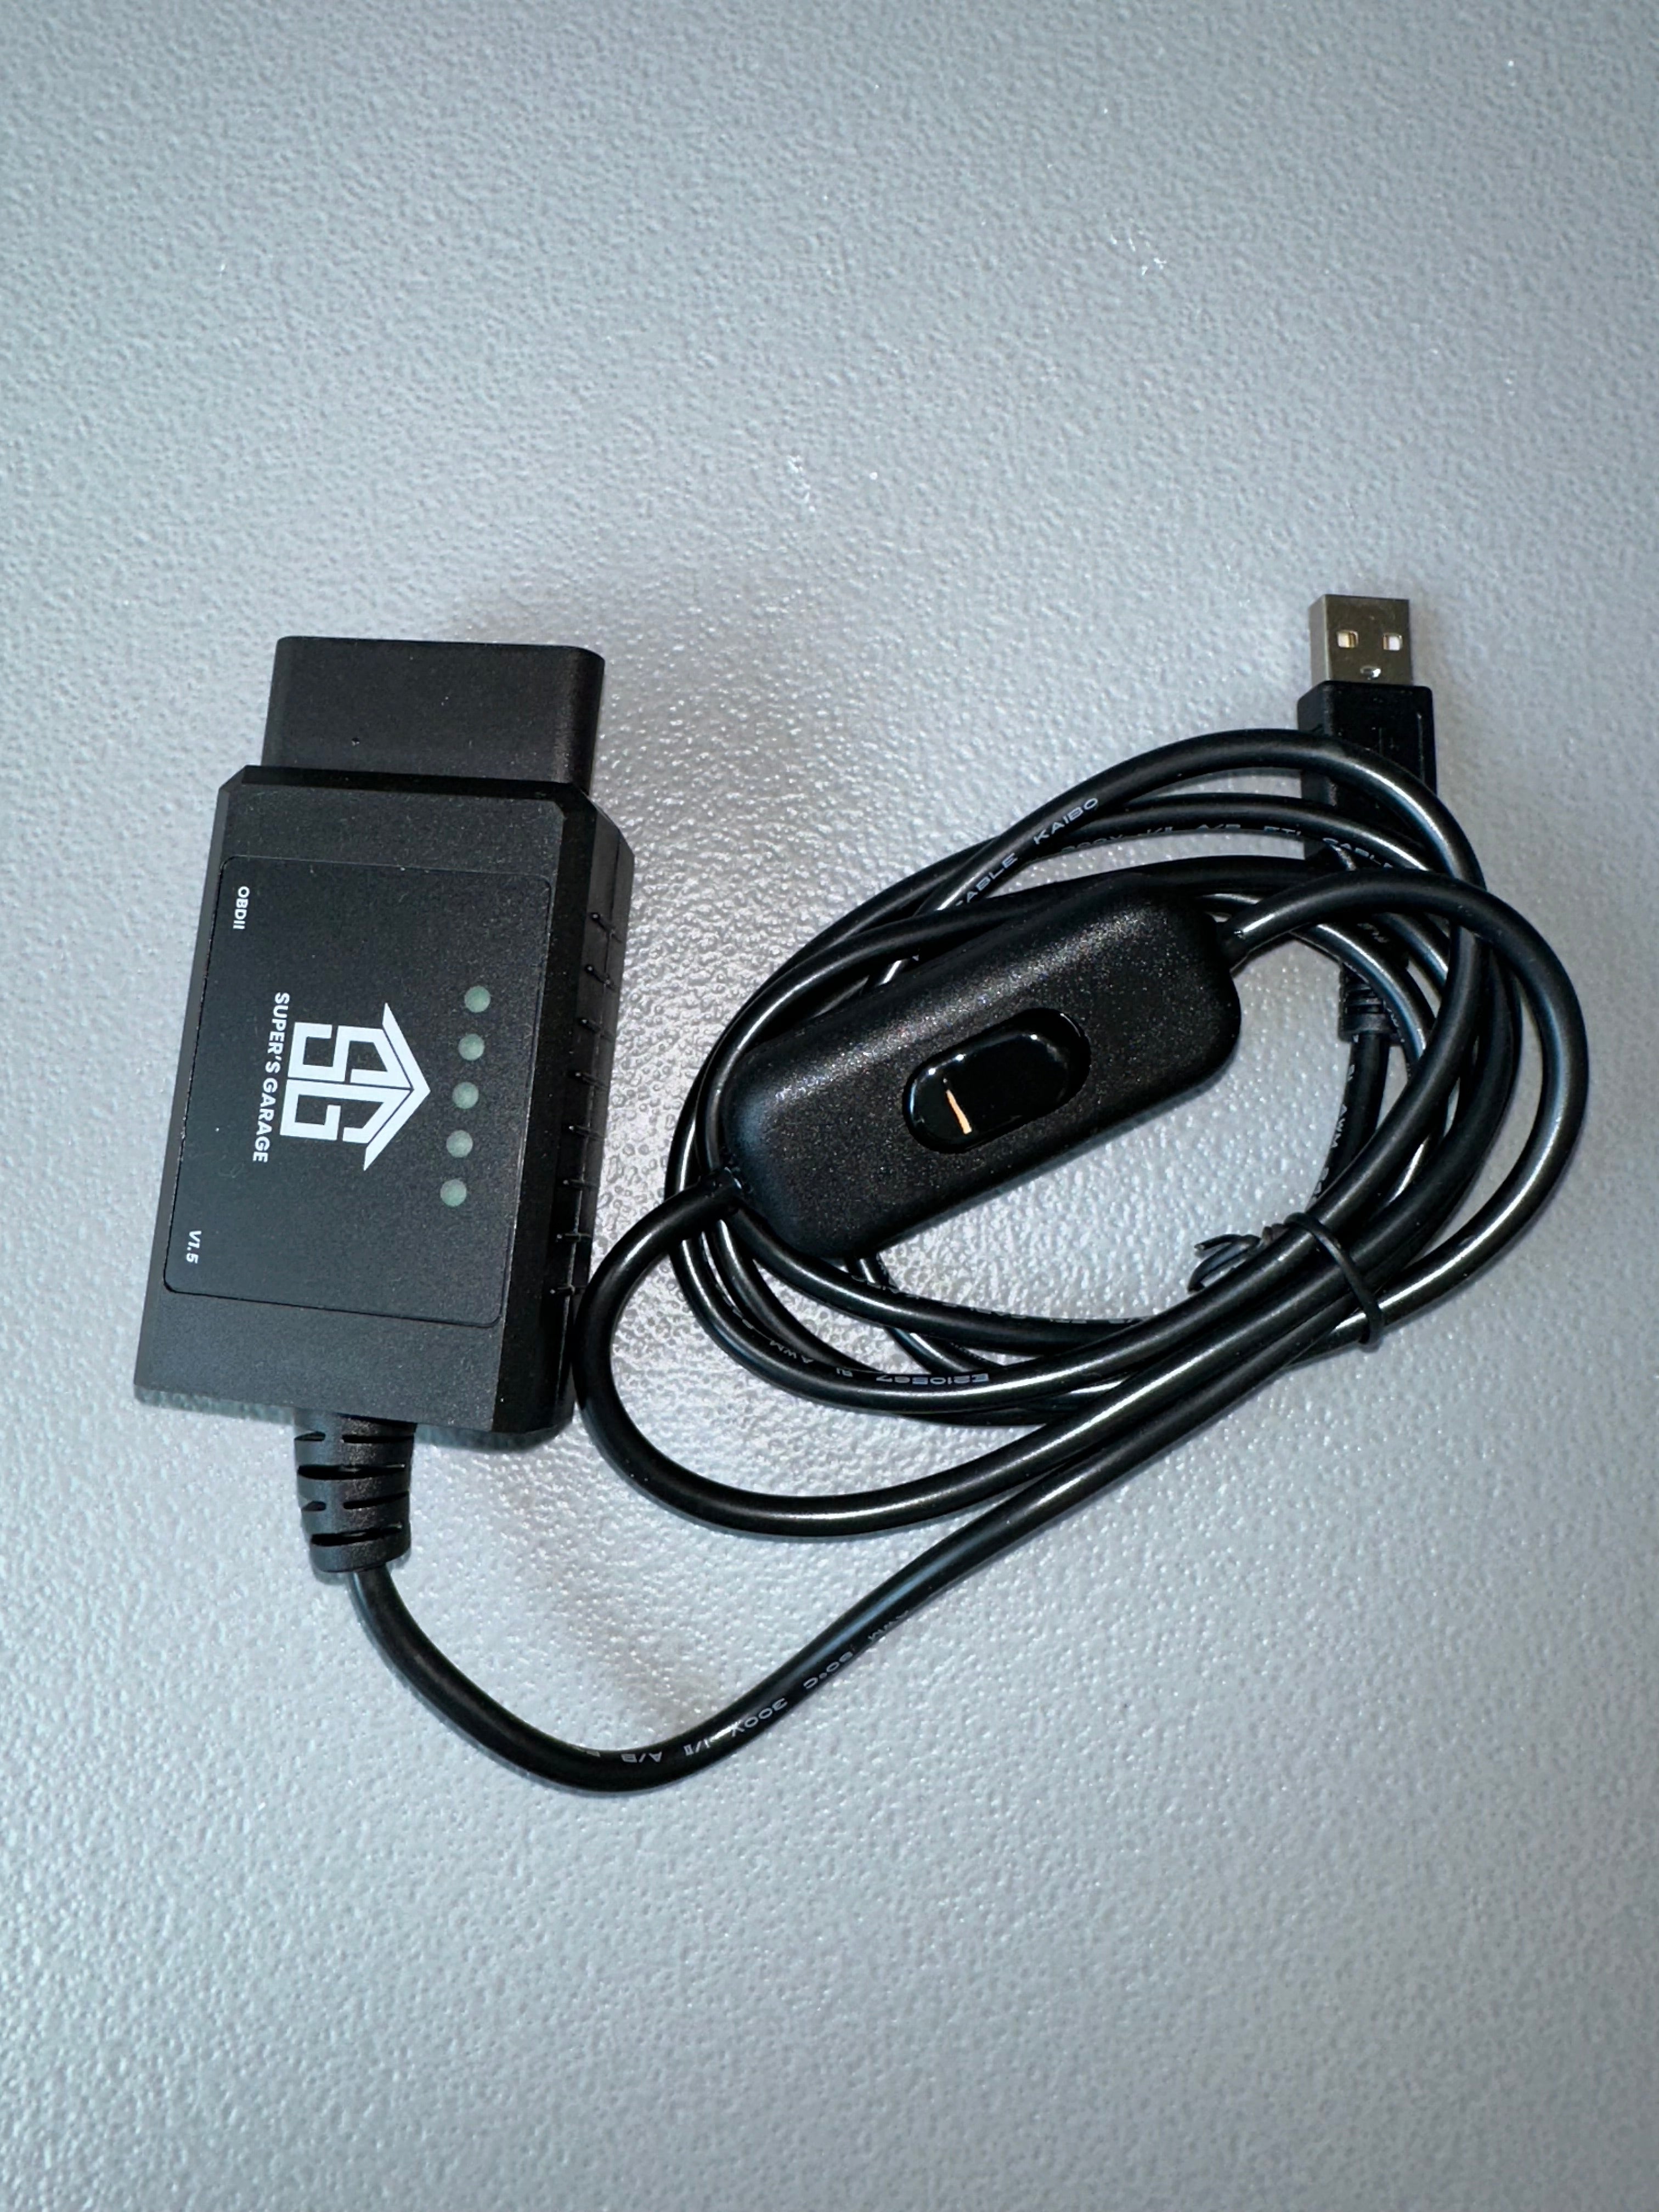
Turn on the power switch on the OBD2 reader (in the direction of the small groove on the switch).
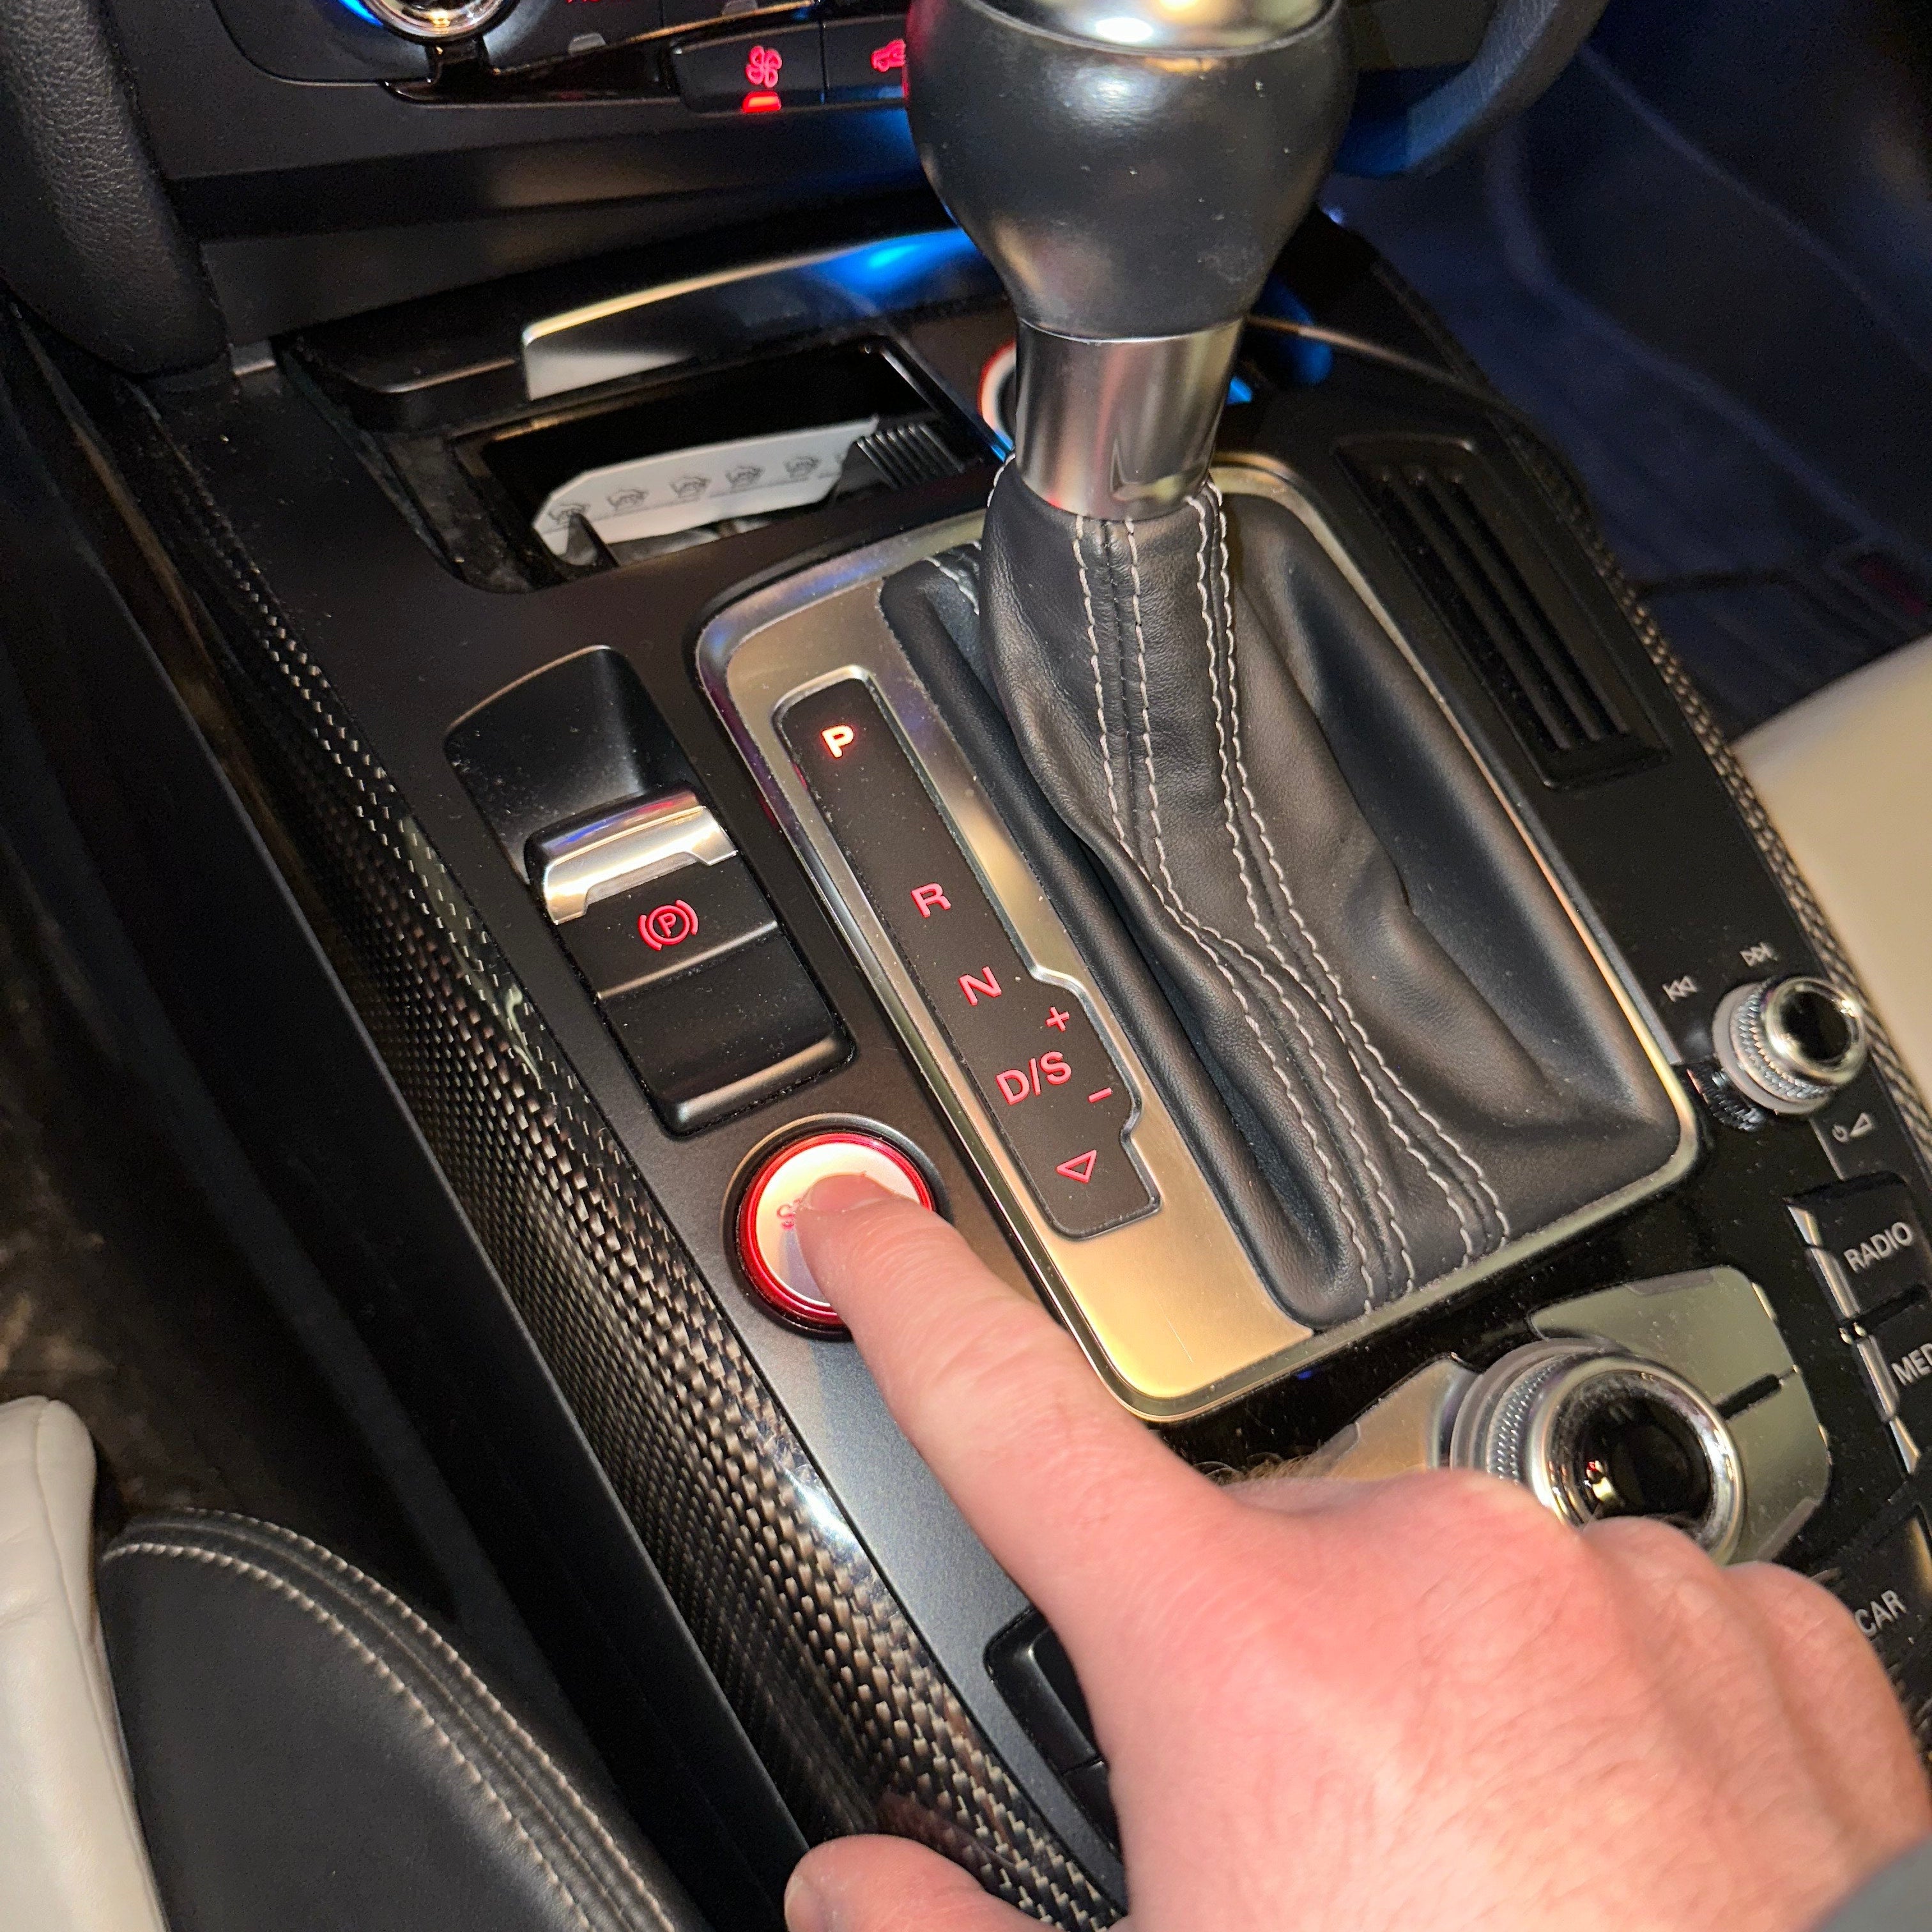
Turn on your car.
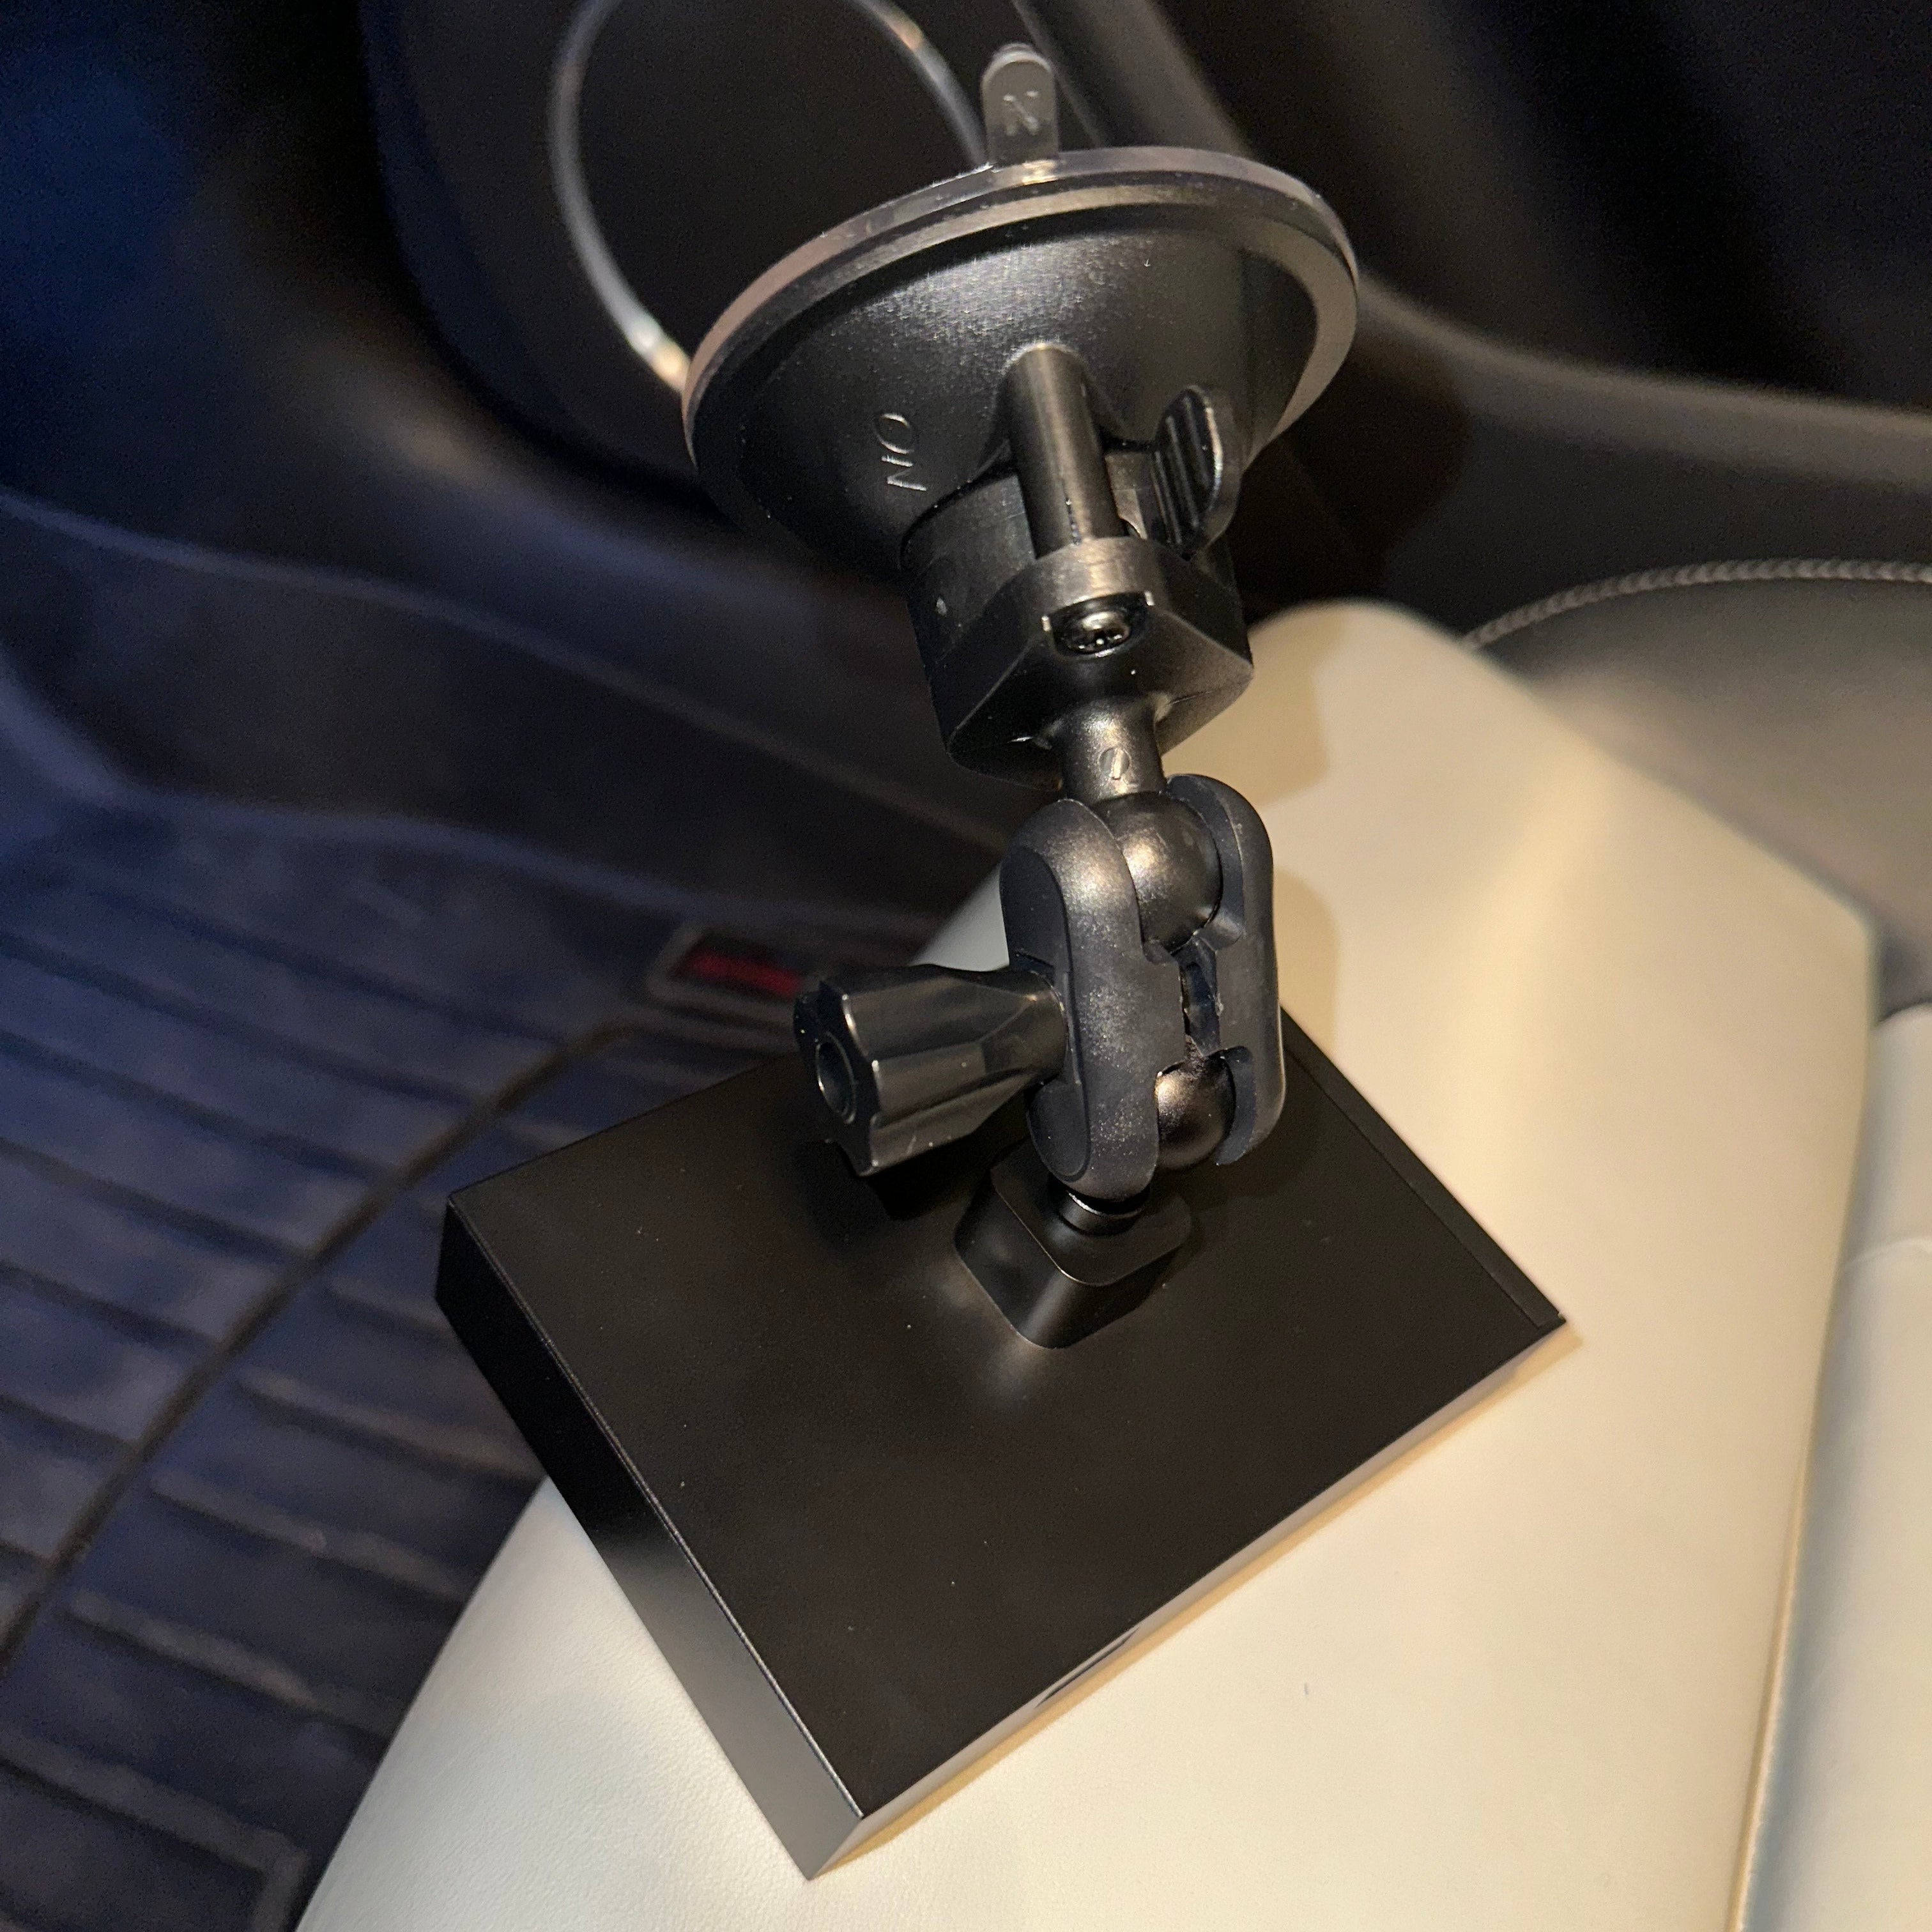
Screw in the dash/windshield mount.
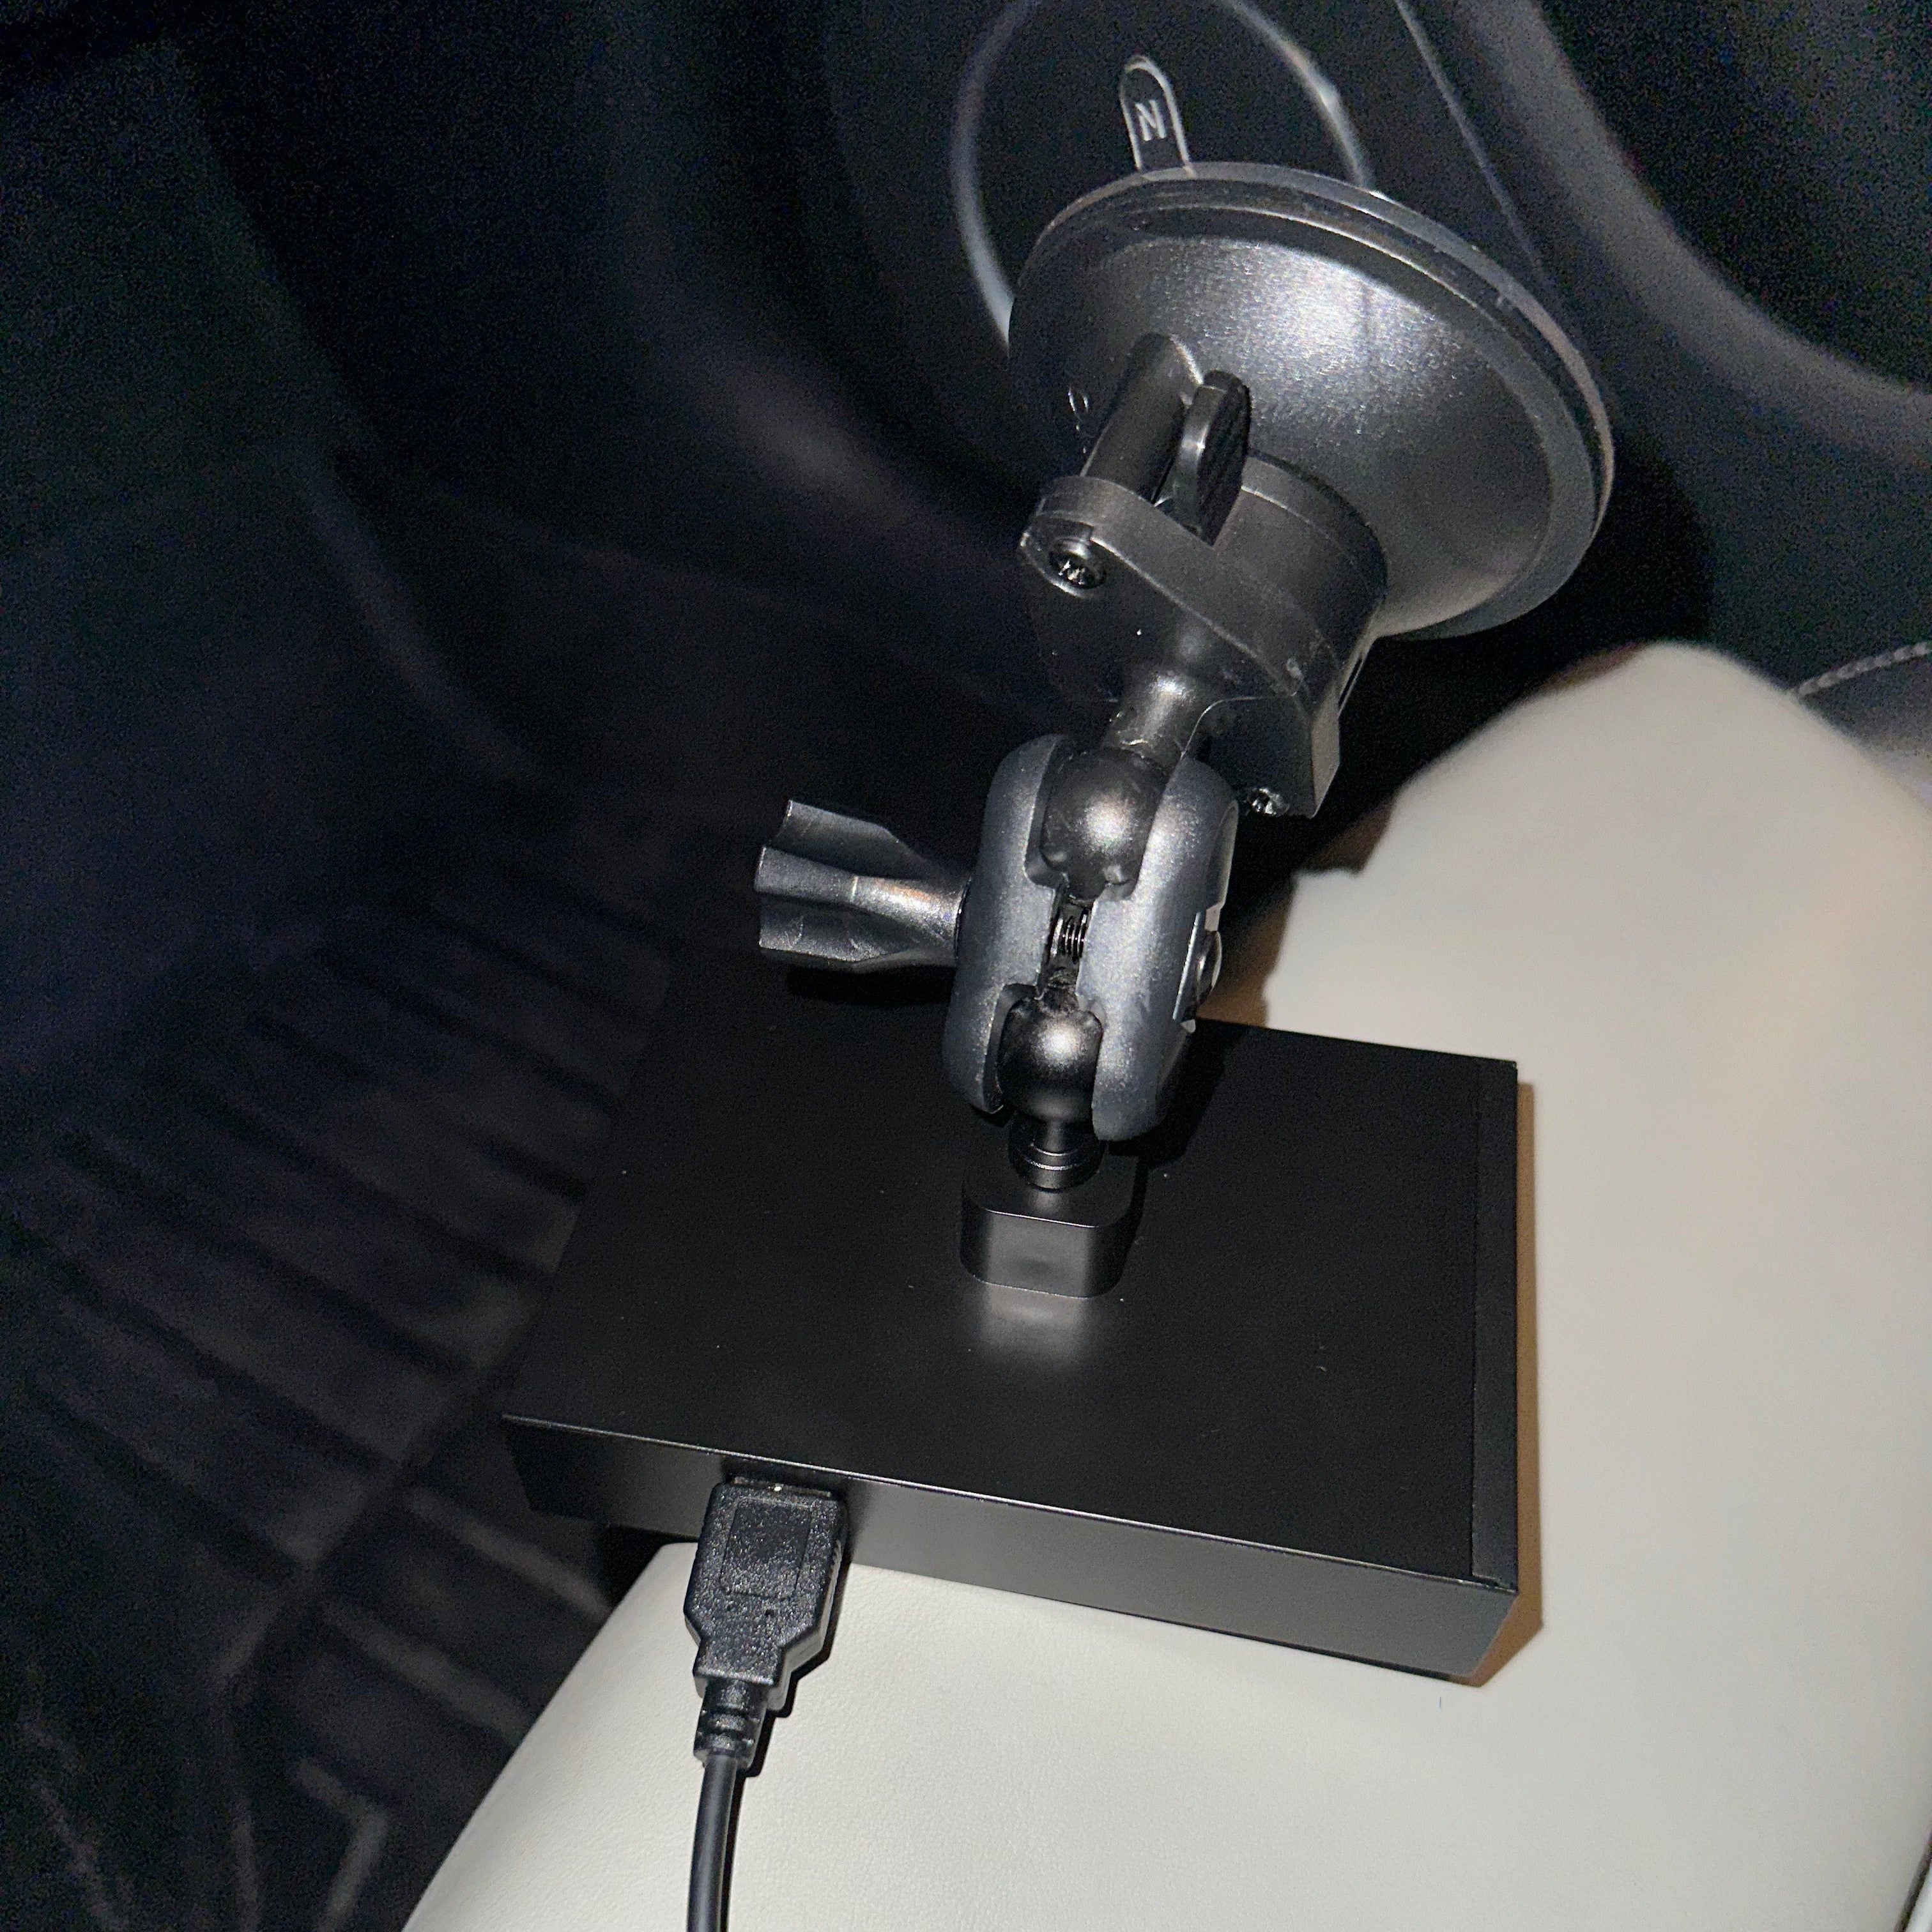
Insert the USB into the bottom of the Super Gizmo to turn it on. Note that the first time ever booting up may take longer to initialize the software for the first time.
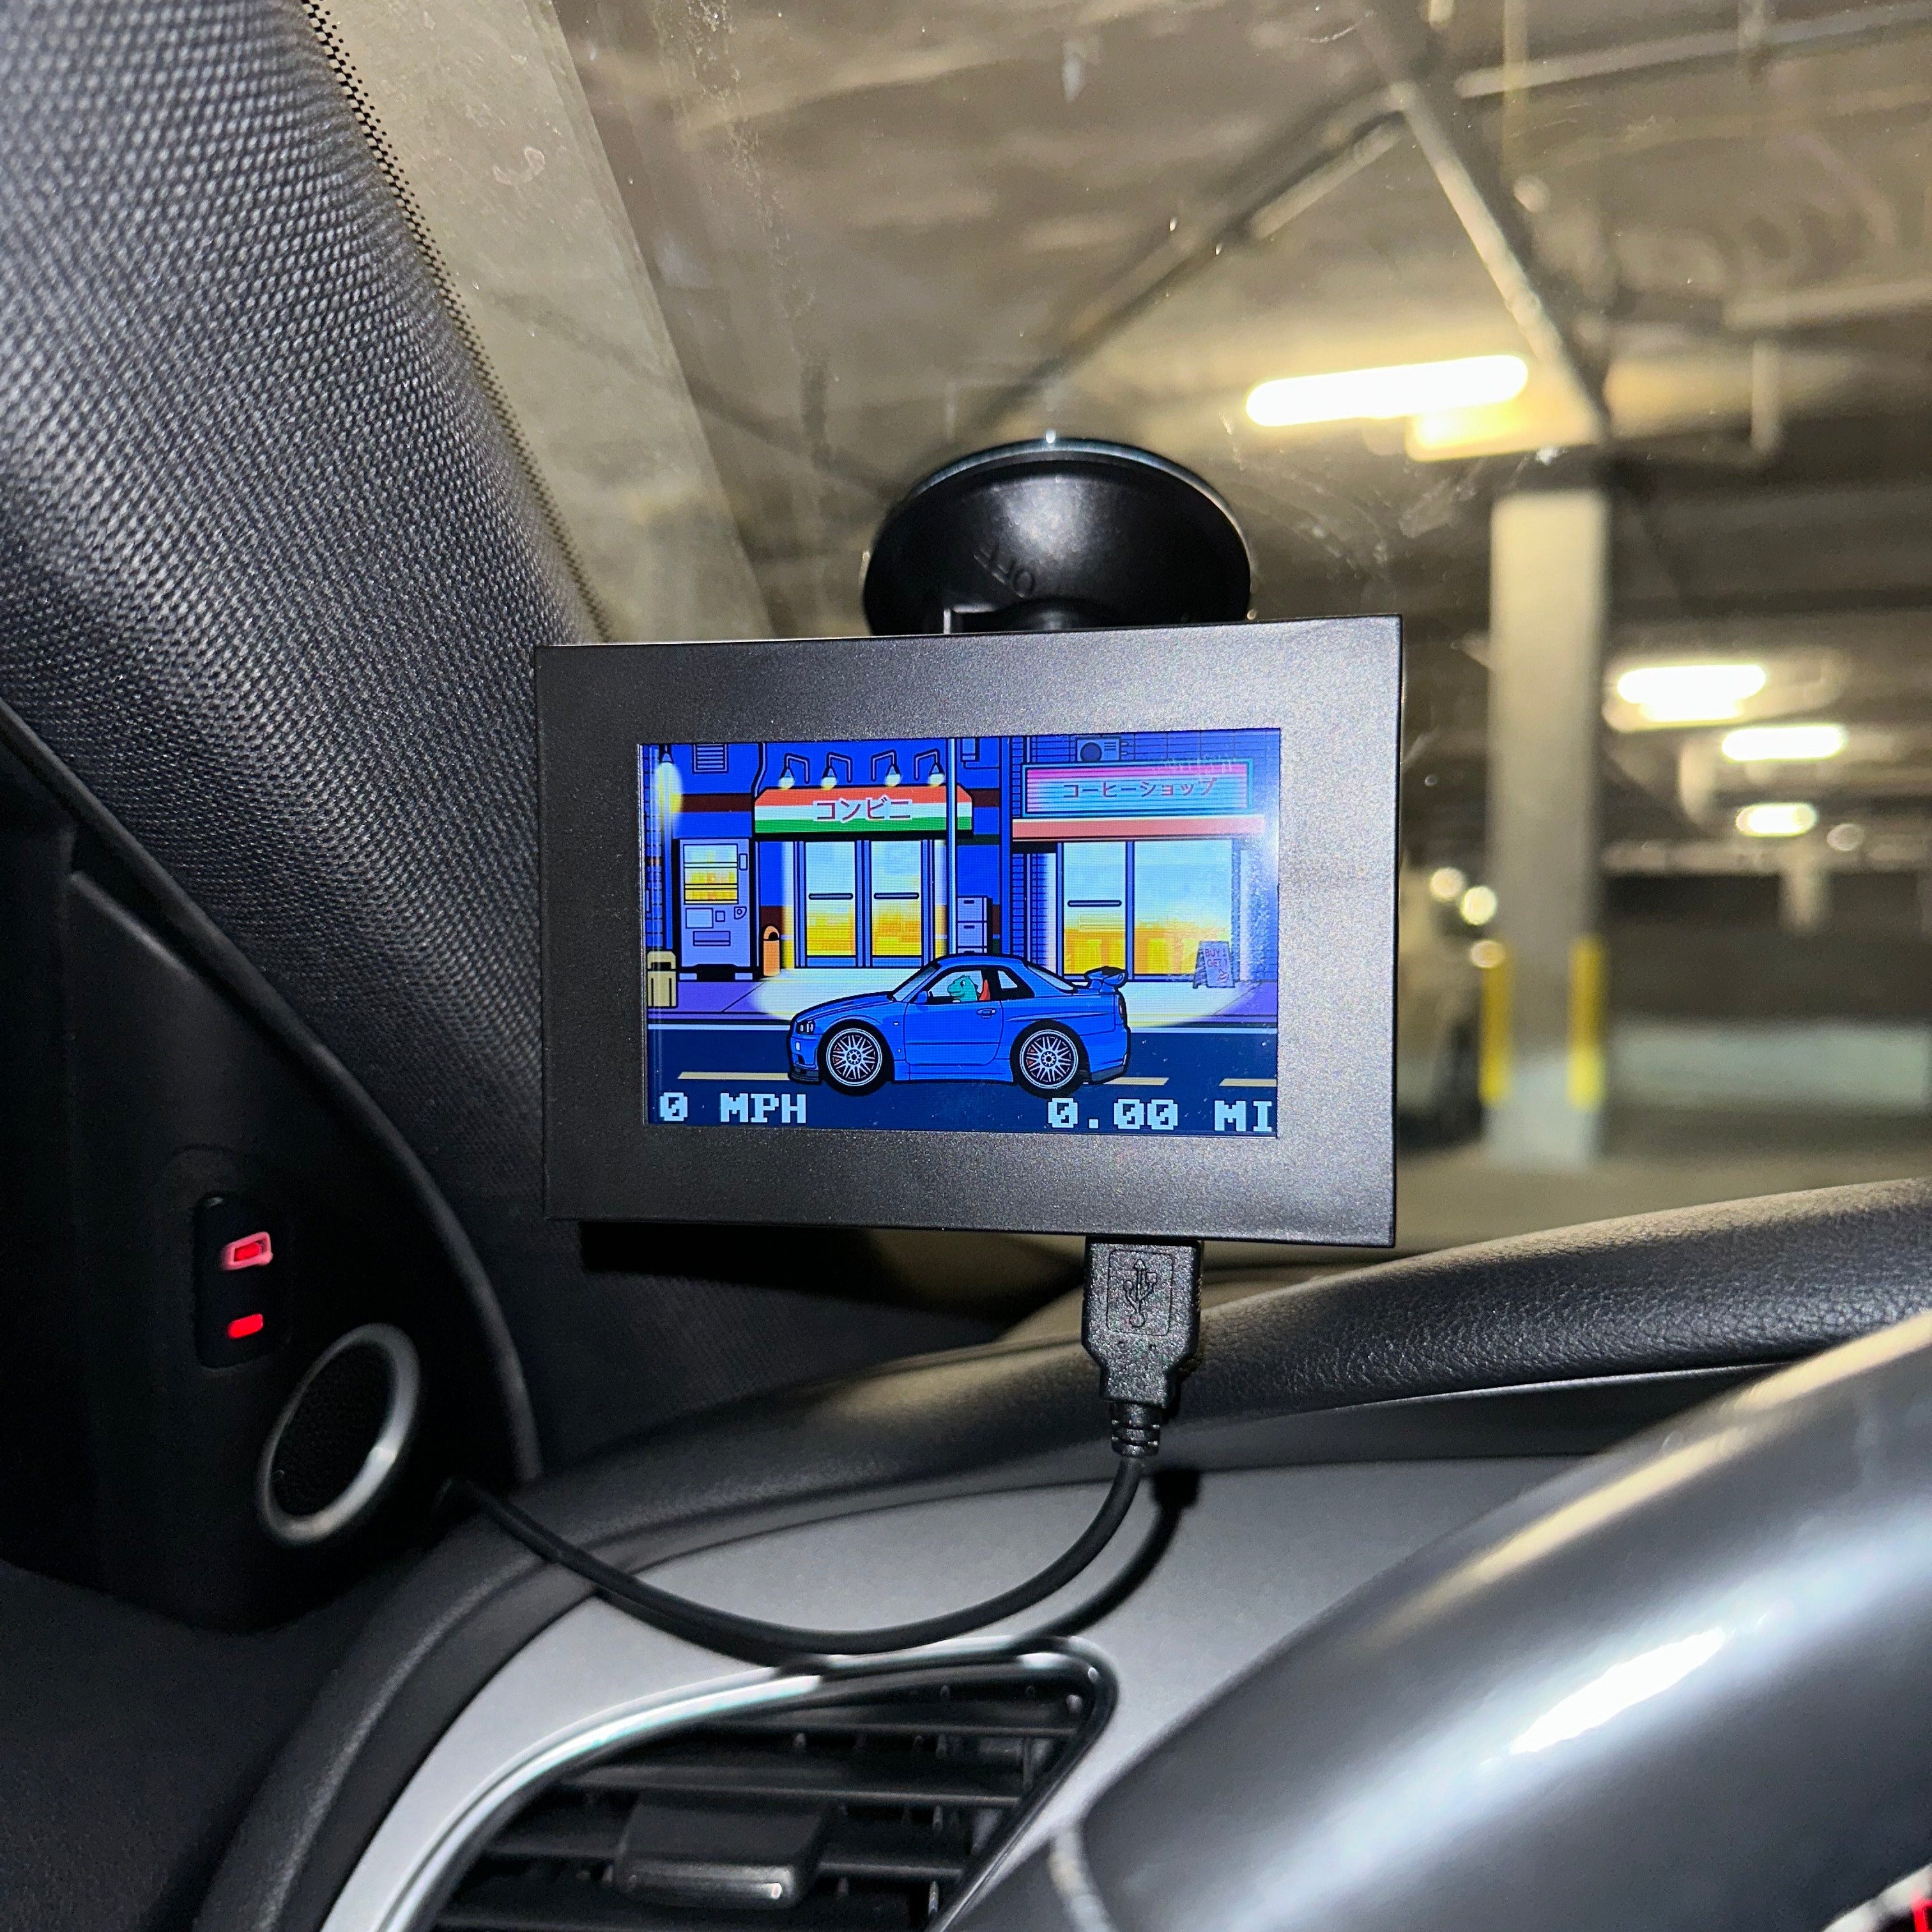
Mount your Super Gizmo and you're good to go!
Plug in the OBD2 reader under your dash on the driver's side.
Turn on the power switch on the OBD2 reader (in the direction of the small groove on the switch).
Turn on your car.
Screw in the dash/windshield mount.
Insert the USB into the bottom of the Super Gizmo to turn it on. Note that the first time ever booting up may take longer to initialize the software for the first time.
Mount your Super Gizmo and you're good to go!
Flashdrive Files
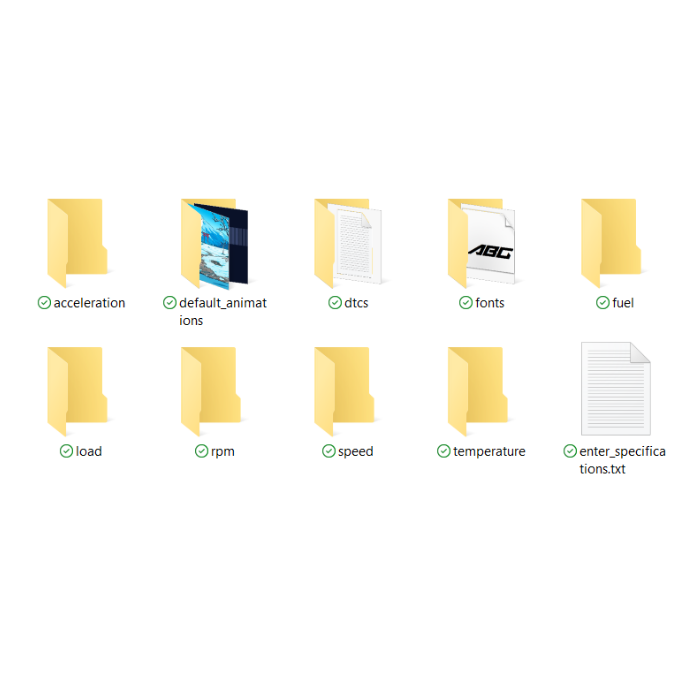
In your flashdrive you'll find folders called speed, rpm, temperature, fuel, and load. For these folders, simply drag and drop your GIF/mov/mp4 file inside the respective folder you want to use that file for. Once inside the folder, these will be uploaded using the instructions below.
NOTE: The filenames and folder names should not be changed, moved, or altered. Keep the naming and organization the same for the files to be uploaded to the Super Gizmo RETRO properly.
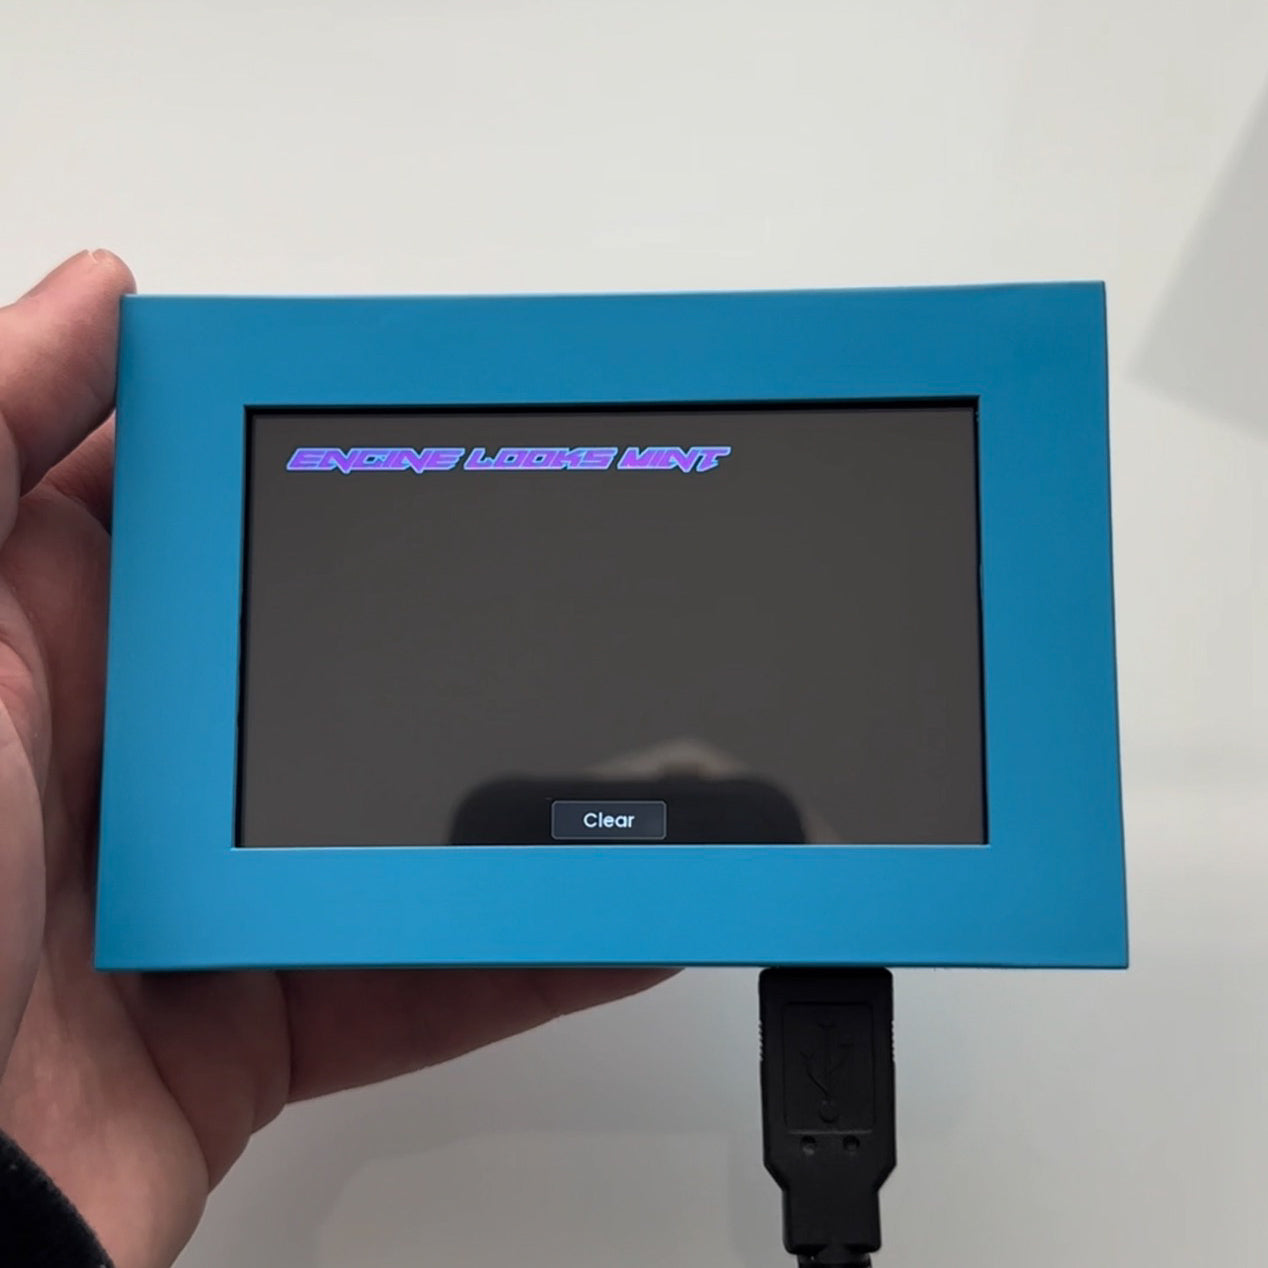
When your car has no engine codes, it will display the standard message "Engine looks mint". However, if you'd like to change this default message, simply change the text inside the no_dtc.txt file within the dtcs folder.
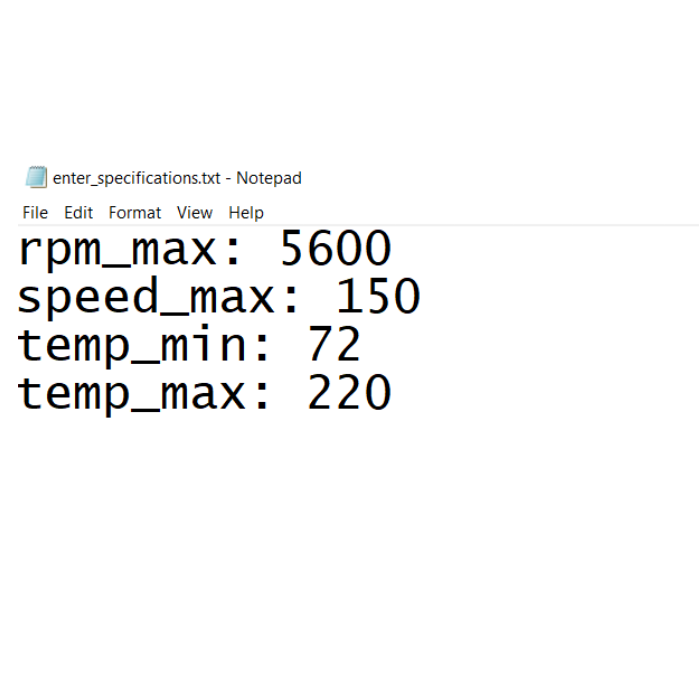
Within the edit_preferences.txt file you will find applicable min/max numbers to set your animations to. These will be the boundaries for your GIF/mov/mp4 files. For example, if you want your GIF to go from start to finish on the Speed display from 0 to 90 mph, then set the speed_max to 90.
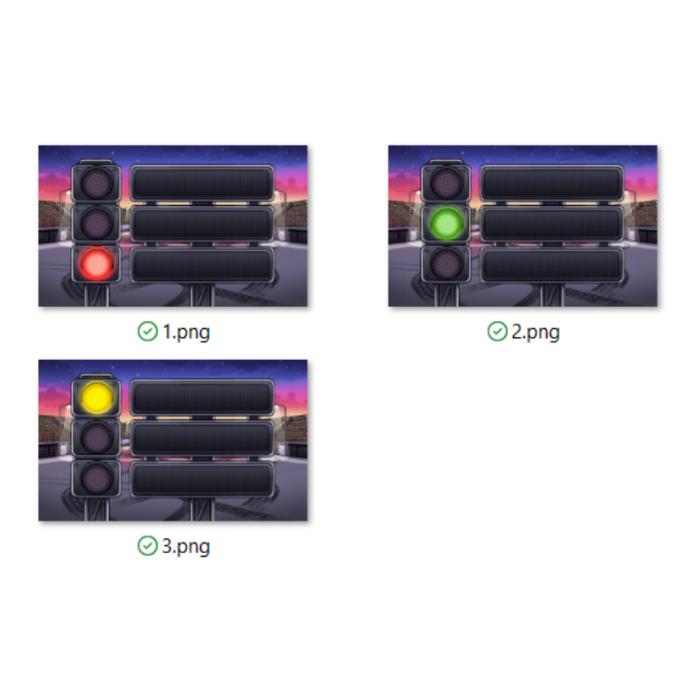
For the Acceleration display, the Super Gizmo RETRO just uses three images. Add images named 1.png, 2.png, and 3.png, where 1.png is your STOP (0 mph) image, 2.png is your GO (>0 mph but <60 mph) image, and 3.png is your FINISHED (>60 mph) image.
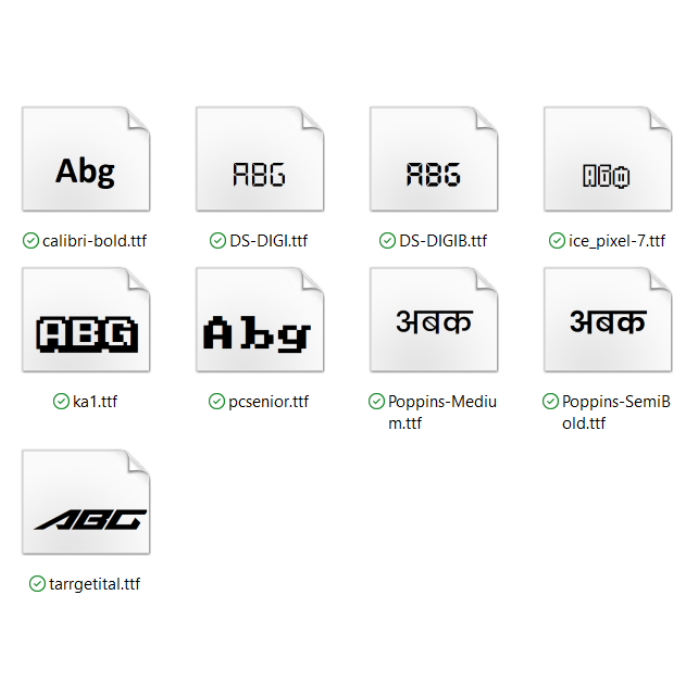
Add any font in .ttf format into the Fonts folder to upload the new font(s) you'd like to use in your Super Gizmo RETRO!
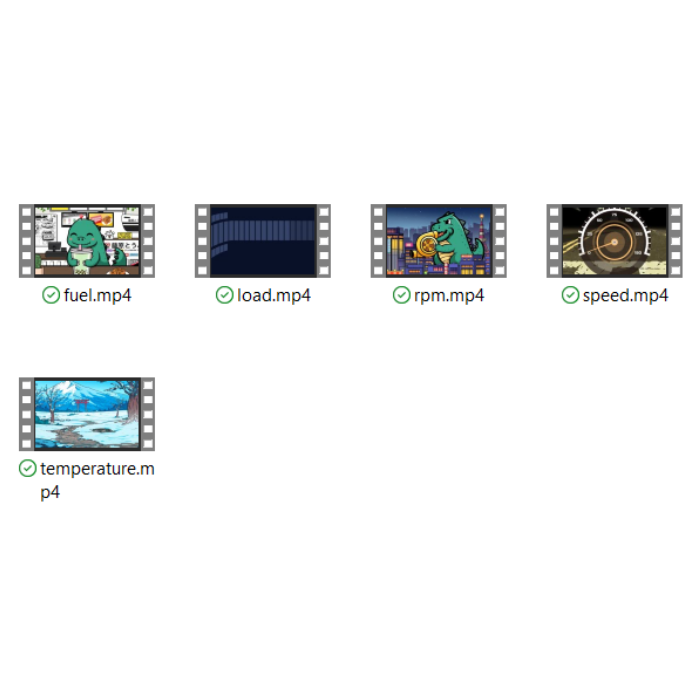
If at any point you'd like to switch back to the default animations, drag and drop the respective file from the default_animations folder into either the speed, rpm, temperature, fuel, load, or acceleration folder.
In your flashdrive you'll find folders called speed, rpm, temperature, fuel, and load. For these folders, simply drag and drop your GIF/mov/mp4 file inside the respective folder you want to use that file for. Once inside the folder, these will be uploaded using the instructions below.
NOTE: The filenames and folder names should not be changed, moved, or altered. Keep the naming and organization the same for the files to be uploaded to the Super Gizmo RETRO properly.
When your car has no engine codes, it will display the standard message "Engine looks mint". However, if you'd like to change this default message, simply change the text inside the no_dtc.txt file within the dtcs folder.
Within the edit_preferences.txt file you will find applicable min/max numbers to set your animations to. These will be the boundaries for your GIF/mov/mp4 files. For example, if you want your GIF to go from start to finish on the Speed display from 0 to 90 mph, then set the speed_max to 90.
For the Acceleration display, the Super Gizmo RETRO just uses three images. Add images named 1.png, 2.png, and 3.png, where 1.png is your STOP (0 mph) image, 2.png is your GO (>0 mph but <60 mph) image, and 3.png is your FINISHED (>60 mph) image.
Add any font in .ttf format into the Fonts folder to upload the new font(s) you'd like to use in your Super Gizmo RETRO!
If at any point you'd like to switch back to the default animations, drag and drop the respective file from the default_animations folder into either the speed, rpm, temperature, fuel, load, or acceleration folder.
How to Upload Your Own GIFs / Videos
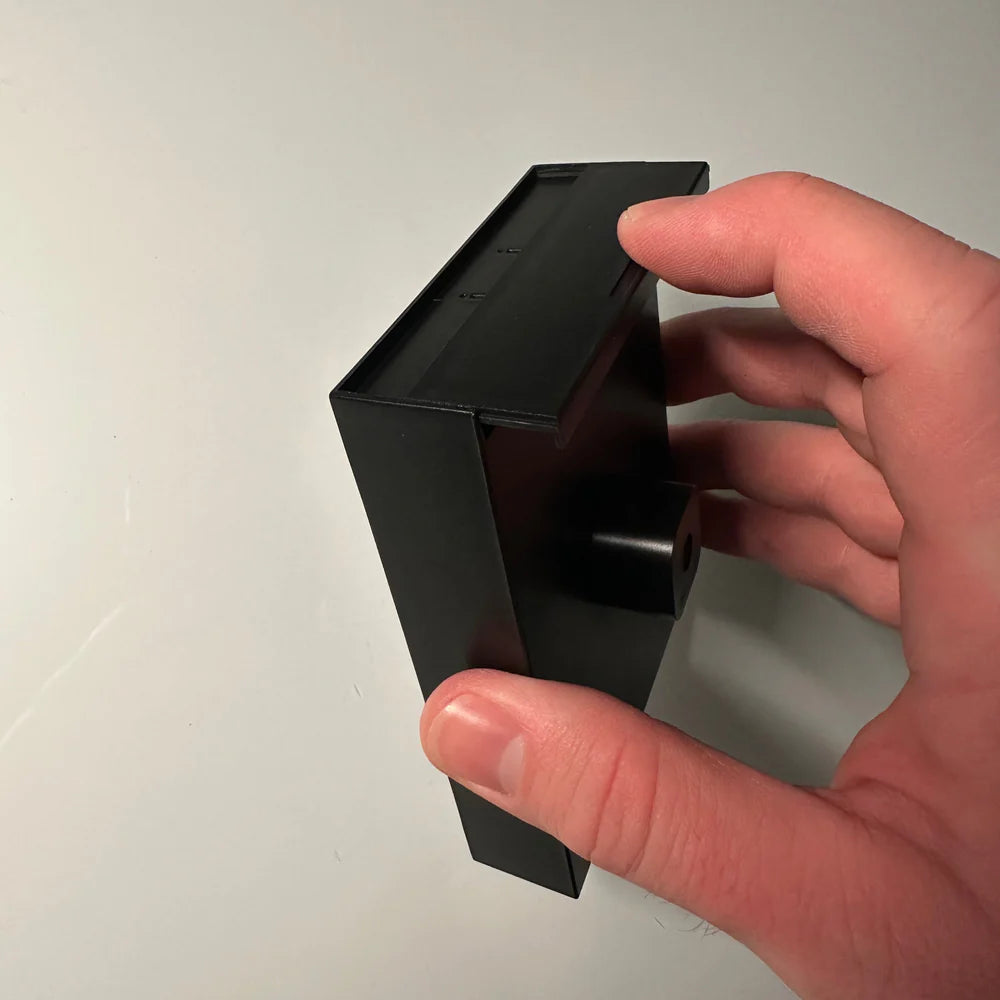
Remove your Super Gizmo RETRO from your case to expose the additional USB ports inside. See the case removal instructions below for reference.
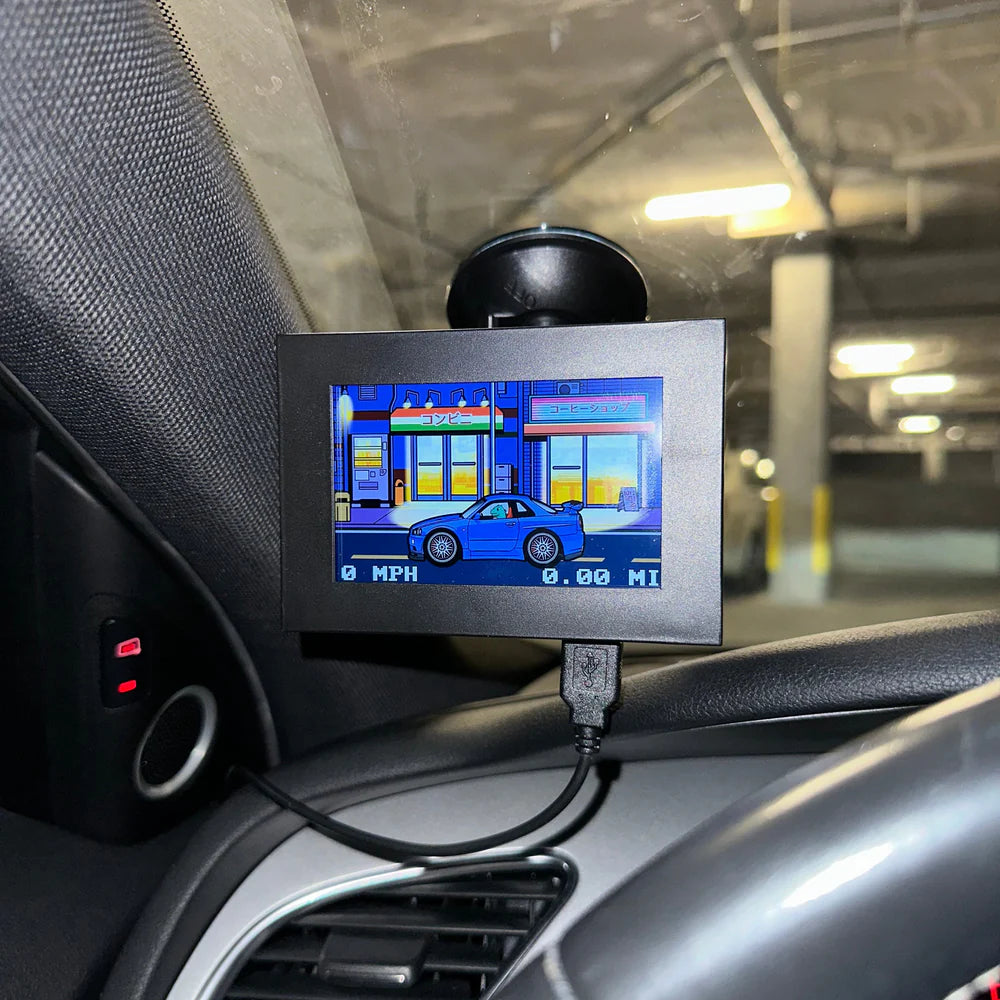
Turn on your Super Gizmo RETRO by powering it on using the instructions above.
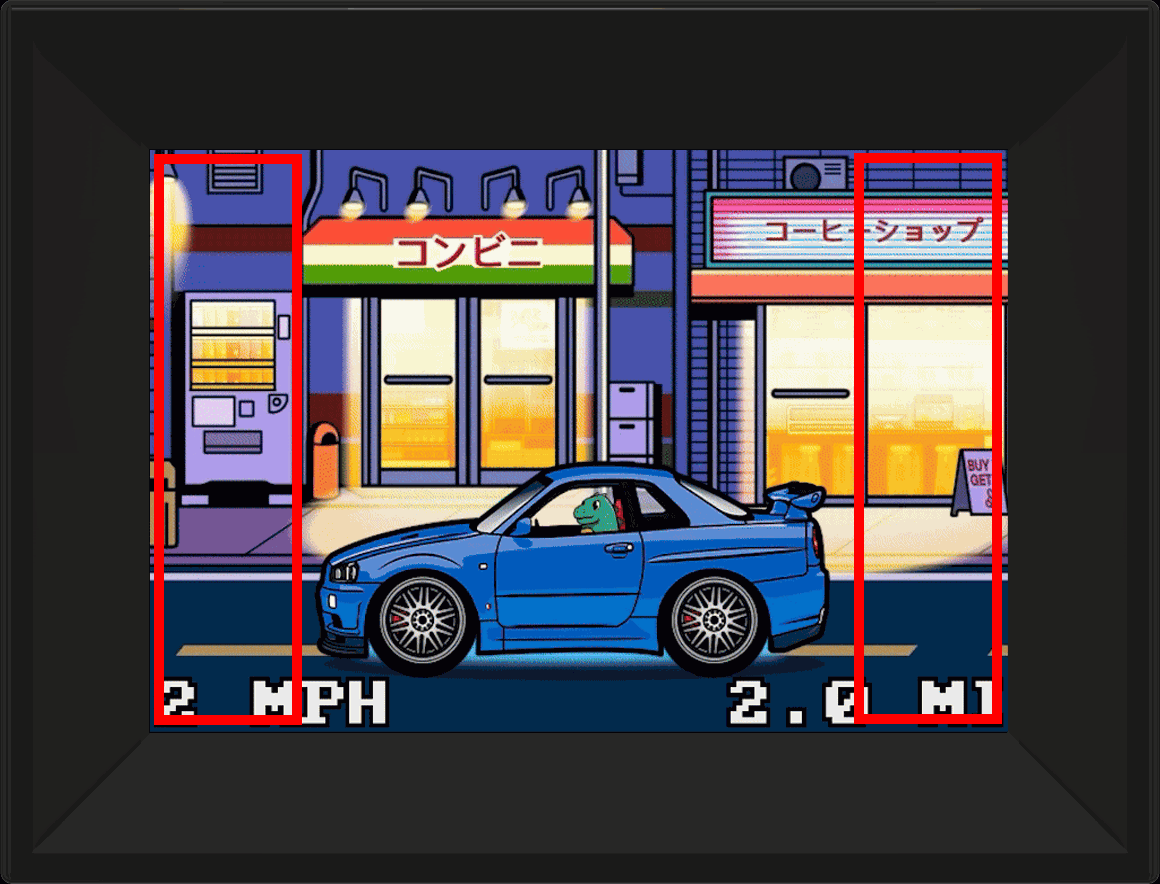
Navigate to the Download screen by tapping on the left or right-hand side of the display. The Super Gizmo RETRO includes the following screens: Speed, RPM, Coolant Temp, Fuel Level, Engine Load, DTCs, Acceleration Time, Settings, Download.
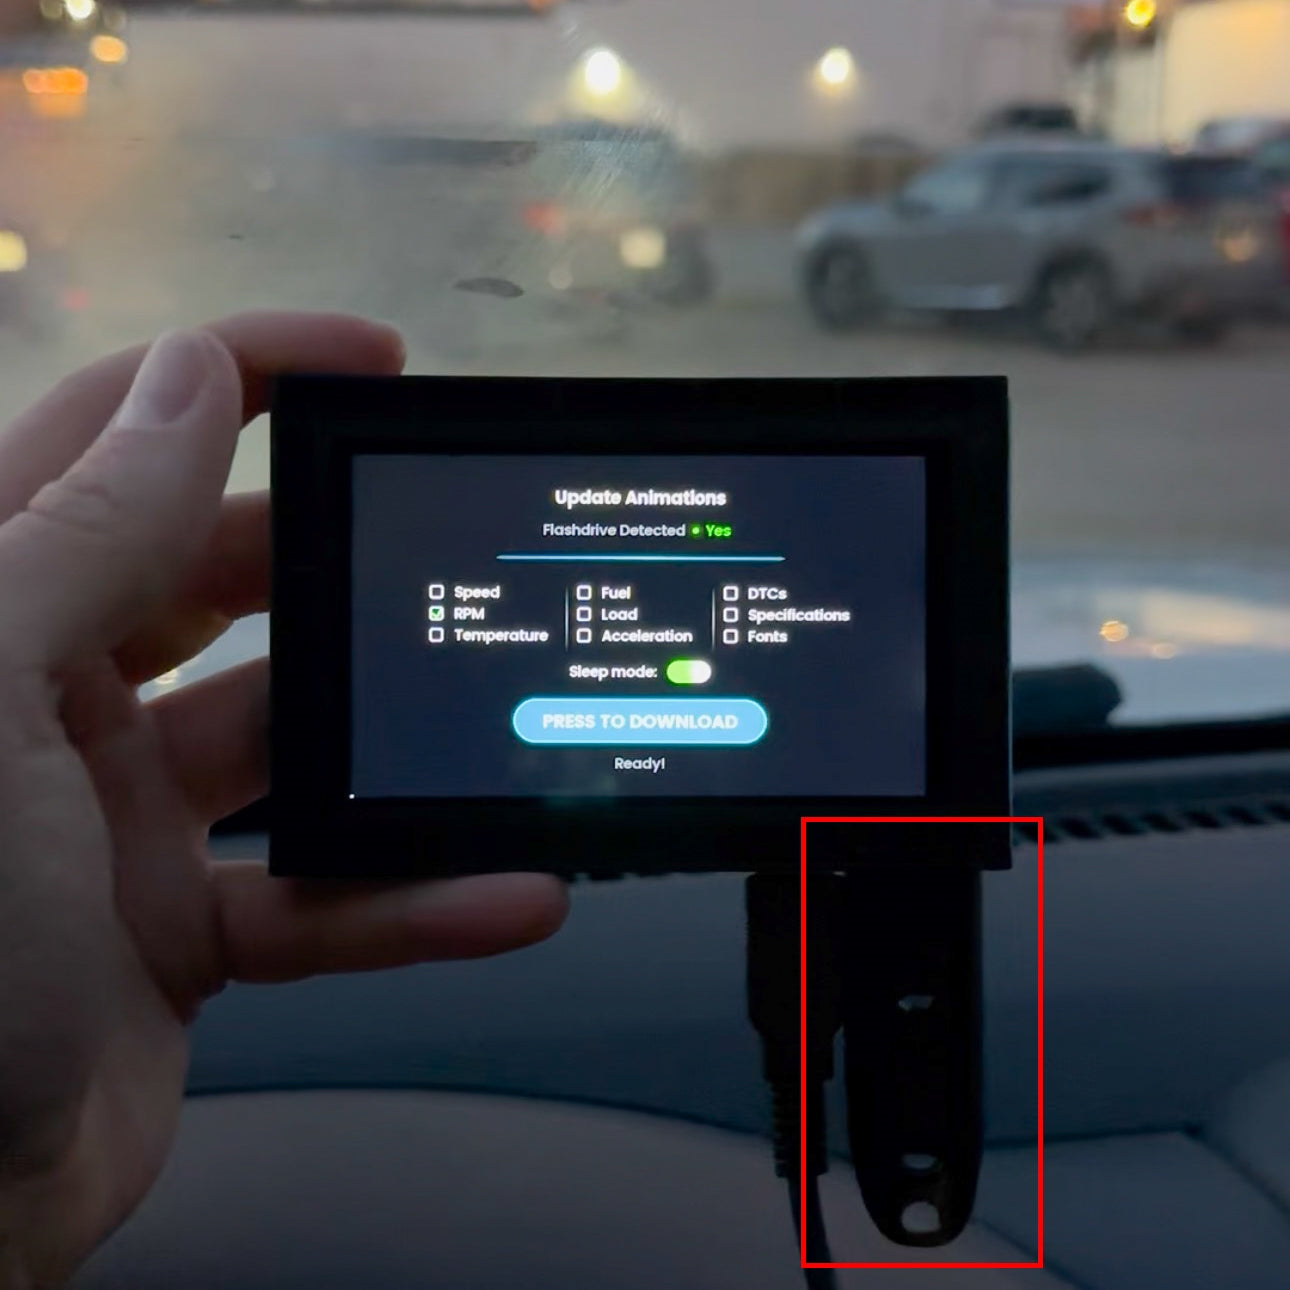
After putting your own GIFs/videos, fonts, etc., into the flash drive using the instructions above, insert your flash drive into the Super Gizmo RETRO.
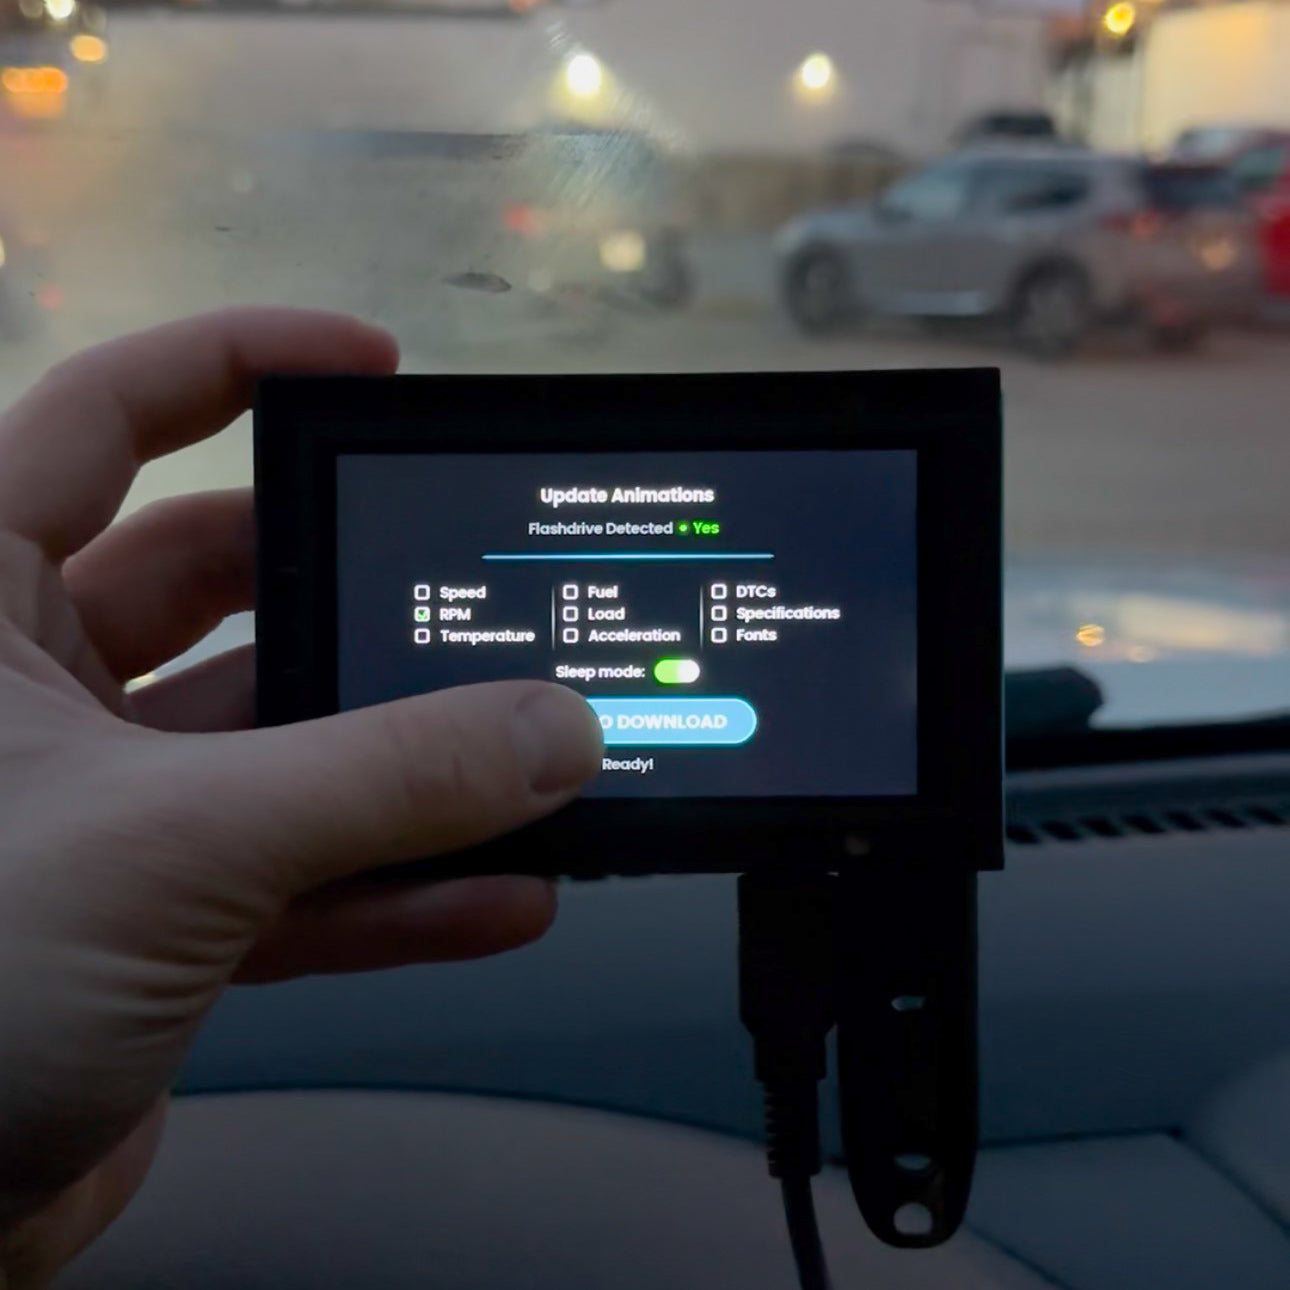
Once the flash drive is plugged-in, you'll see green check marks next to the files that will be downloaded. This is a quick confirmation that the files you added/changed on the flash drive will be successfully downloaded. Then press the download button, which will download all applicable files and reboot your gauge.
Remove your Super Gizmo RETRO from your case to expose the additional USB ports inside. See the case removal instructions below for reference.
Turn on your Super Gizmo RETRO by powering it on using the instructions above.
Navigate to the Download screen by tapping on the left or right-hand side of the display. The Super Gizmo RETRO includes the following screens: Speed, RPM, Coolant Temp, Fuel Level, Engine Load, DTCs, Acceleration Time, Settings, Download.
After putting your own GIFs/videos, fonts, etc., into the flash drive using the instructions above, insert your flash drive into the Super Gizmo RETRO.
Once the flash drive is plugged-in, you'll see green check marks next to the files that will be downloaded. This is a quick confirmation that the files you added/changed on the flash drive will be successfully downloaded. Then press the download button, which will download all applicable files and reboot your gauge.
Extras
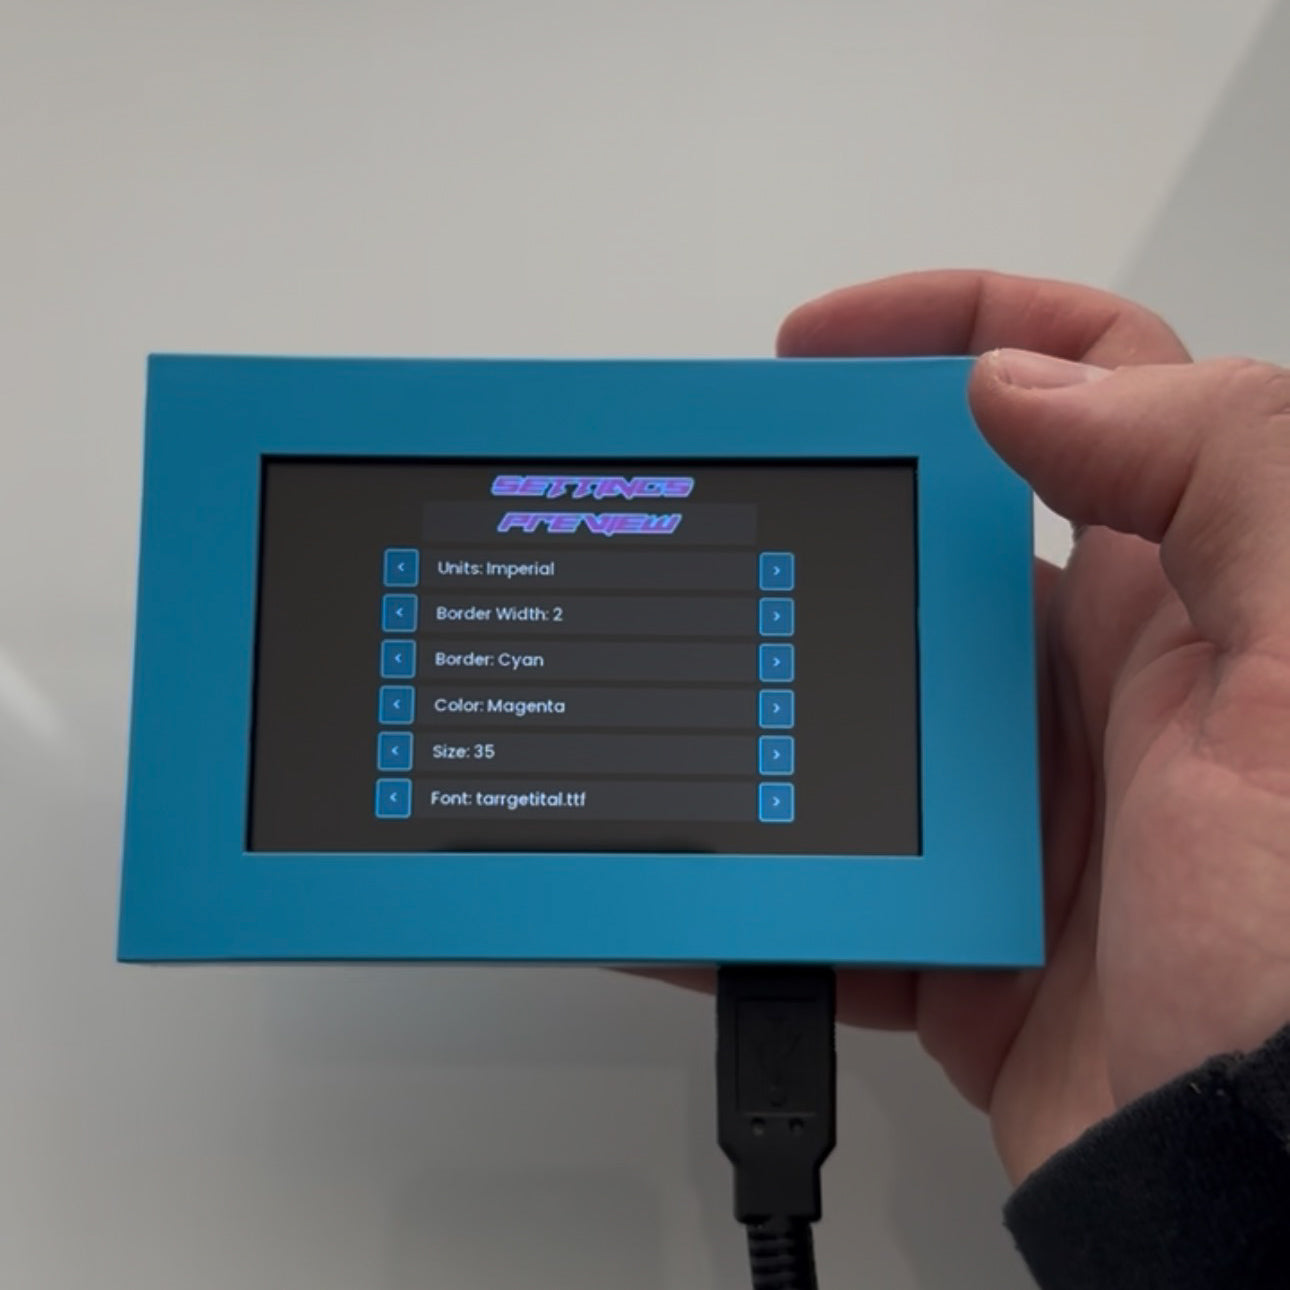
If you'd like to change the style of the gauge, go to the Settings screen to change the font, font colors, size, etc. You can also change your system to Imperial or Metric units.
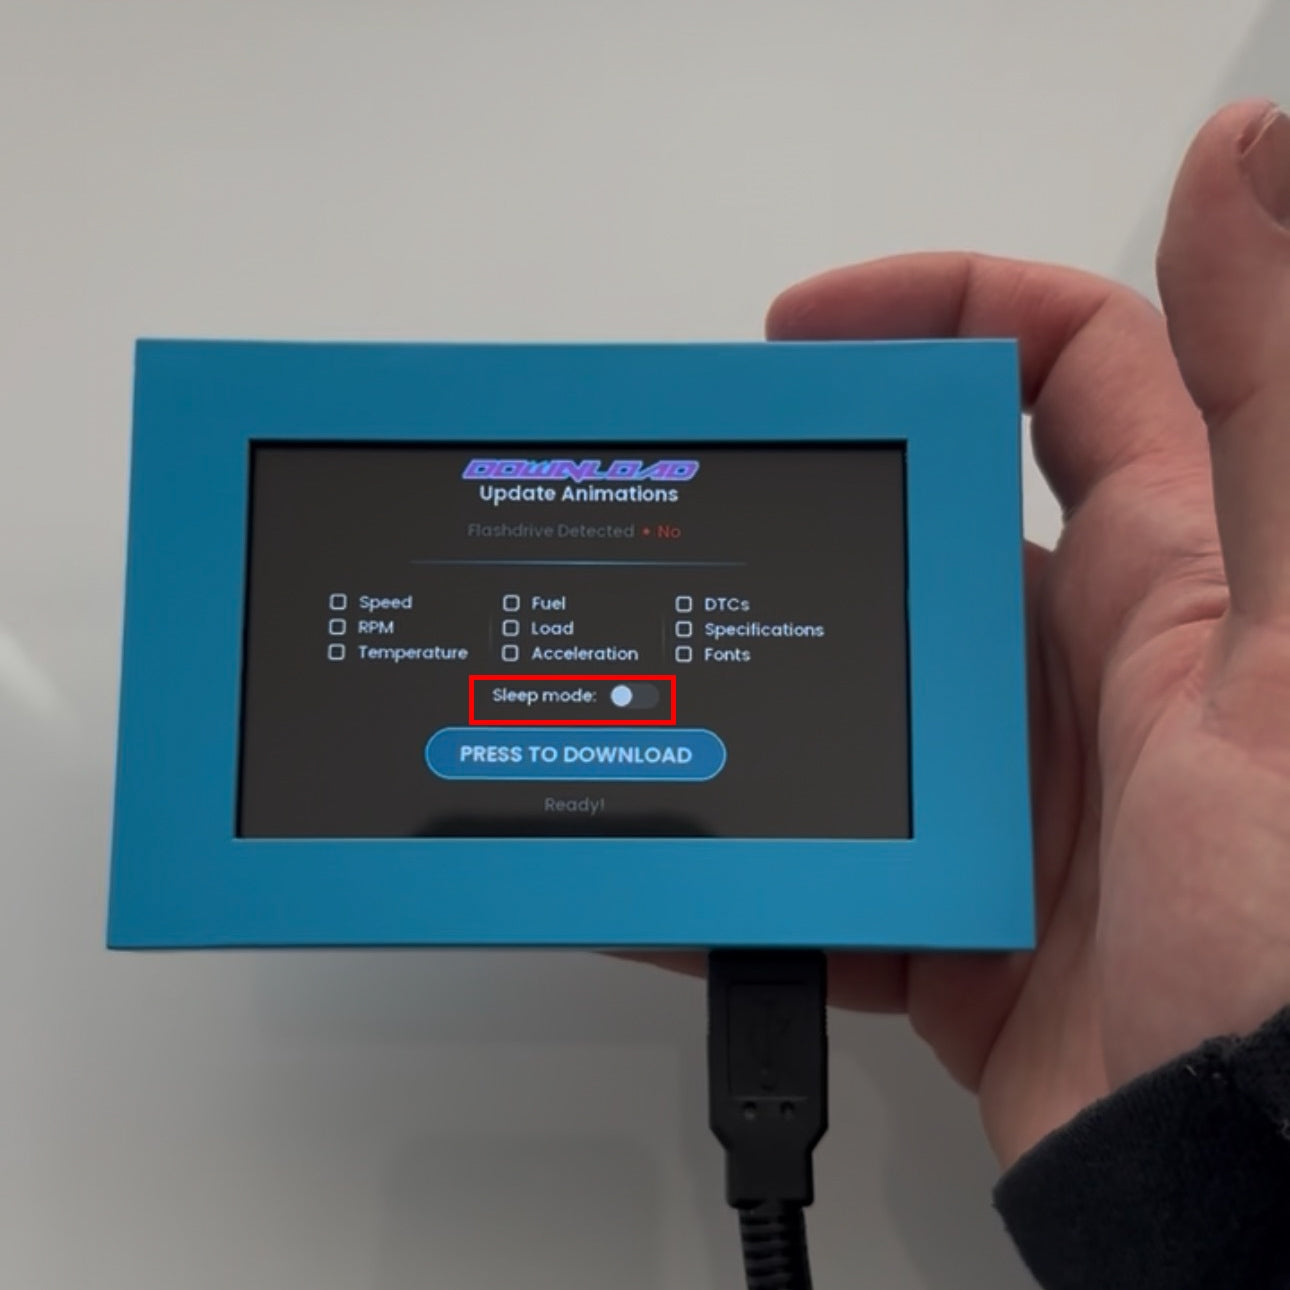
Instead of manually turning on/off your Super Gizmo RETRO after each use, you can turn on Sleep Mode on the Download screen. Once activated, your Super Gizmo RETRO will automatically power down when you turn your car off and automatically turn back on when you start it, allowing you to not need to use the power switch (which should be kept in the on-position while Sleep Mode is activated).
Note: Sleep Mode is recommended for daily drivers only.
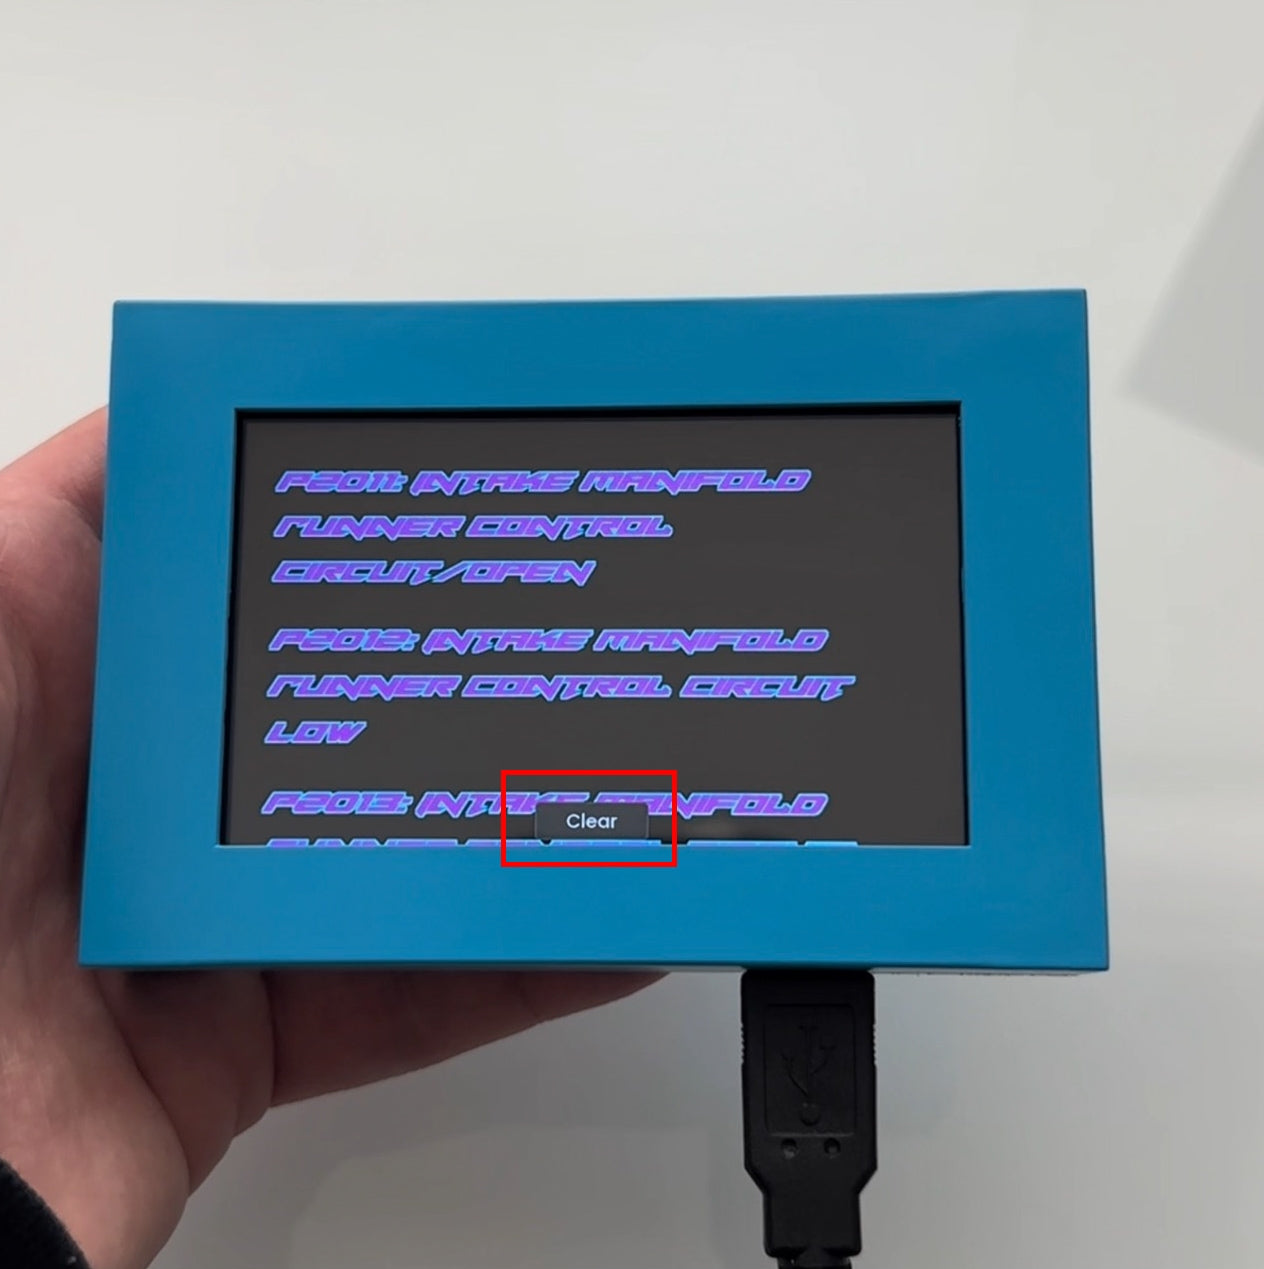
While on the DTC screen, if there's an engine code you'd like to clear, simply press the Clear button and then Yes to confirm.
Note: Clearing codes are only recommended after repairs have been made. Super's Garage is not responsible for voided
If you'd like to change the style of the gauge, go to the Settings screen to change the font, font colors, size, etc. You can also change your system to Imperial or Metric units.
Instead of manually turning on/off your Super Gizmo RETRO after each use, you can turn on Sleep Mode on the Download screen. Once activated, your Super Gizmo RETRO will automatically power down when you turn your car off and automatically turn back on when you start it, allowing you to not need to use the power switch (which should be kept in the on-position while Sleep Mode is activated).
Note: Sleep Mode is recommended for daily drivers only.
While on the DTC screen, if there's an engine code you'd like to clear, simply press the Clear button and then Yes to confirm.
Note: Clearing codes are only recommended after repairs have been made. Super's Garage is not responsible for voided
Shut Down / Sleep Mode
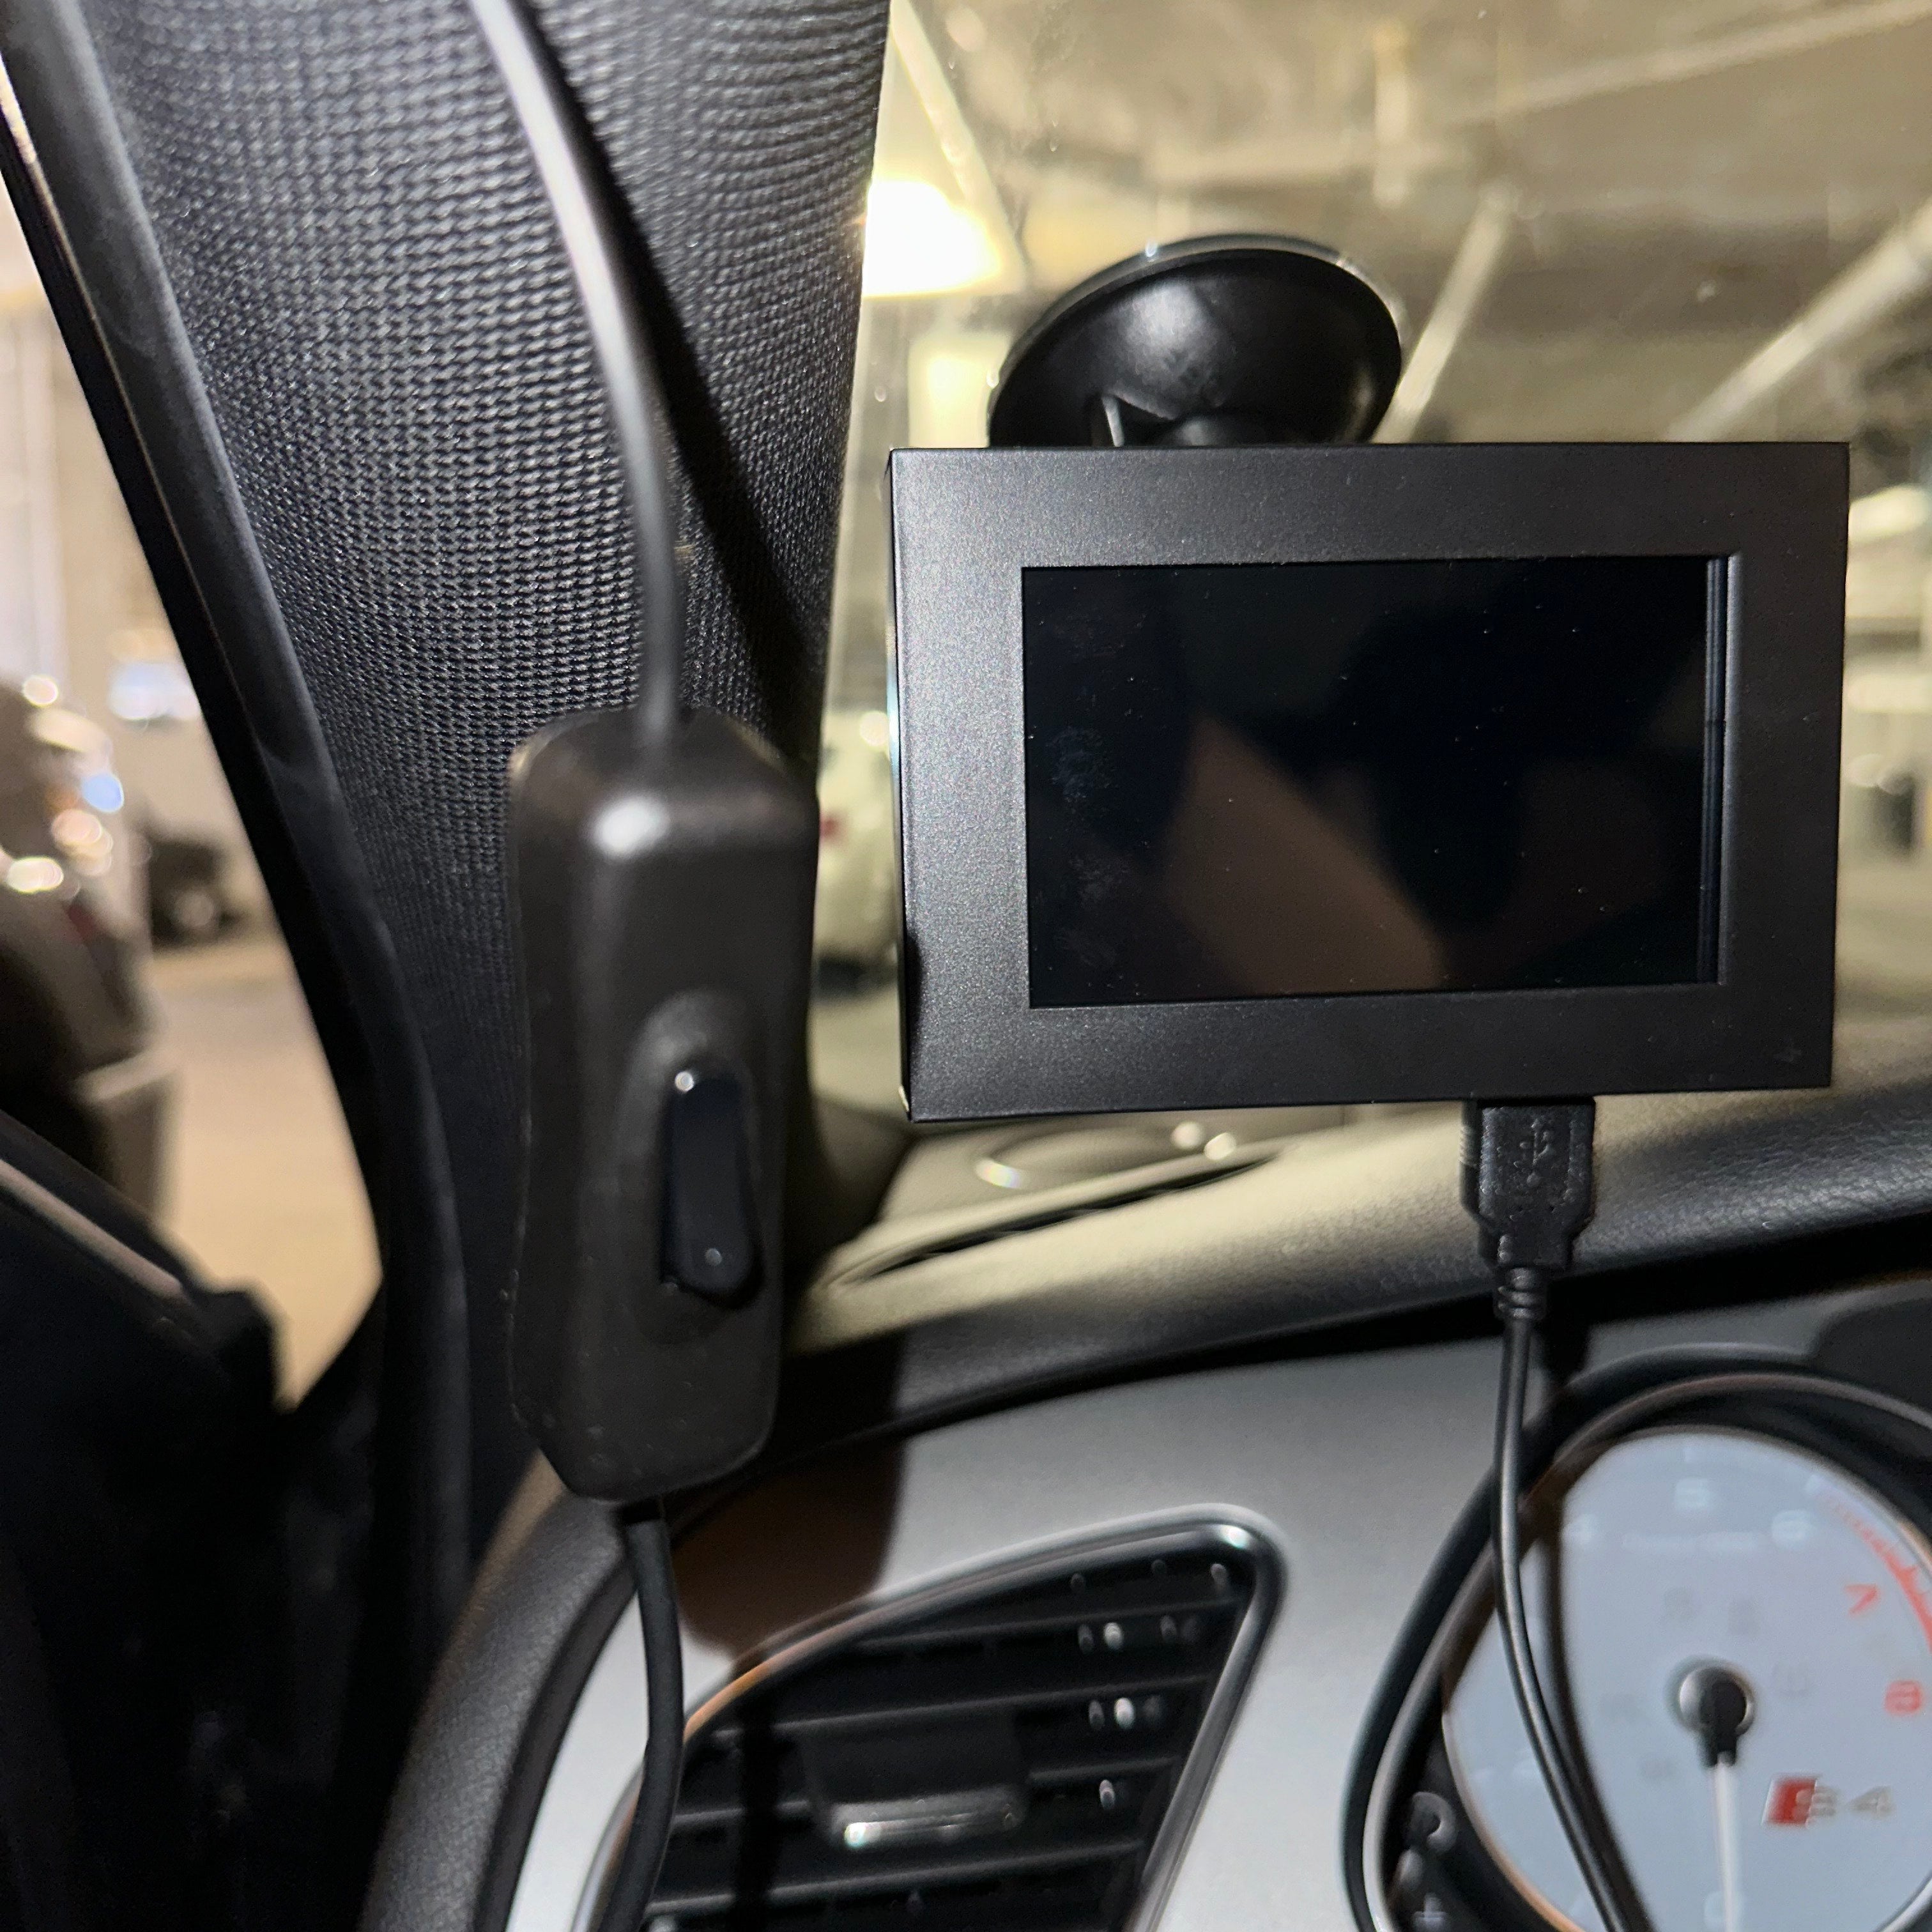
Turn off the Super Gizmo by simply pressing the switch on the power cord!
Turn on Sleep Mode for the Super Gizmo RETRO to power-down on its own when your car is turned off. No need to turn off entirely with the power switch when Sleep Mode is turned on.
Turn off the Super Gizmo by simply pressing the switch on the power cord!
Turn on Sleep Mode for the Super Gizmo RETRO to power-down on its own when your car is turned off. No need to turn off entirely with the power switch when Sleep Mode is turned on.
Troubleshooting
The Super Gizmo is built to be reliable and was thoroughly tested, but like any tech, a few setup quirks may come up. Here are some quick fixes that usually solve everything fast.
Simple Fixes
1. The power switch on the OBD2 scanner is not in the "on" position (on the back side of the power switch, there is a small triangle, which indicates the direction of the "on" position)
2. OBD2 scanner is not fully plugged into the car / gets loose while driving
3. USB is not fully plugged into the Super Gizmo
4. If everything is plugged in and it still doesn’t boot, your software may need a quick re-flash. Reach out to kyle@supersgarage.com — we’ll help you right away.
No Data Showing
Turn off your Super Gizmo, make sure the OBD2 reader is fully inserted, and turn back on using the power switch on your OBD2 scanner. If your Super Gizmo still doesn't show data, try testing it in another vehicle to confirm it's the gauge.
If you're still having issues displaying your data, please reach out to kyle@supersgarage.com to have your software re-flashed.
Black Screen
Make sure everything is plugged in firmly and turn off Super Gizmo and turn on again using the power switch on your OBD2 scanner.
To see if the Super Gizmo is getting power, take it out of its case, plug in the USB with the OBD2 scanner plugged into the car, and look for a small blue light.
If the board is getting power, and the screen looks like it's getting power but doesn't boot up, the software may need to be re-flashed. If this is the case, please reach out to kyle@supersgarage.com for assistance.
Change Cases
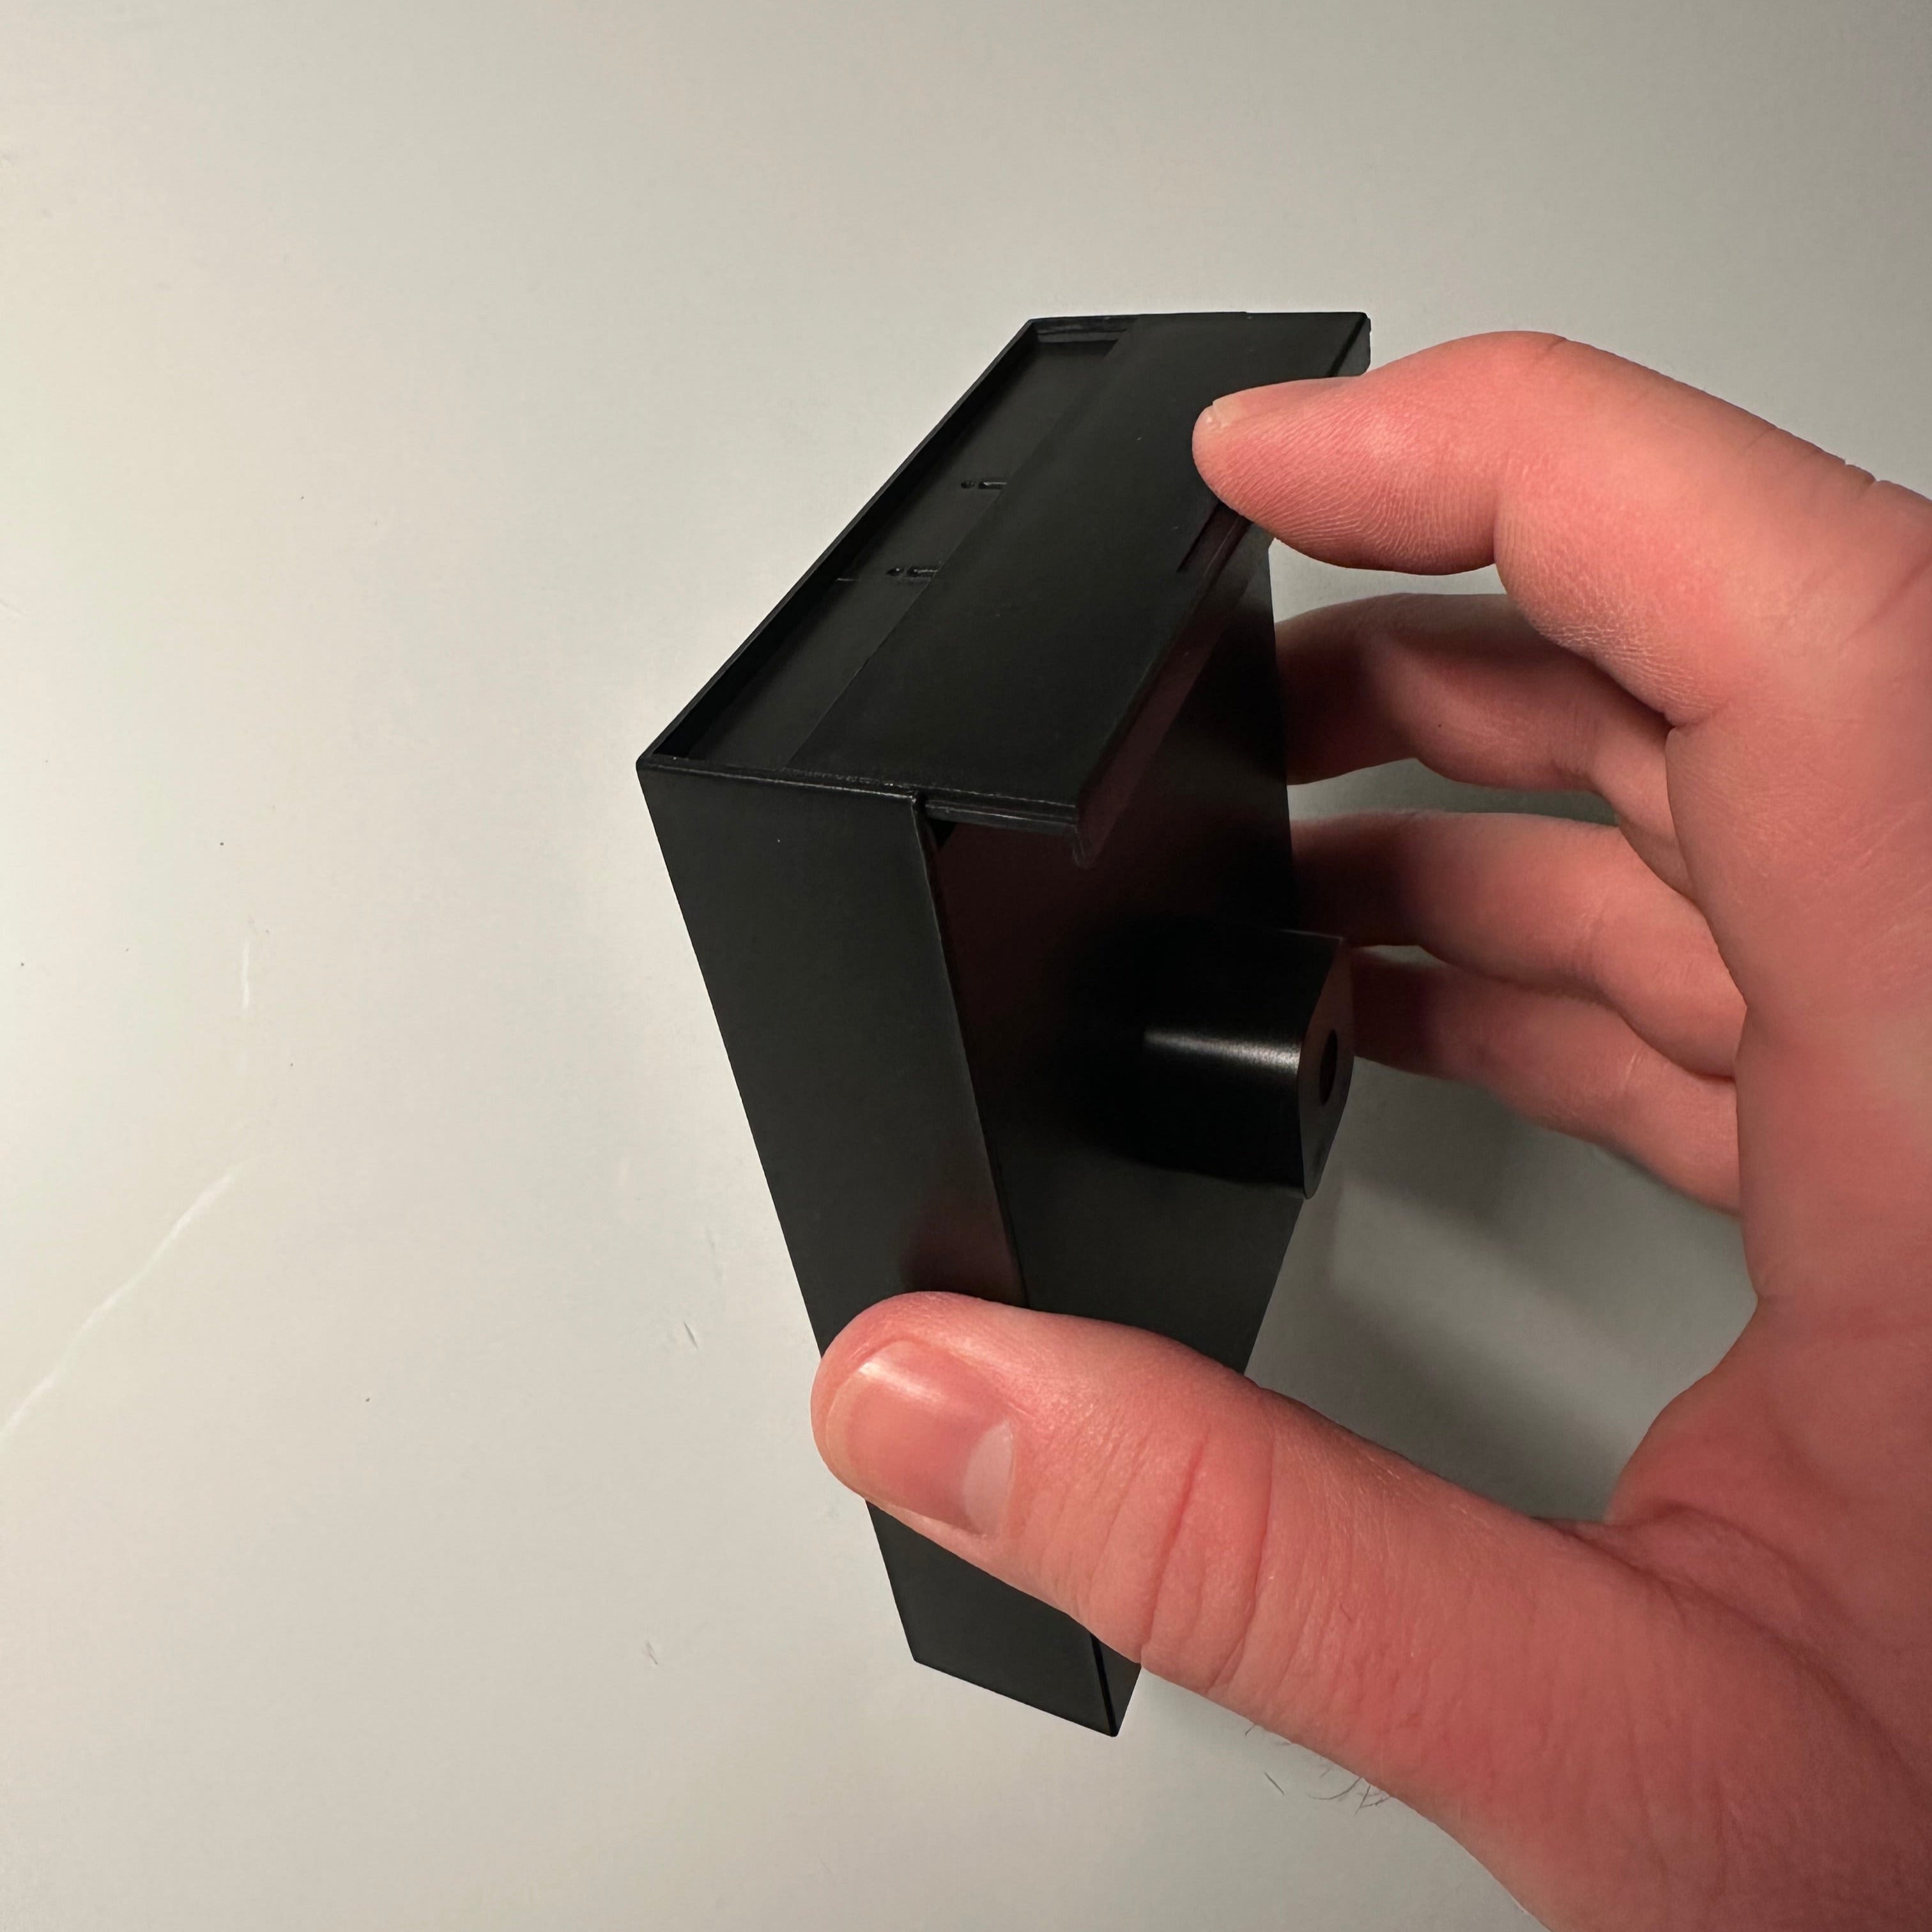
Slip off the cap on the outside of the Super Gizmo.
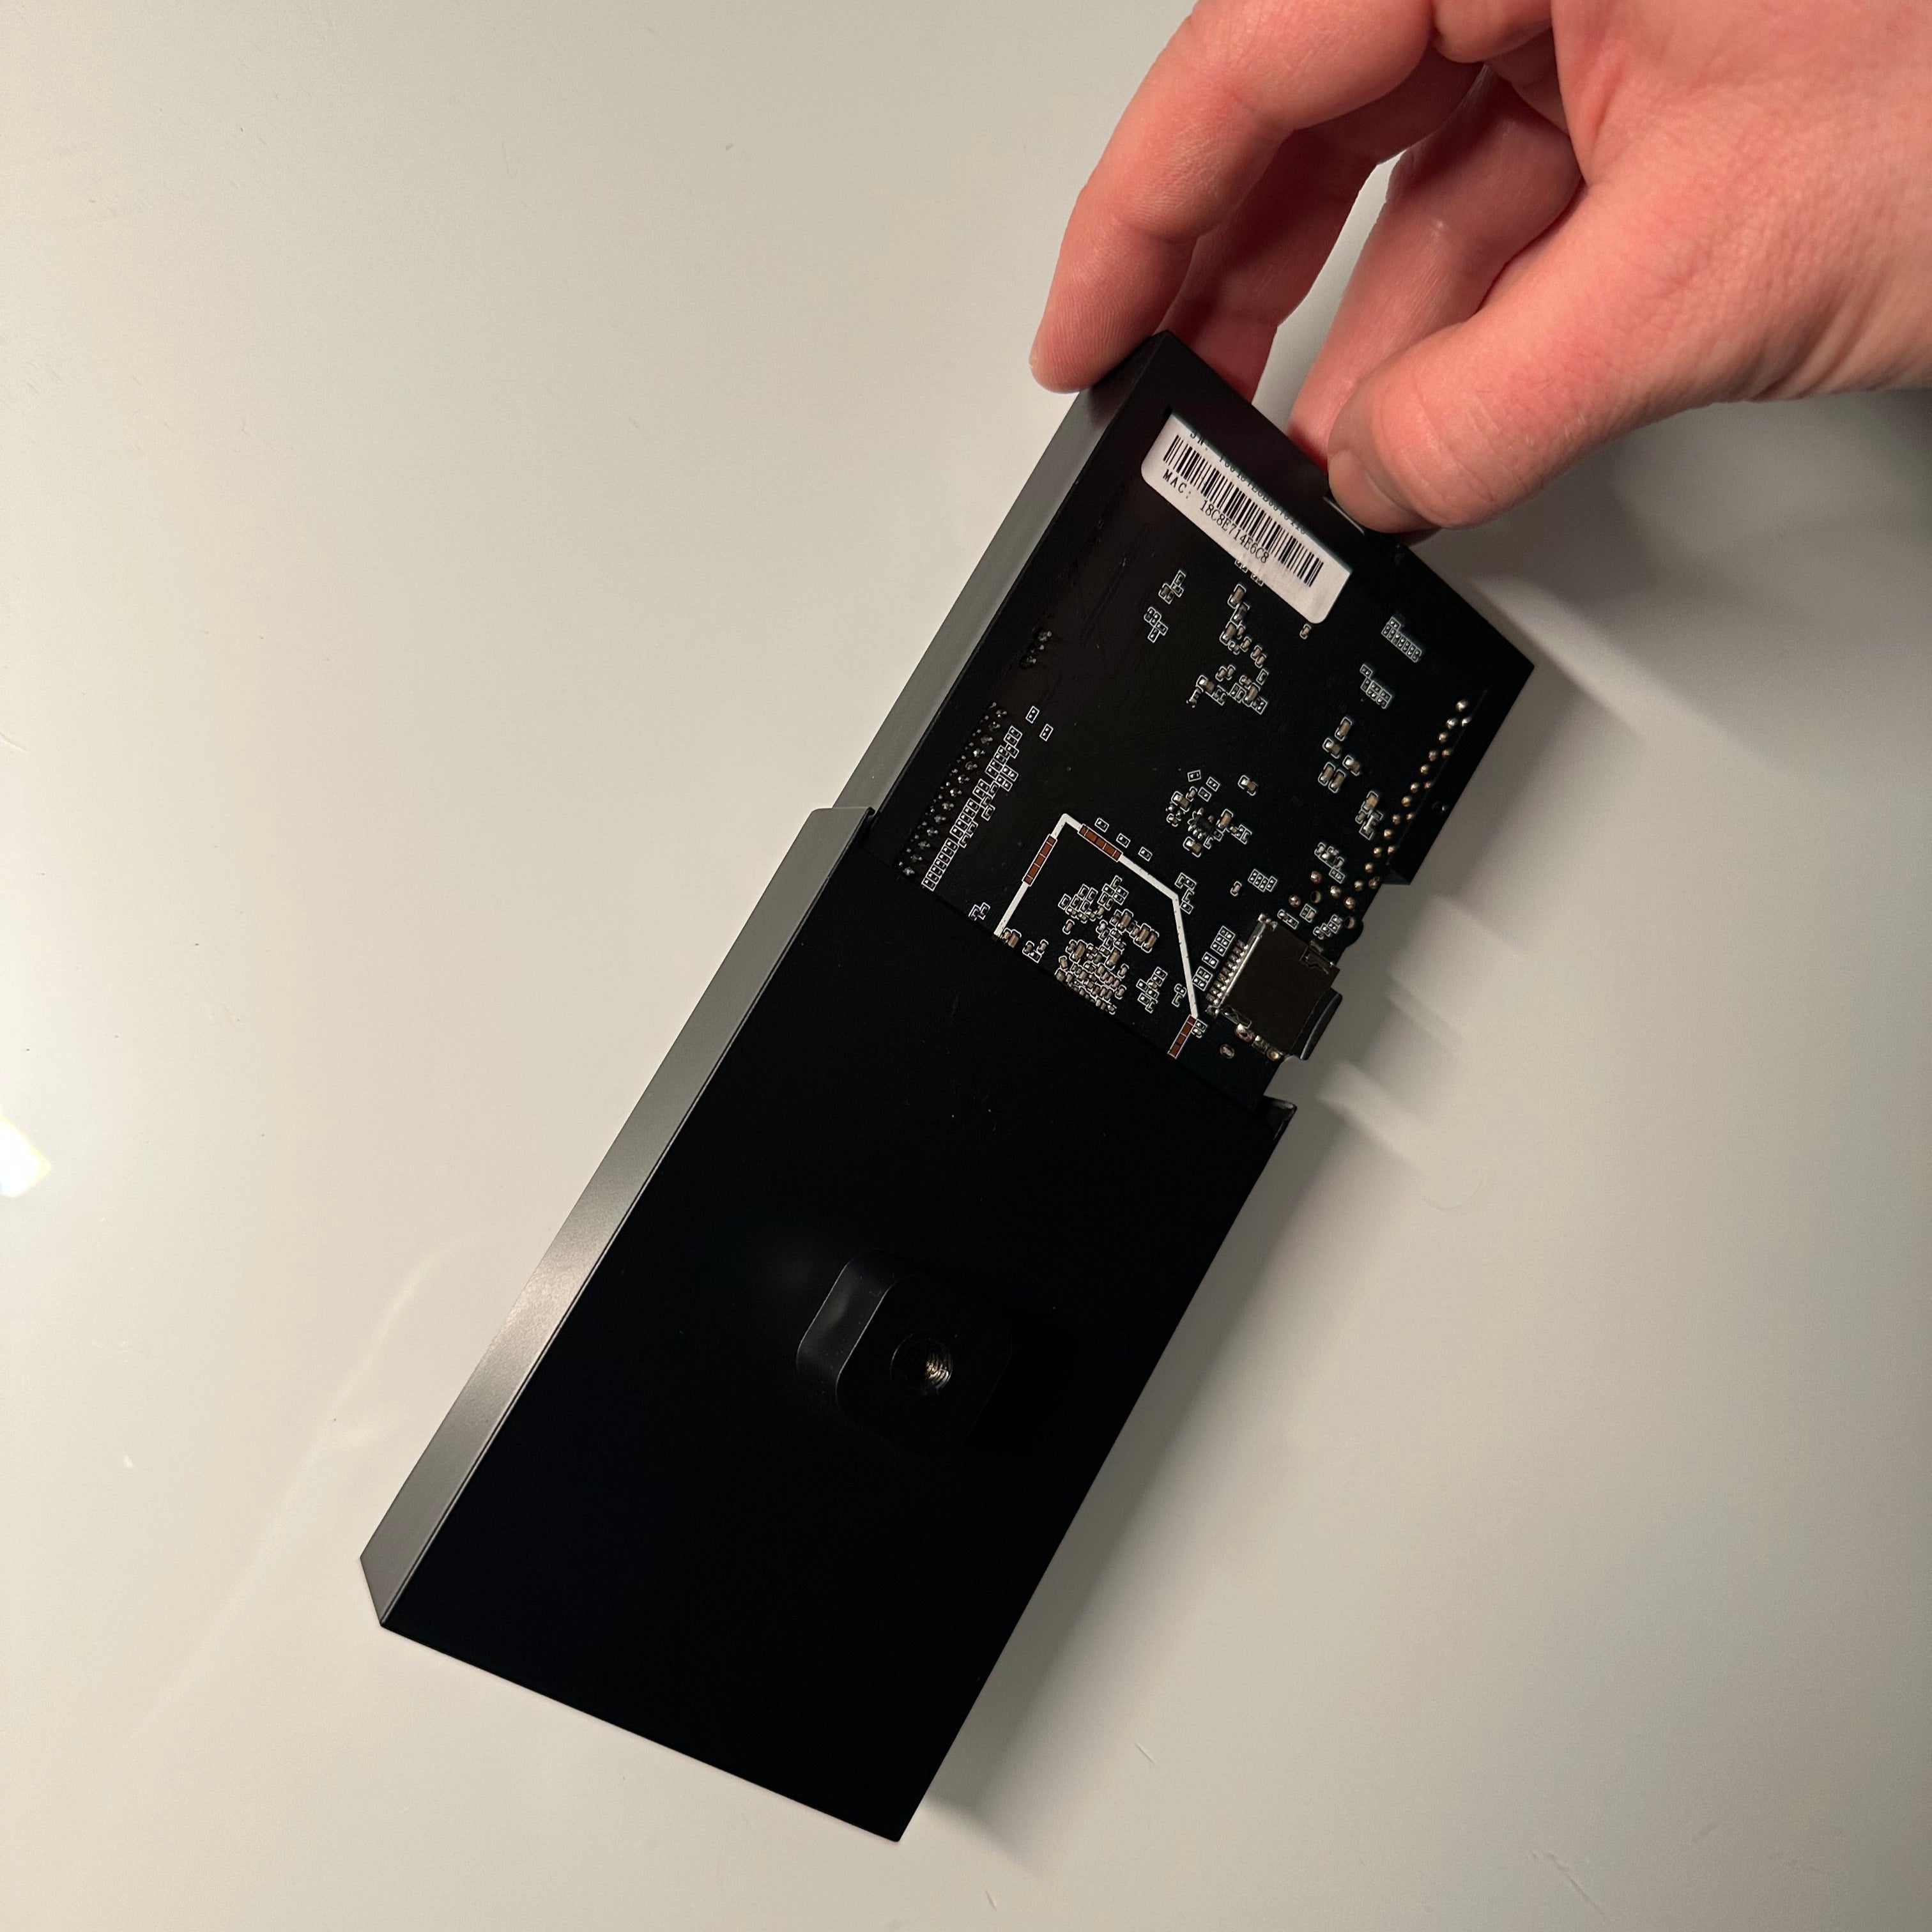
Using the notch on the inner Super Gizmo case, pull out your Super Gizmo.
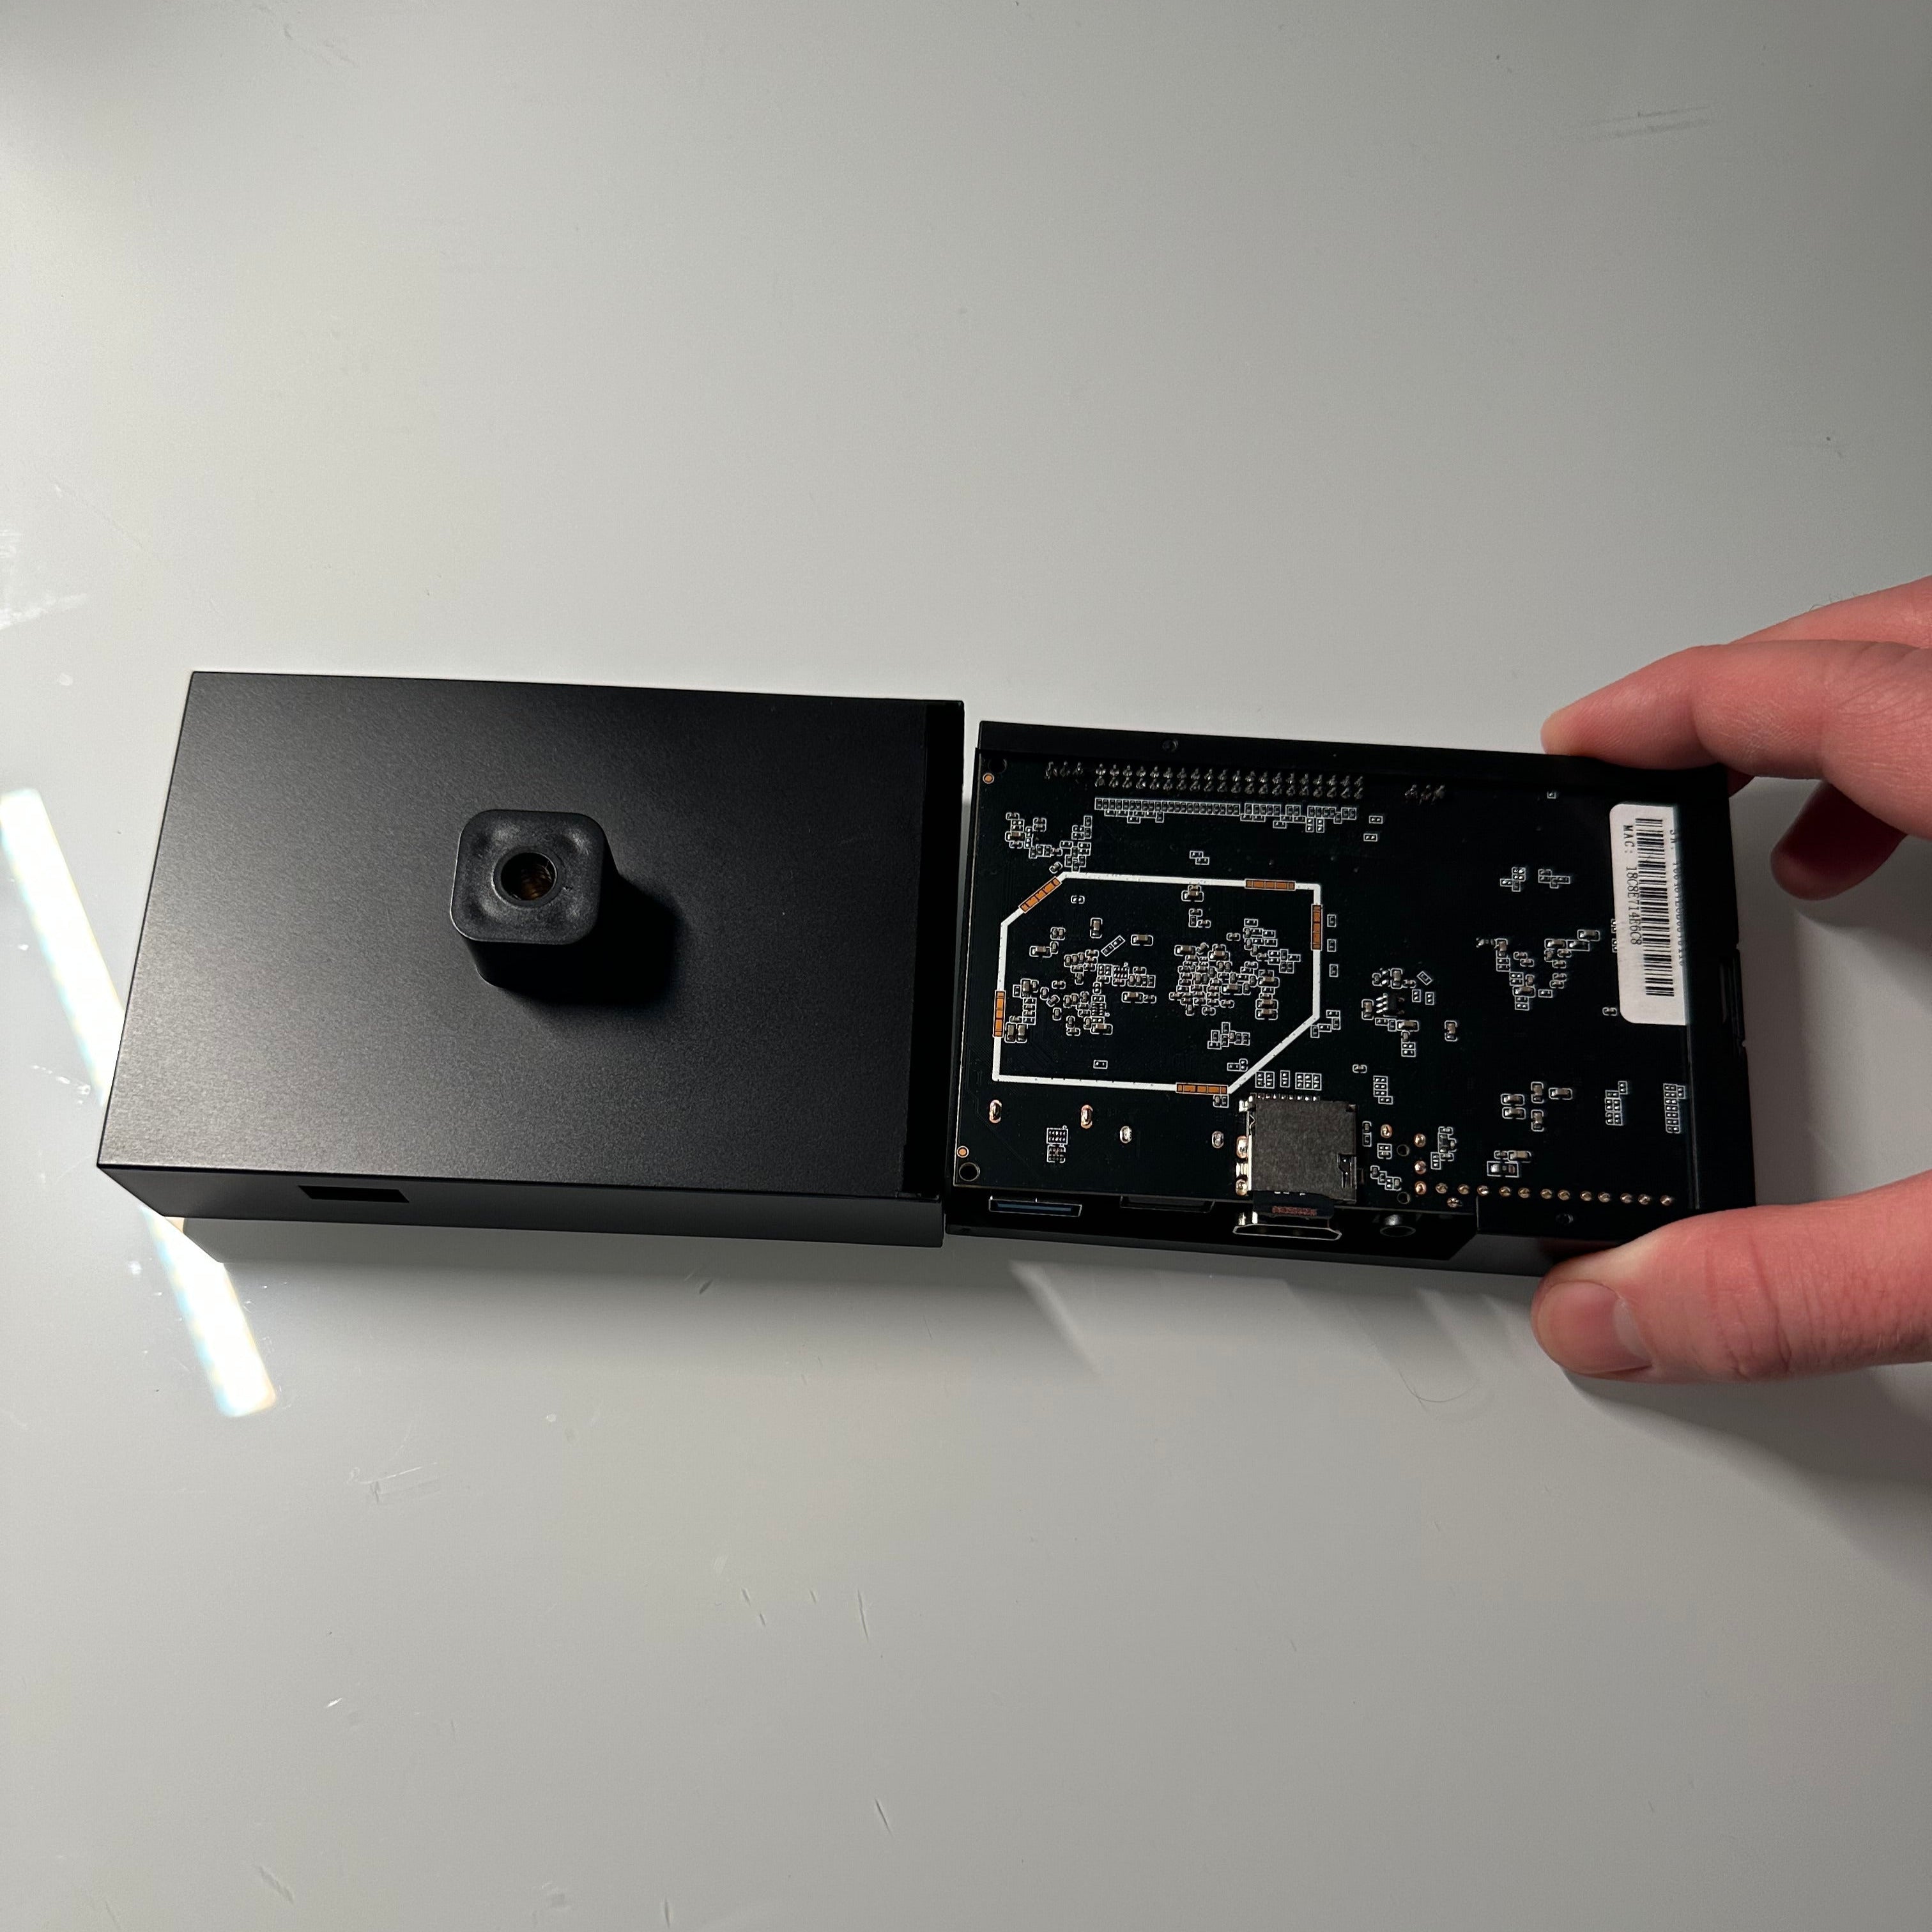
Slide your inner Super Gizmo assembly into its new case. Use the USB port hole on the case and USB port on the Super Gizmo as reference to make sure you're inserting it the correct way.
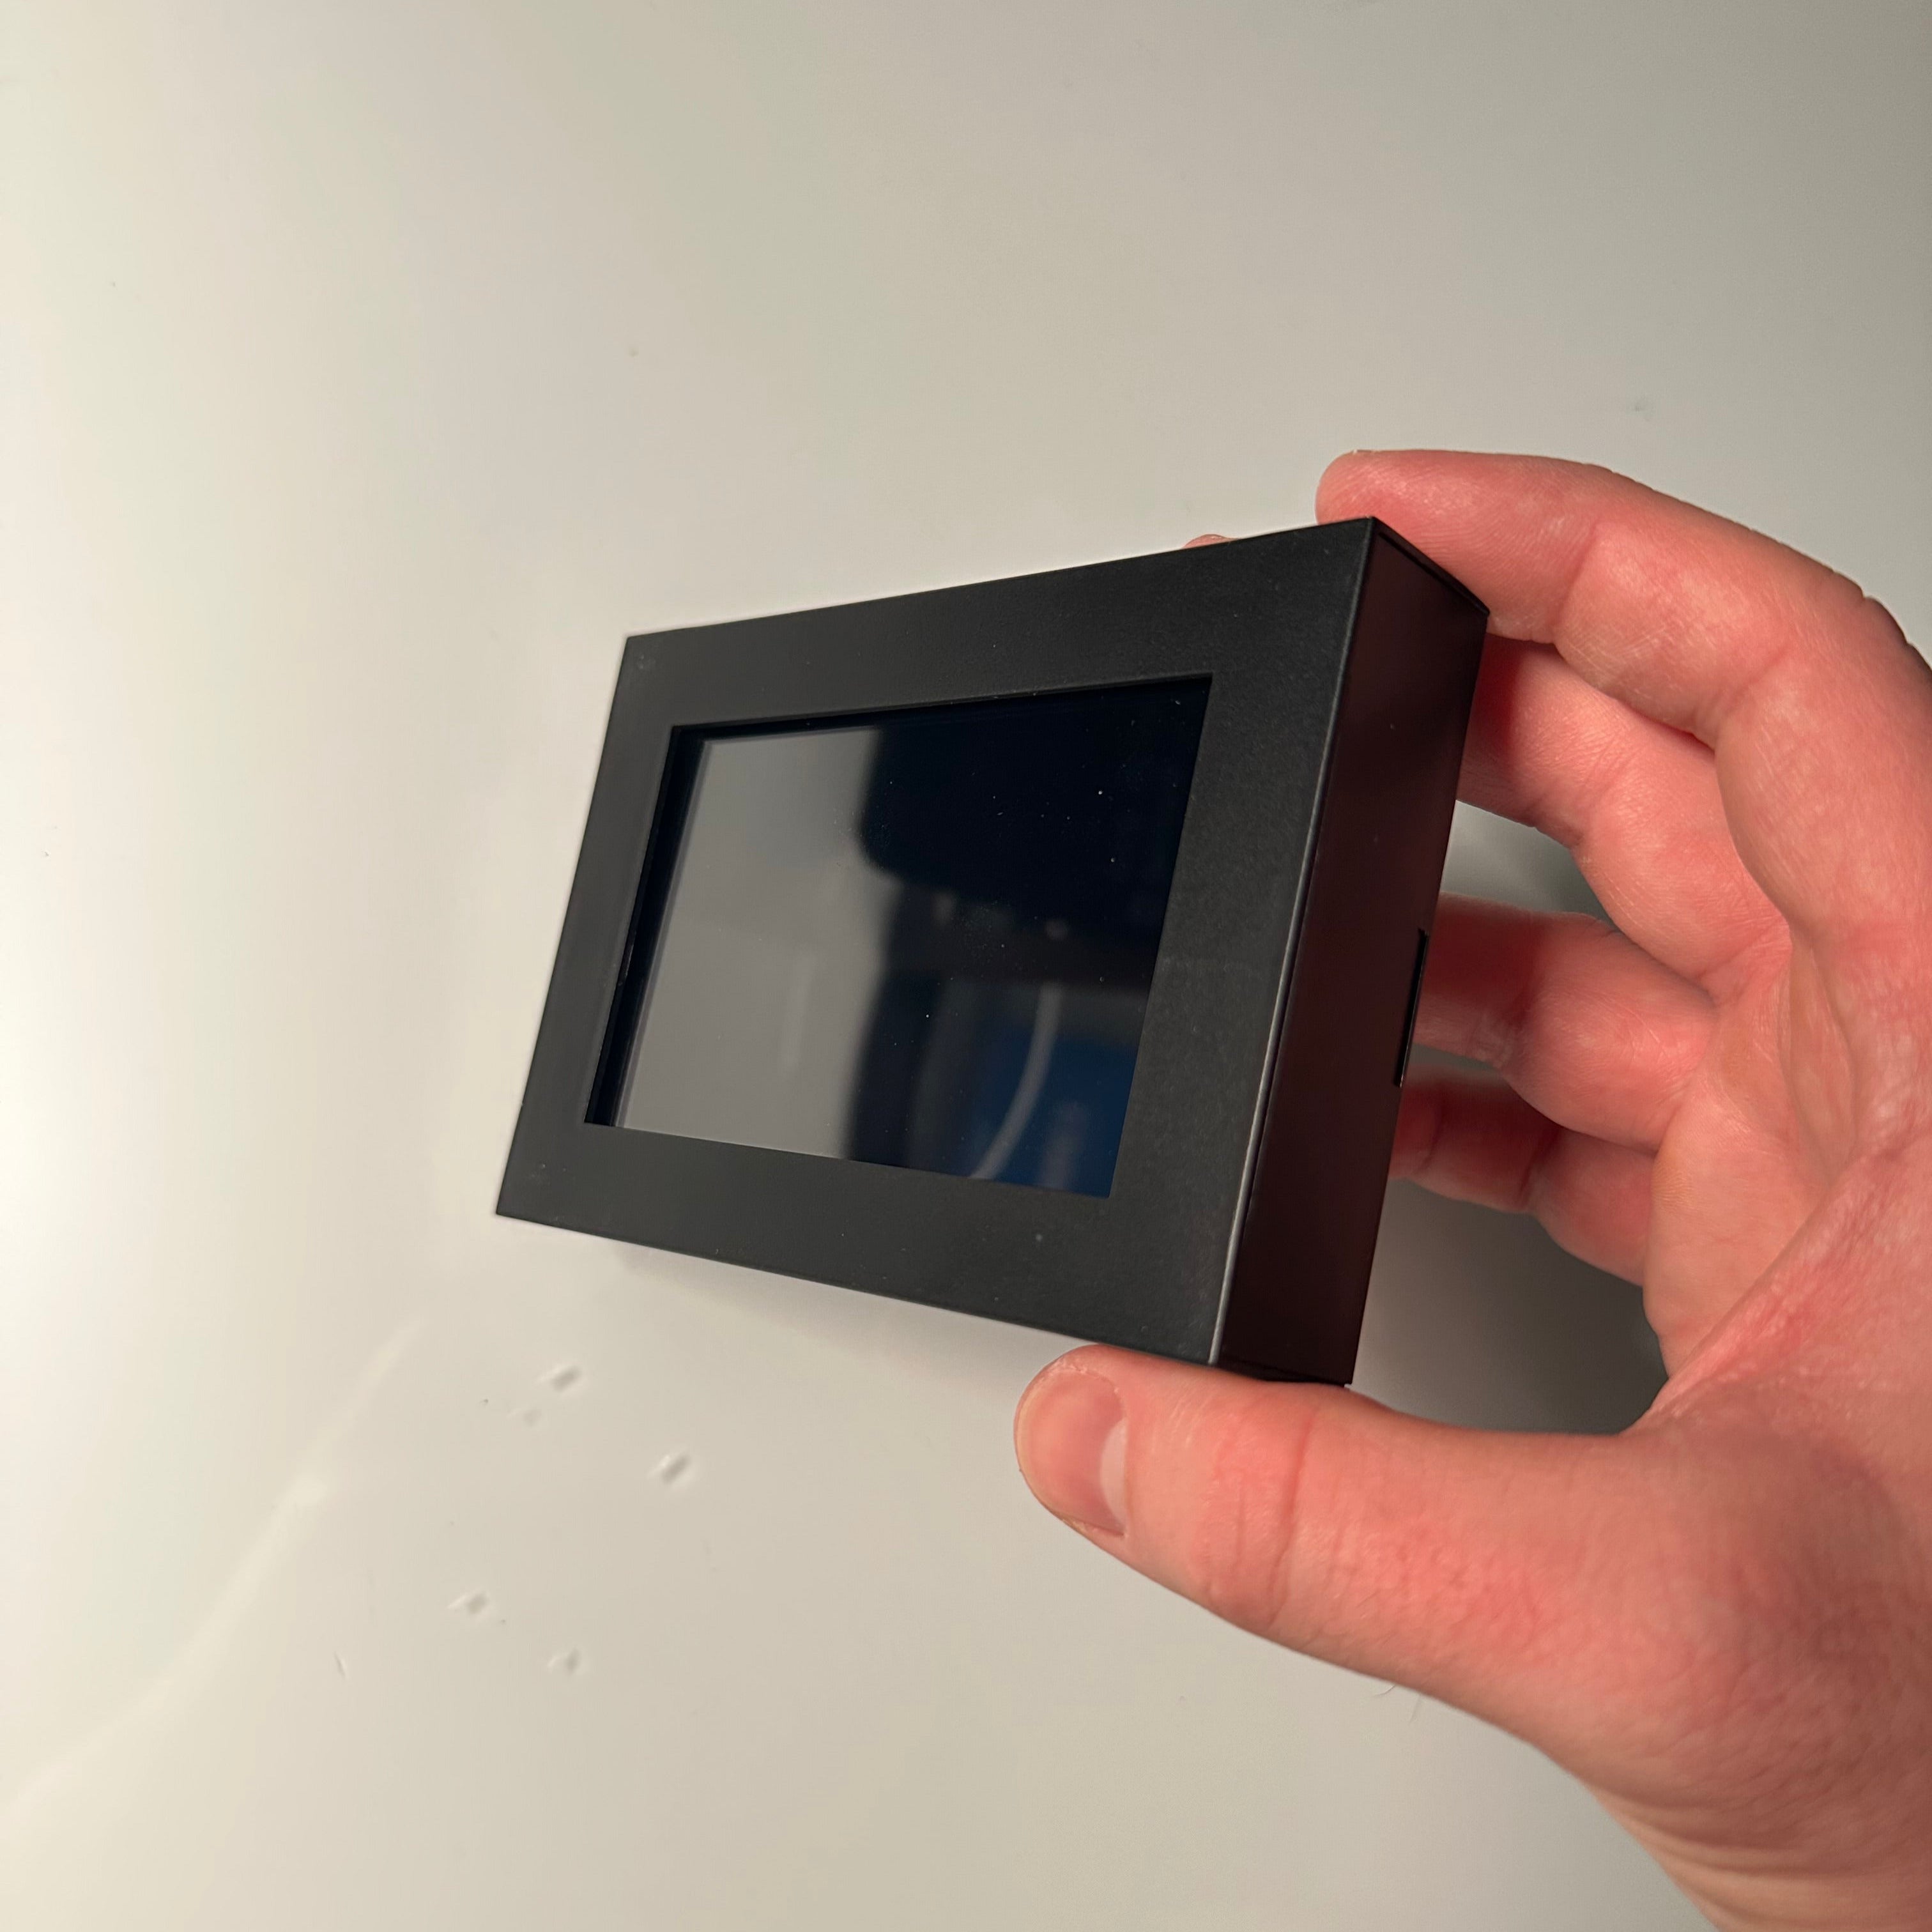
Attach the outer cap of your Super Gizmo case and you're all set!
Slip off the cap on the outside of the Super Gizmo.
Using the notch on the inner Super Gizmo case, pull out your Super Gizmo.
Slide your inner Super Gizmo assembly into its new case. Use the USB port hole on the case and USB port on the Super Gizmo as reference to make sure you're inserting it the correct way.
Attach the outer cap of your Super Gizmo case and you're all set!