

Initial Setup
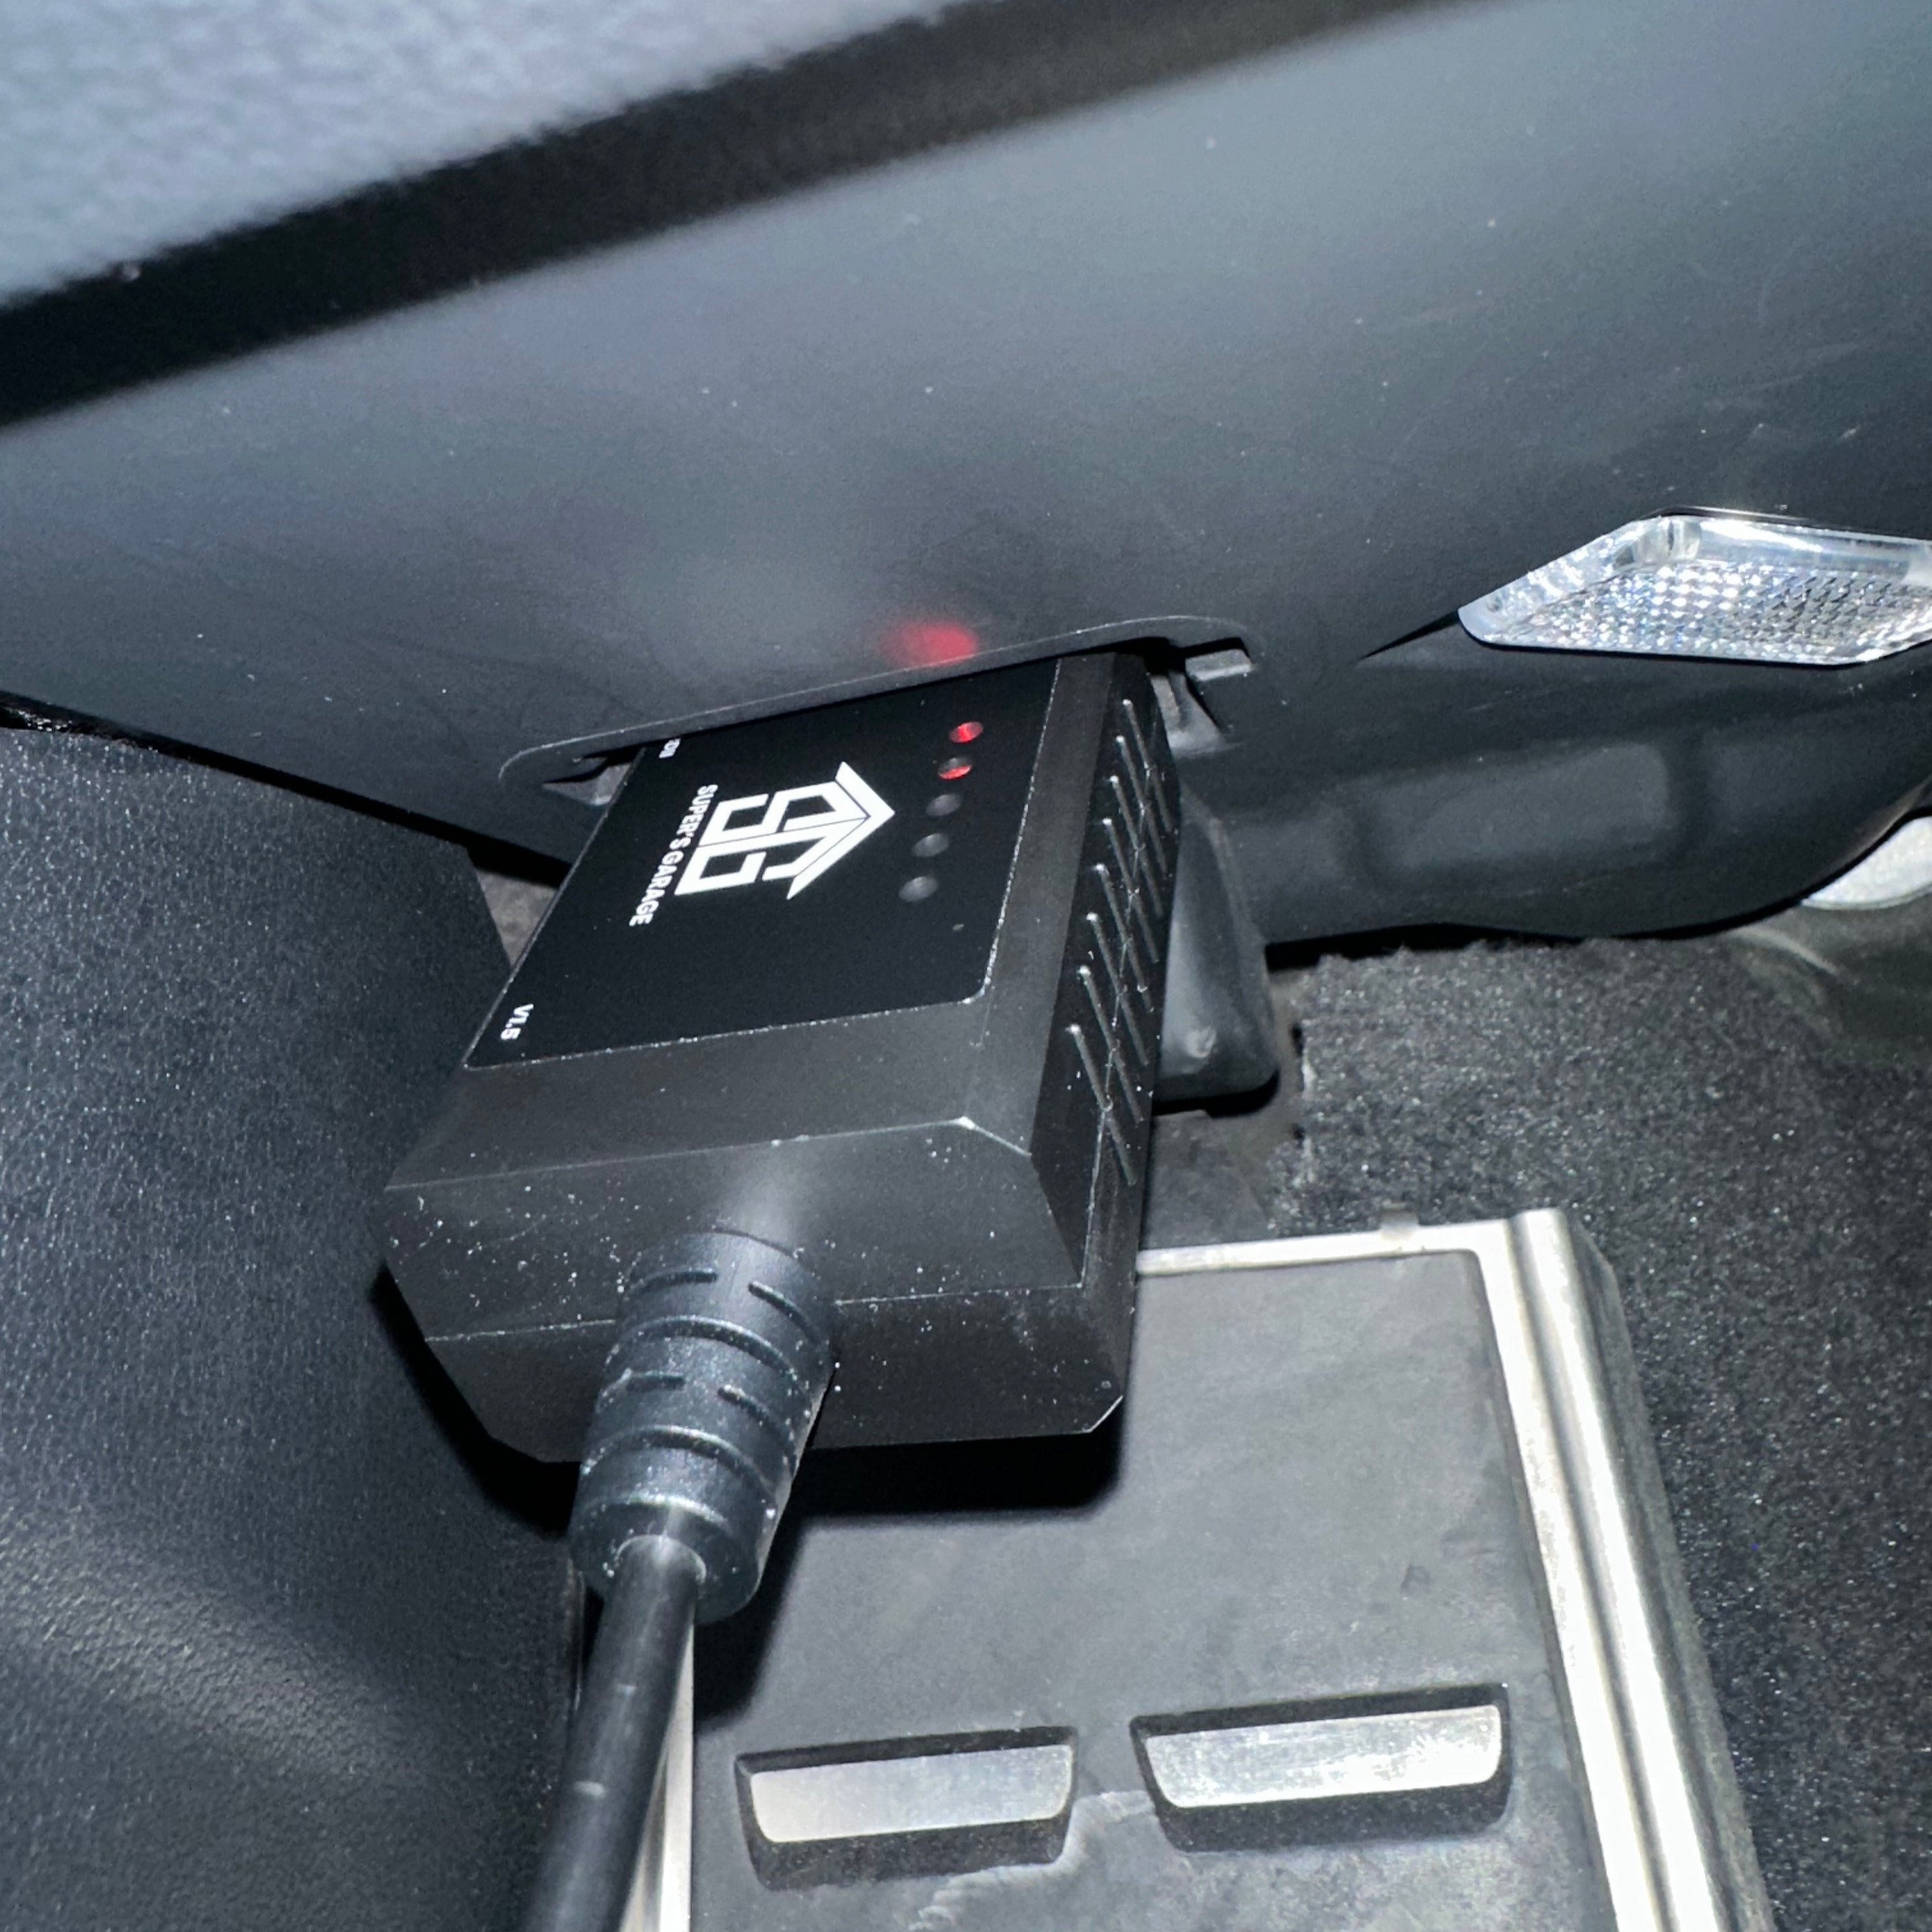
Plug in the OBD2 reader under your dash on the driver's side.

Turn on the power switch on the OBD2 reader (it should be flipped toward the direction of the triangle on the back side of the switch).

Turn on your car.
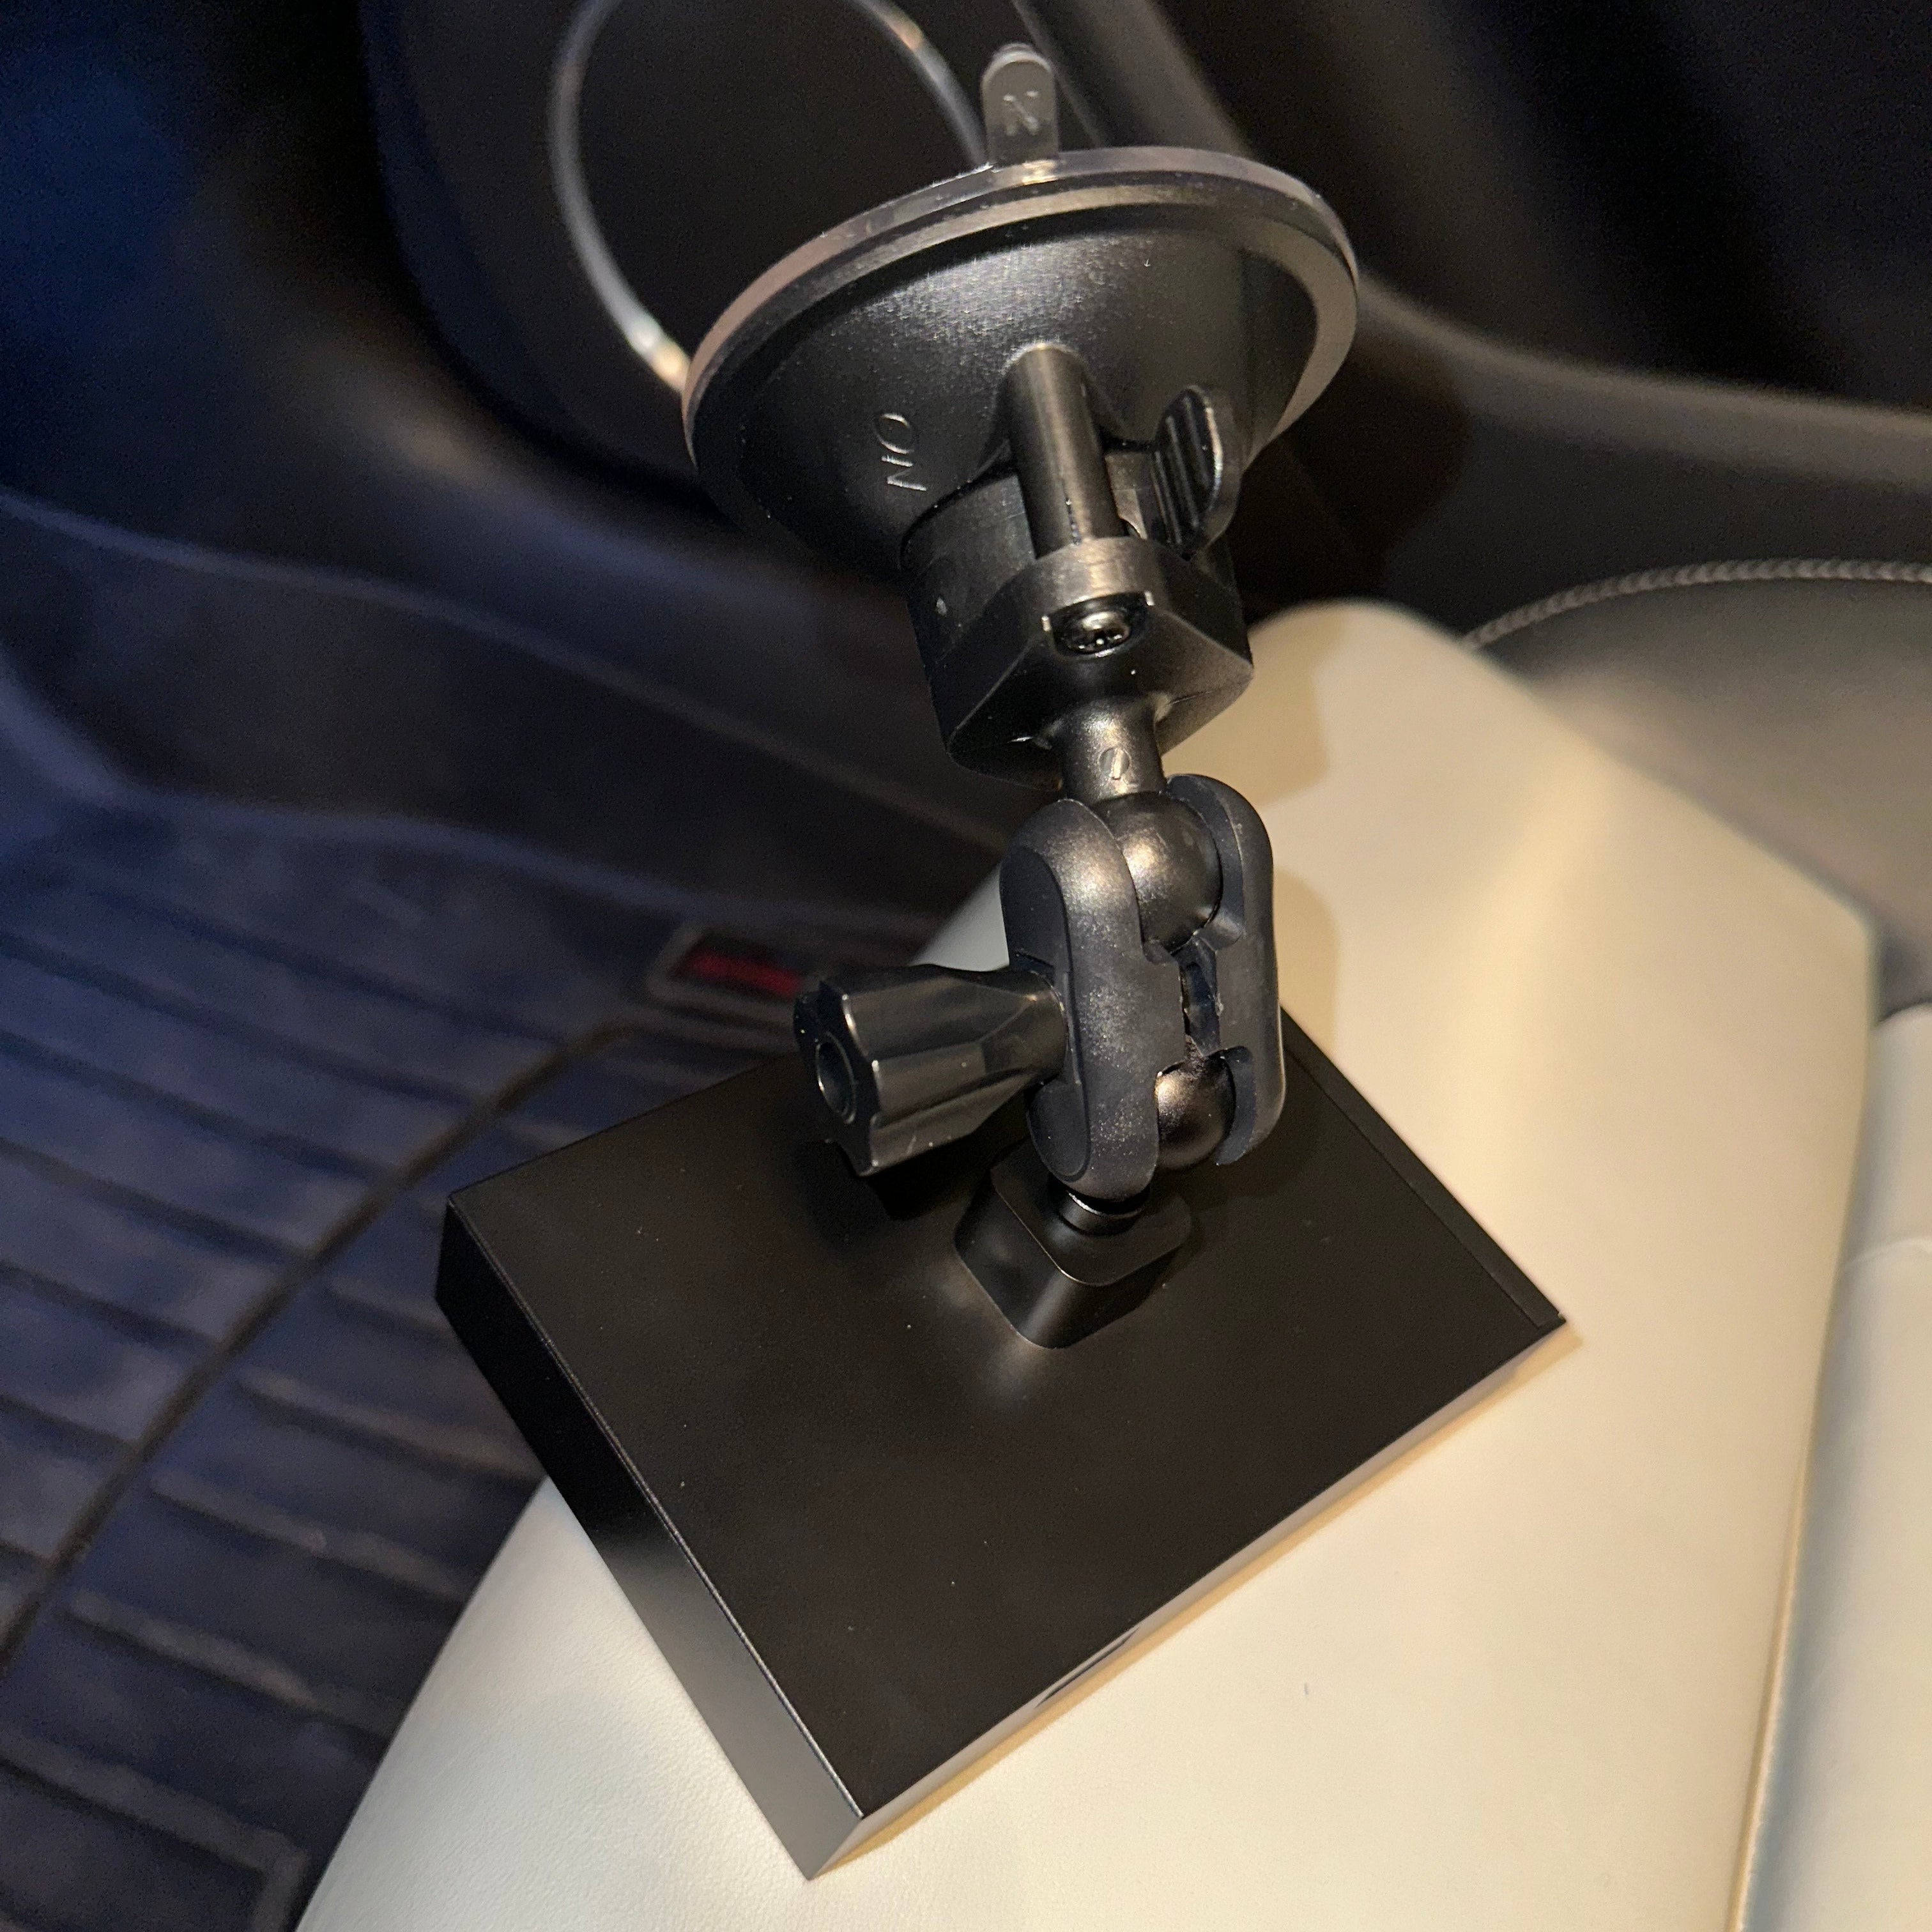
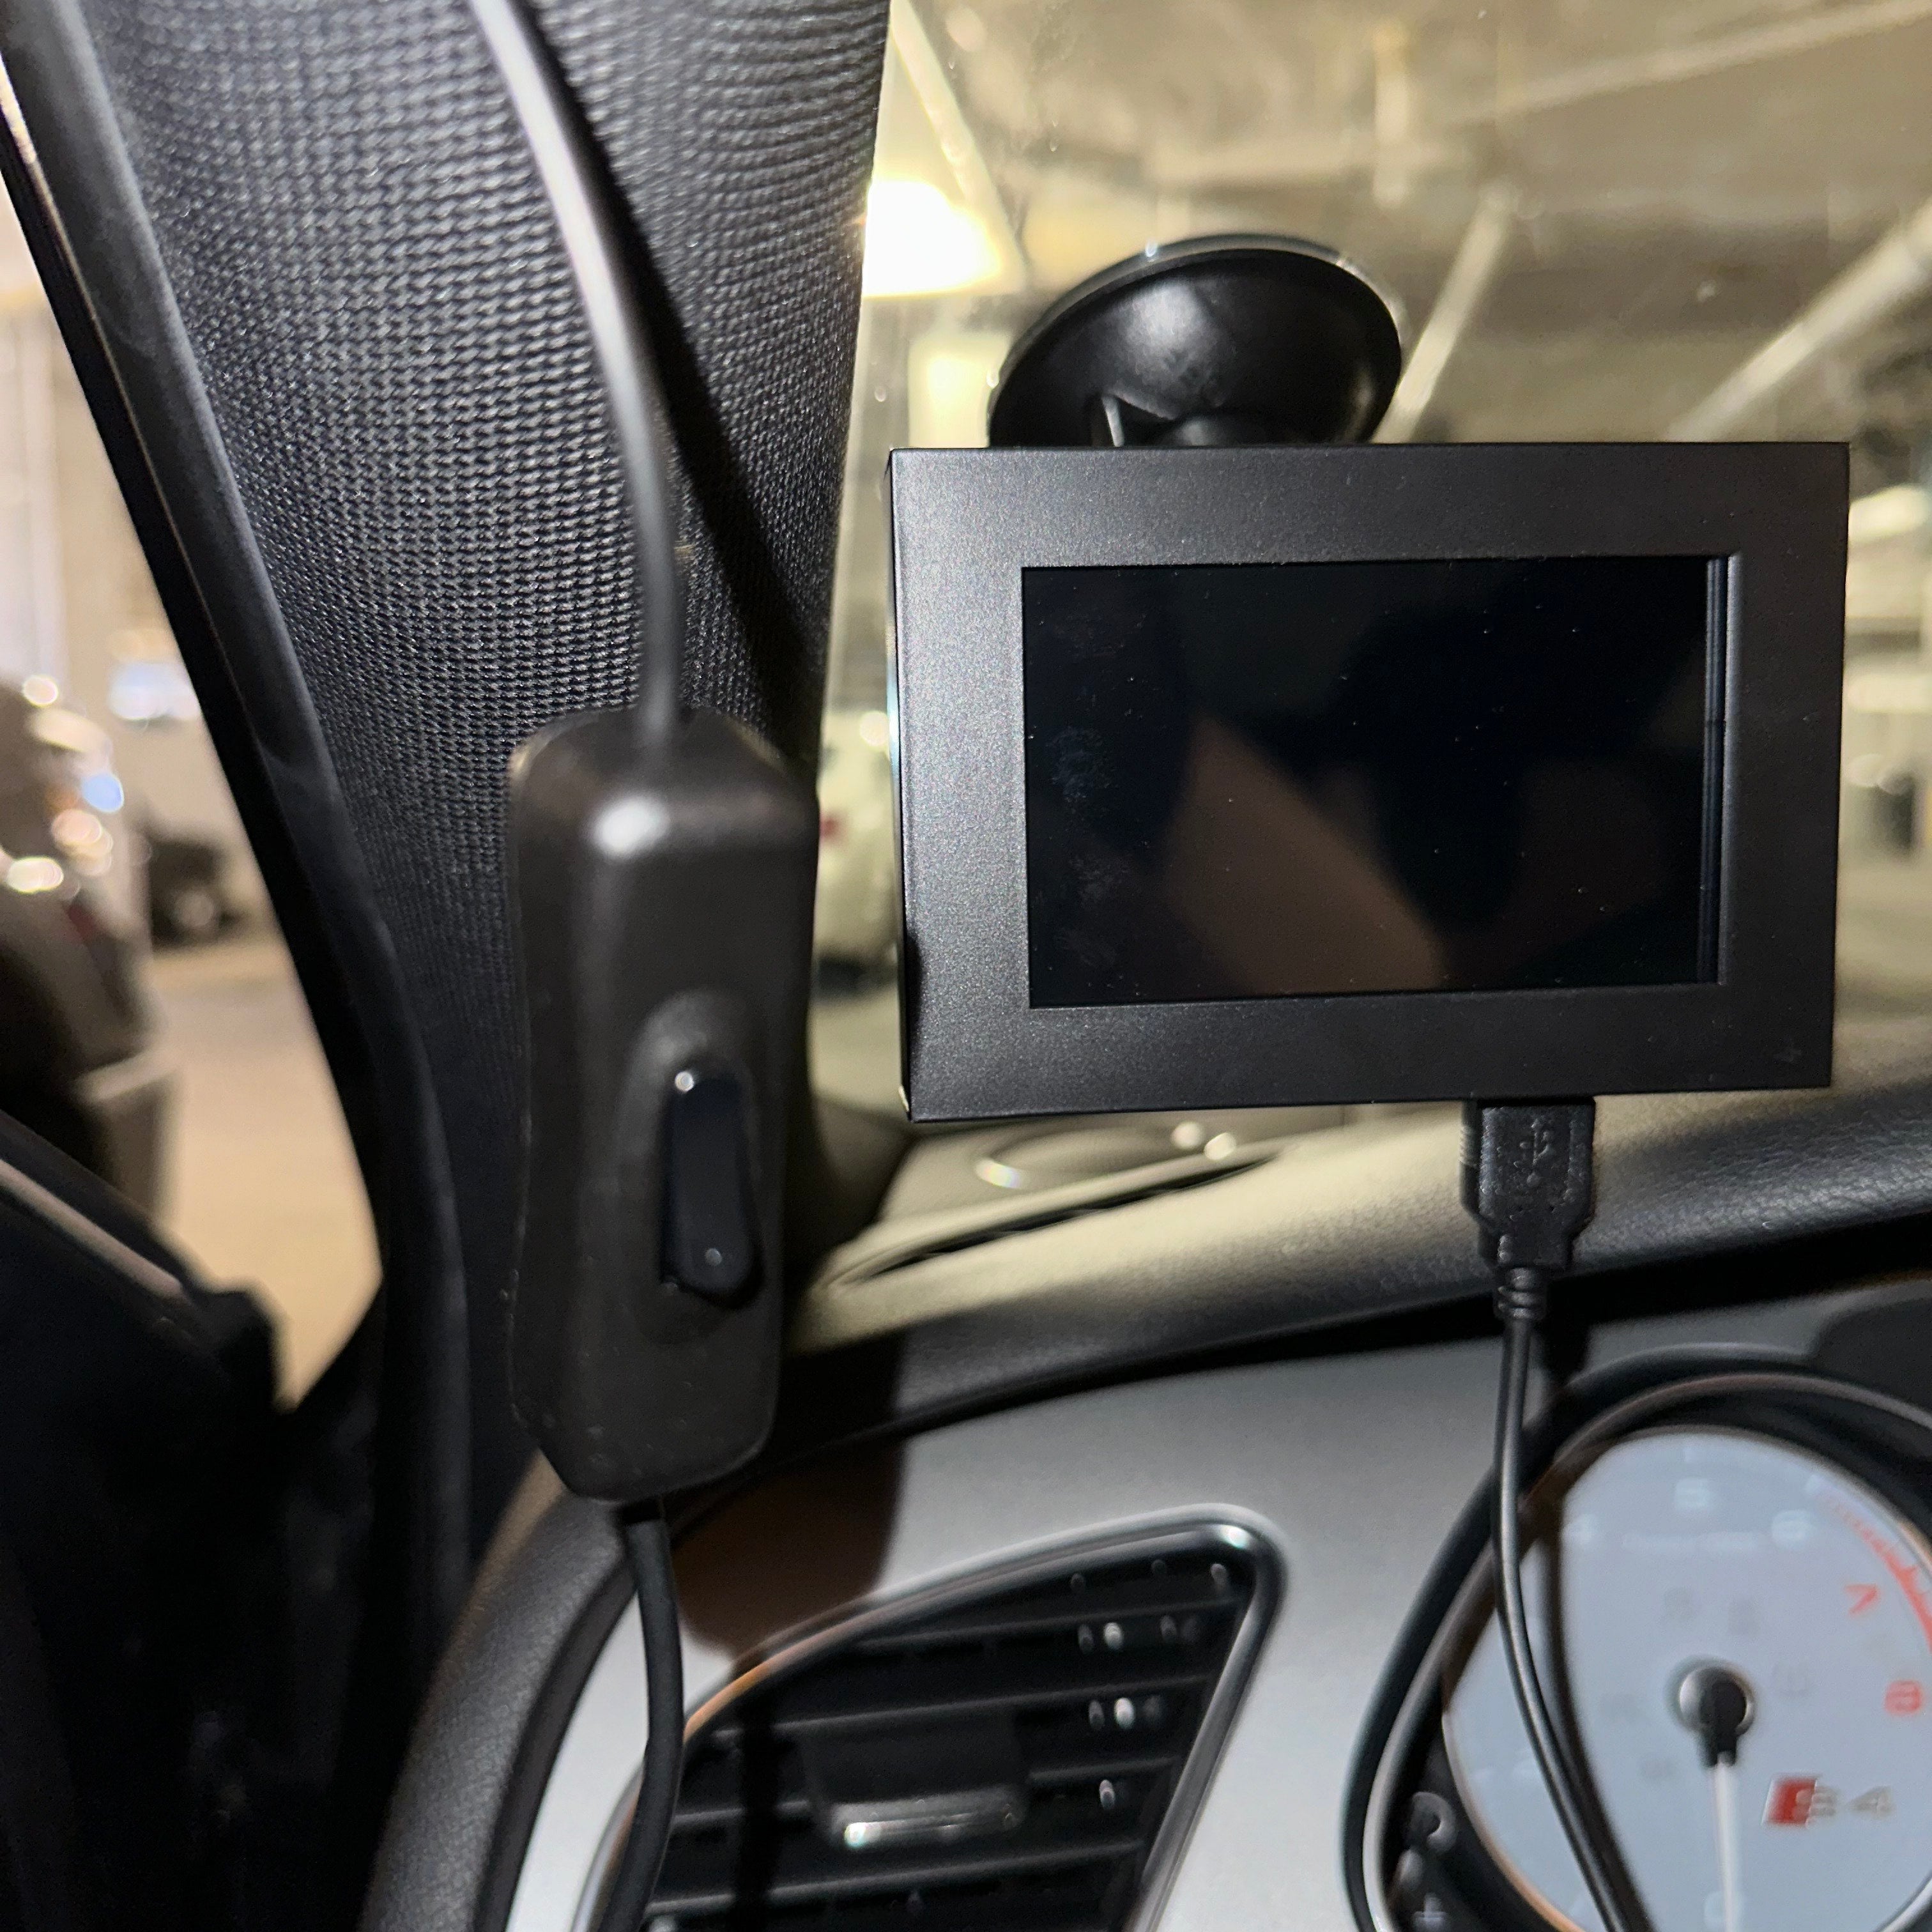
Screw in the dash/windshield mount (you can use the provided circle pad to mount the Super Gizmo on your dash).
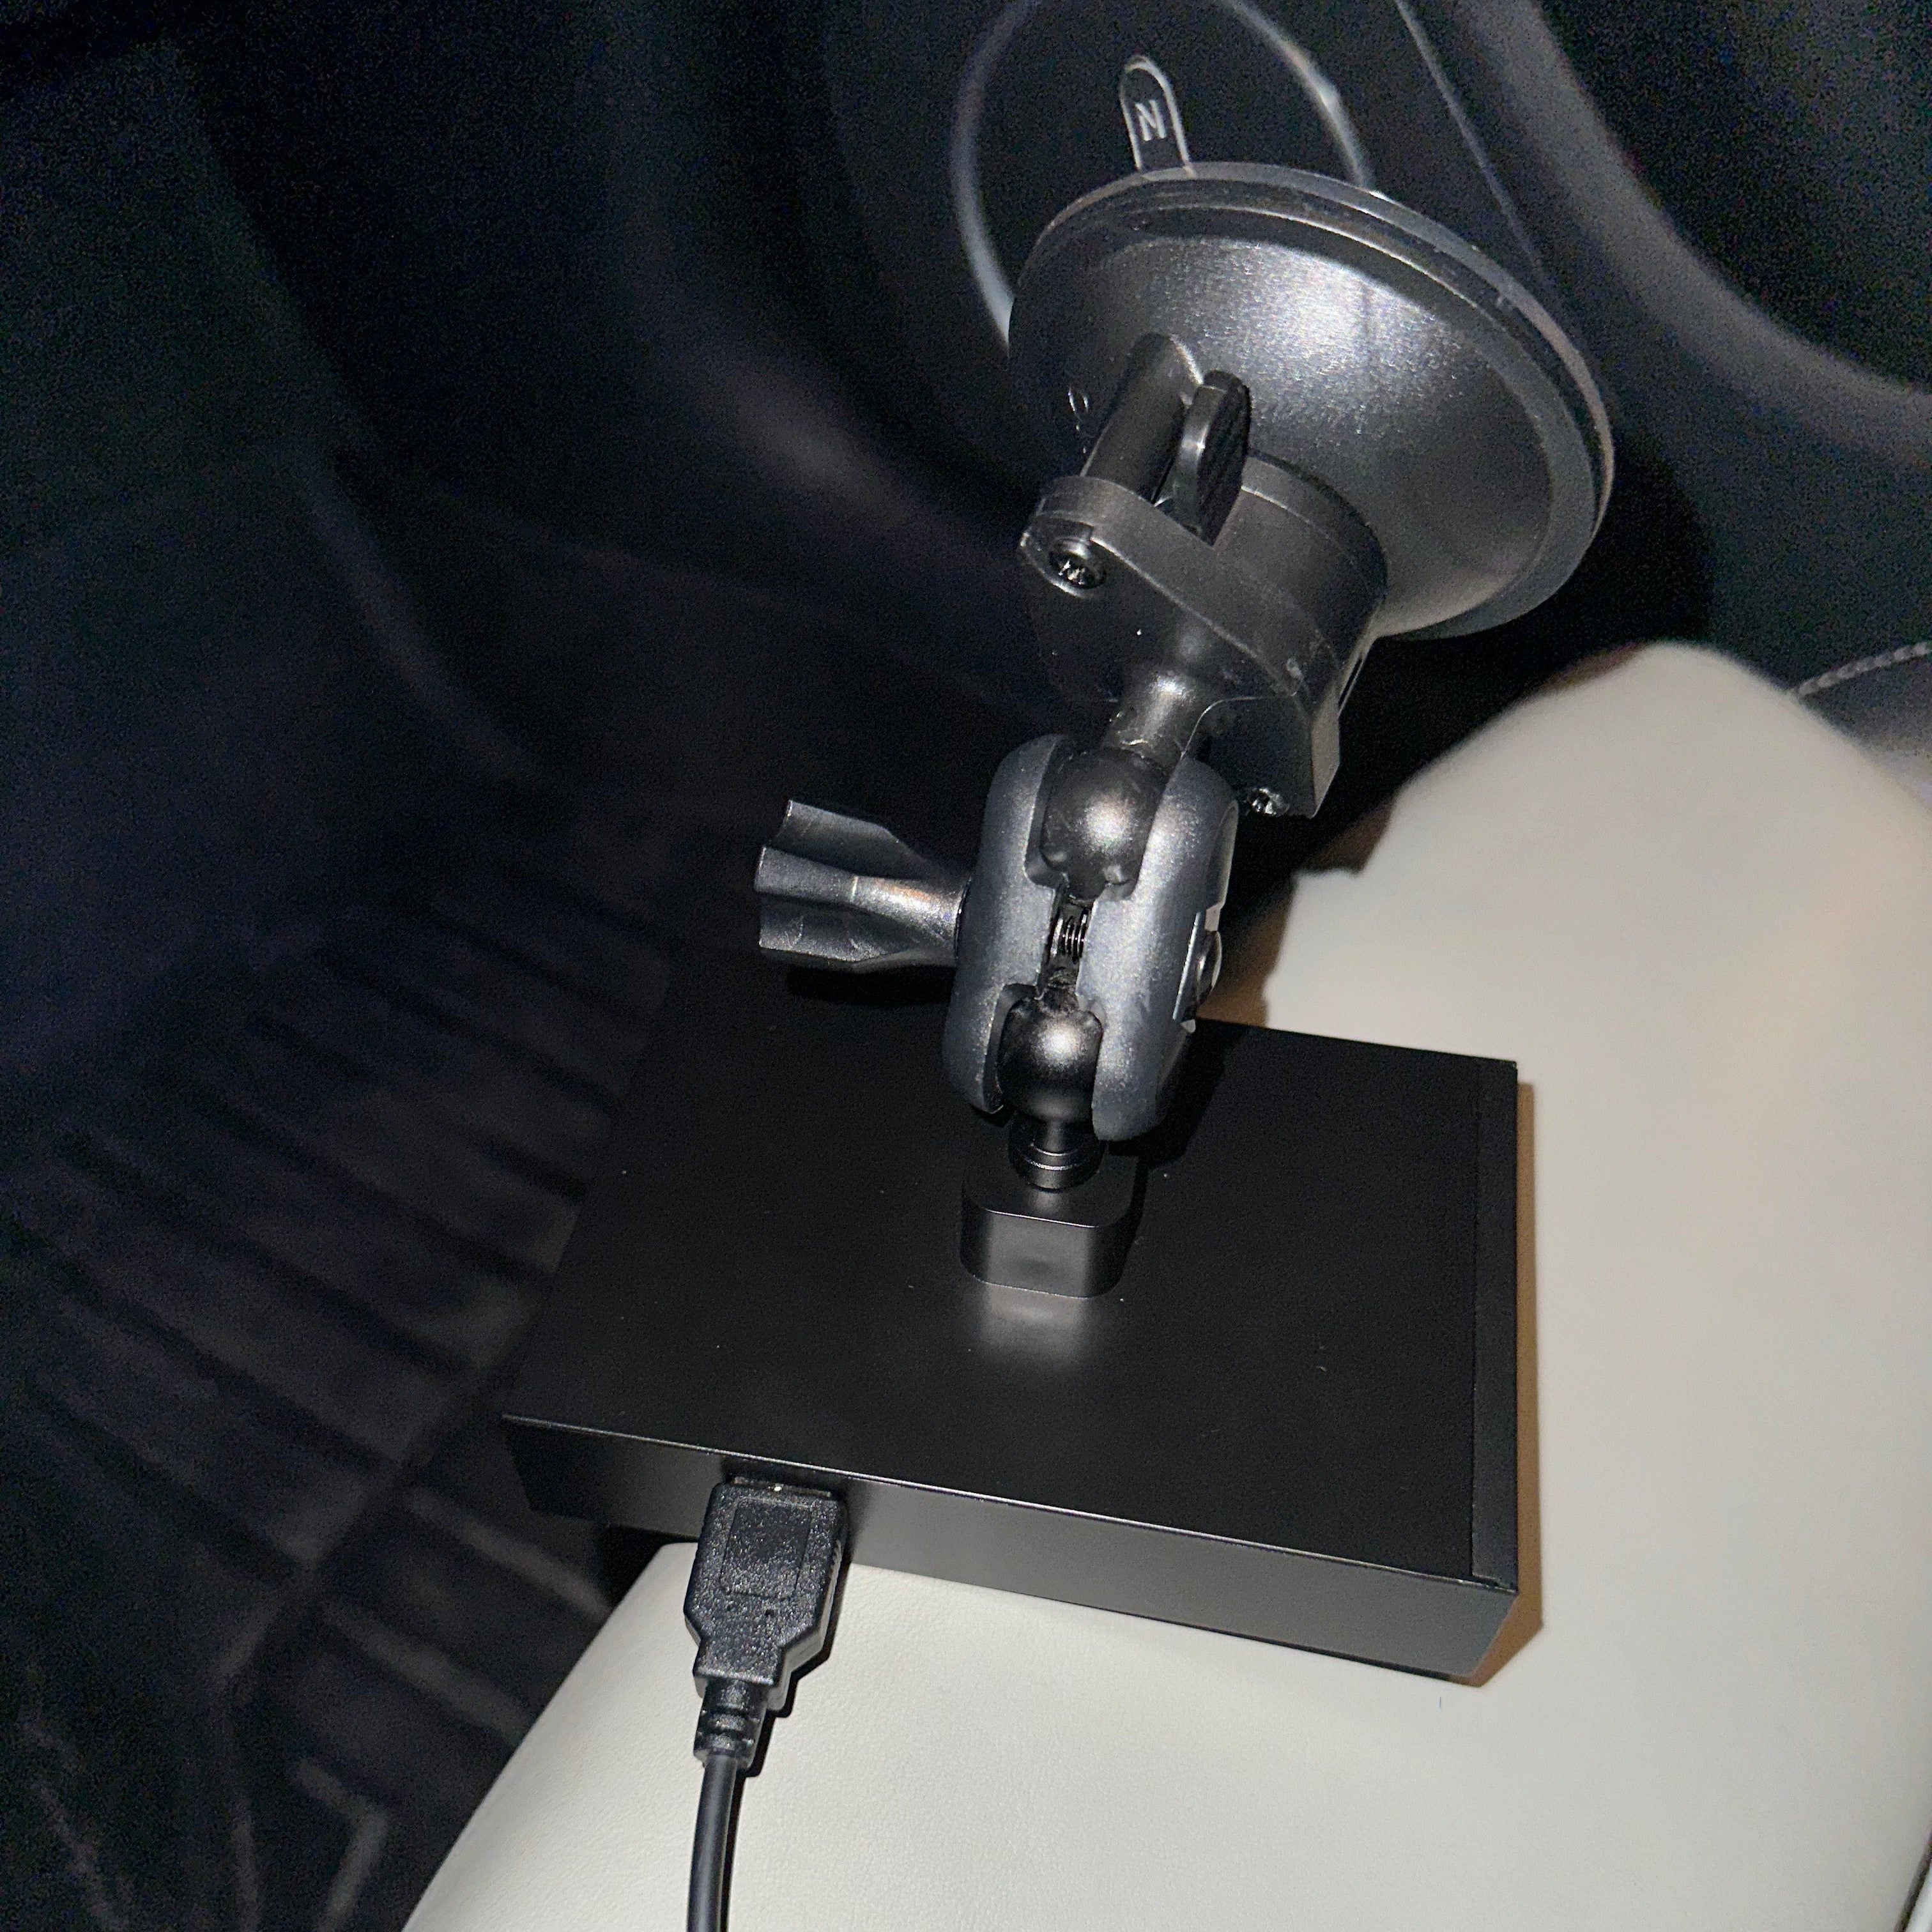
Insert the USB into the bottom of the Super Gizmo to turn it on. Note that the first time ever booting up may take longer to initialize the software for the first time.
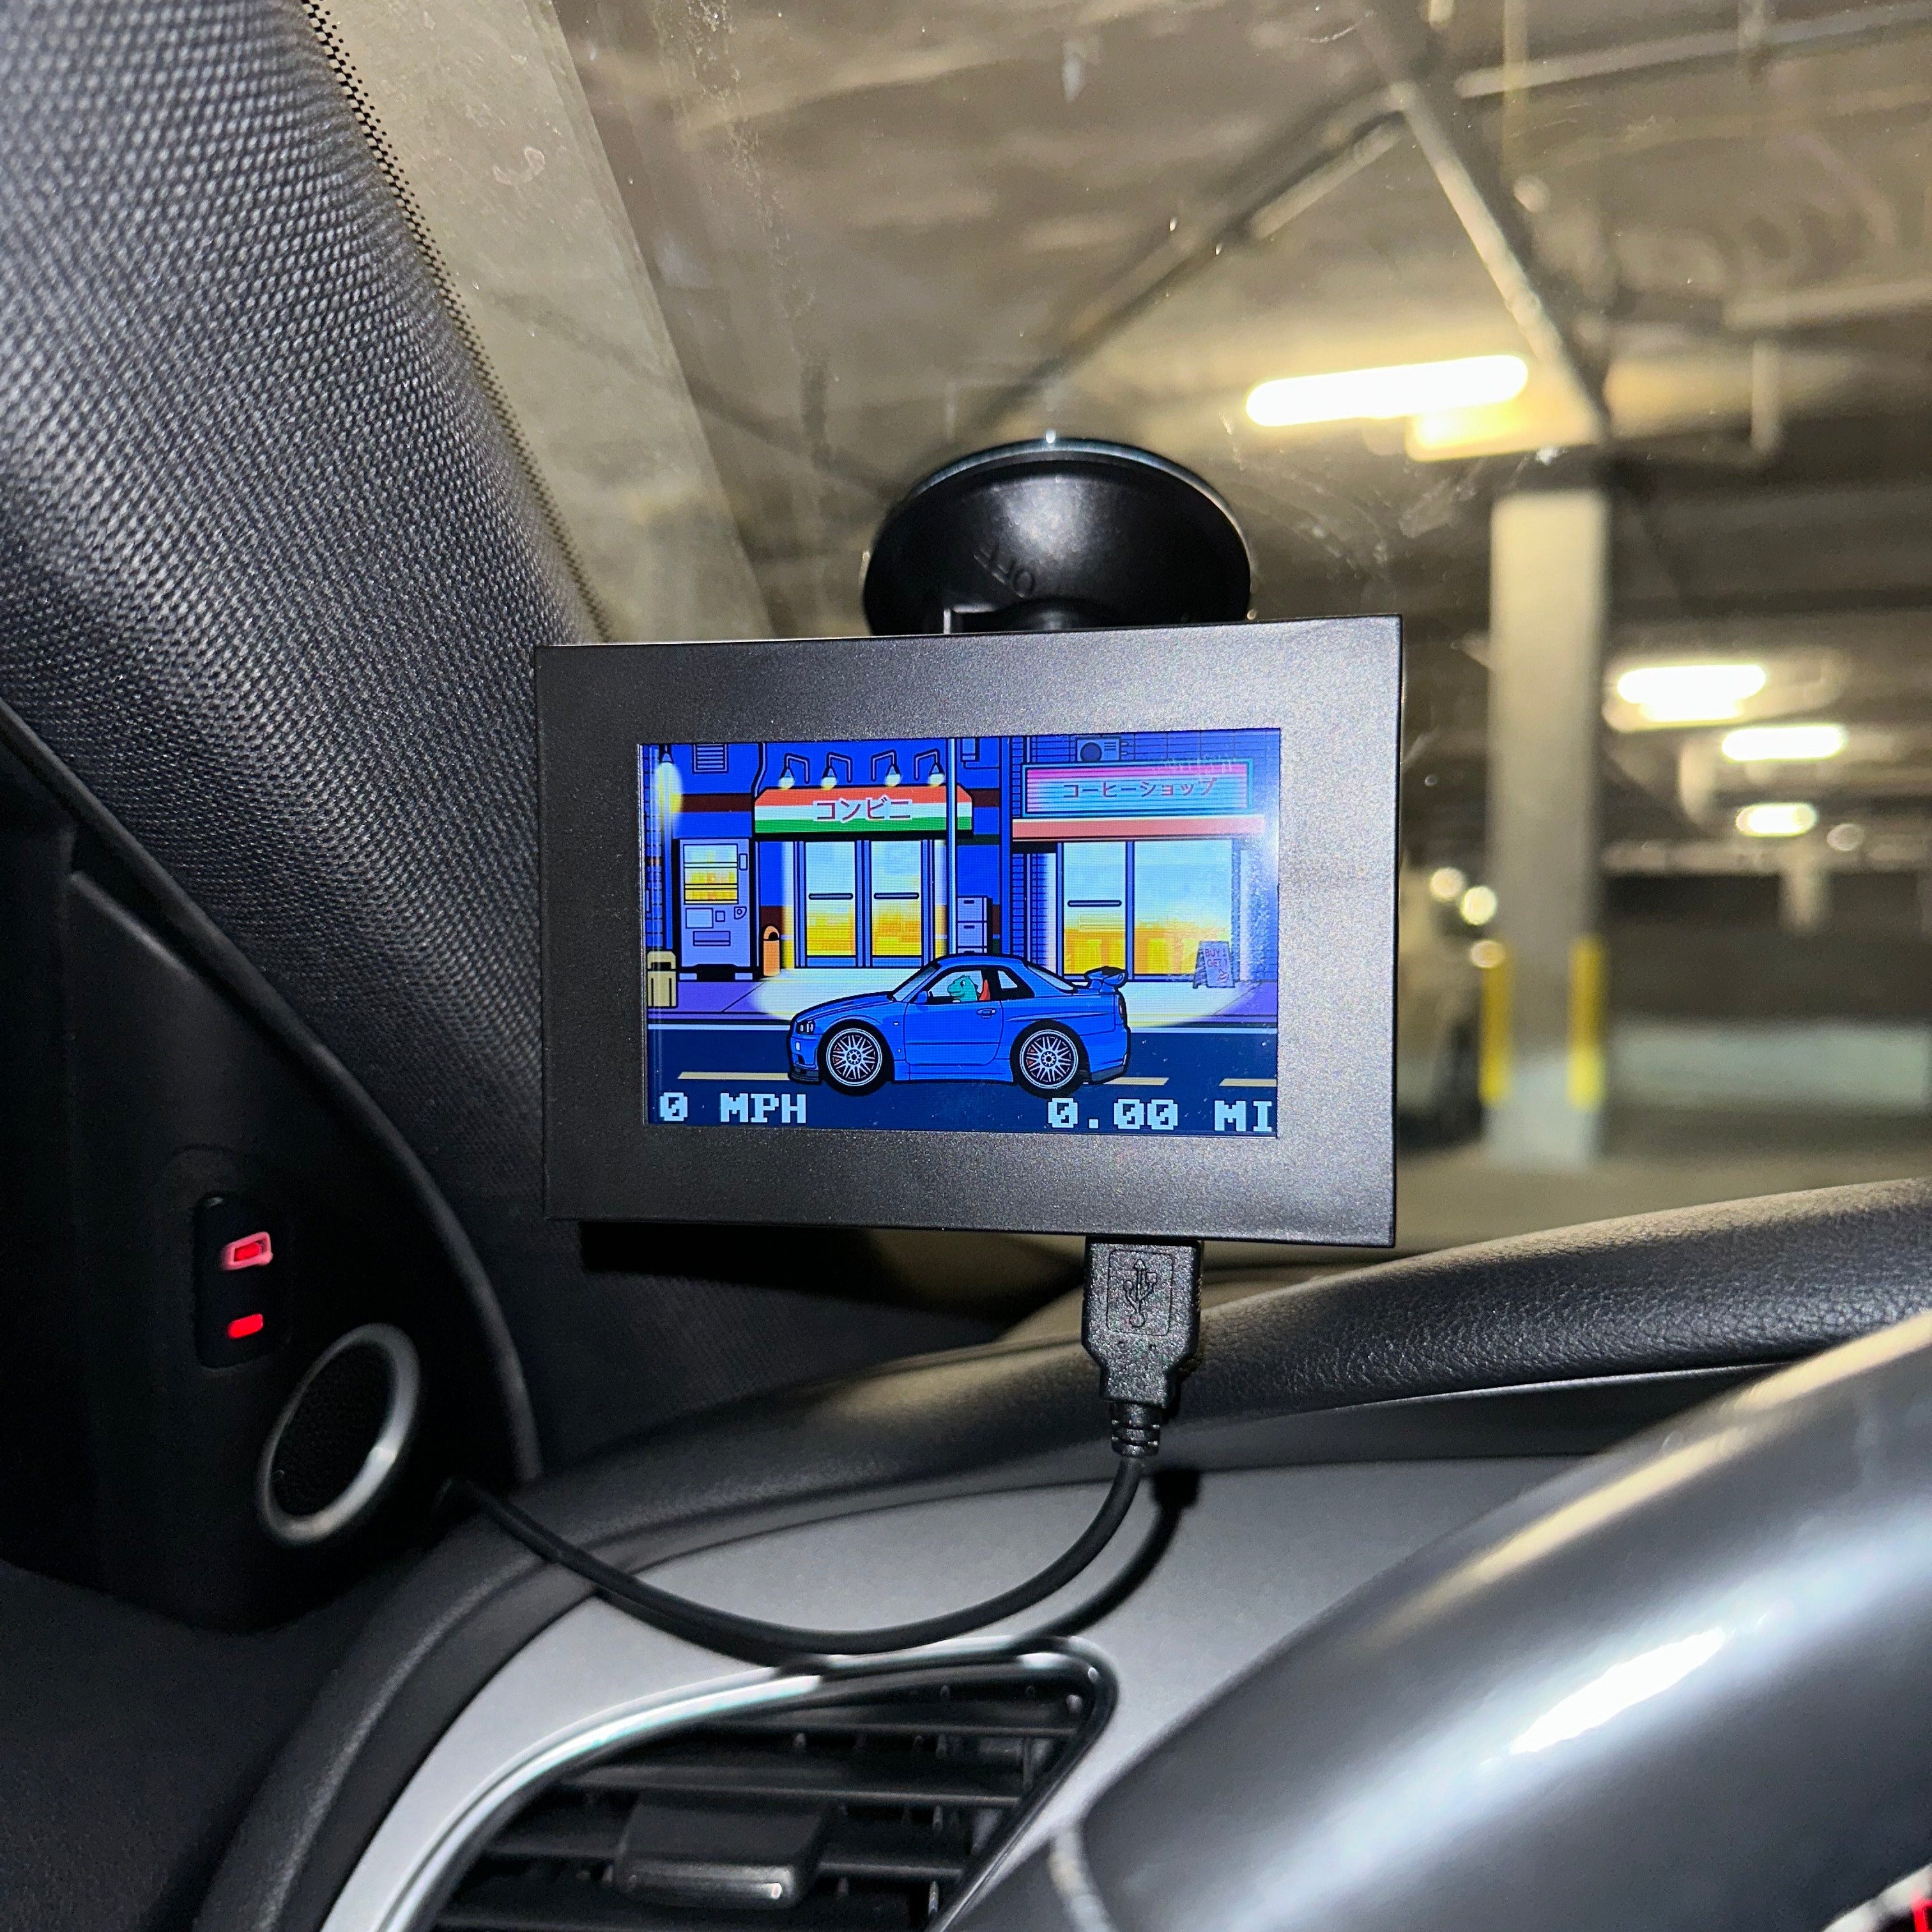
Mount your Super Gizmo and you're good to go!
Plug in the OBD2 reader under your dash on the driver's side.
Turn on the power switch on the OBD2 reader (it should be flipped toward the direction of the triangle on the back side of the switch).
Turn on your car.
Screw in the dash/windshield mount (you can use the provided circle pad to mount the Super Gizmo on your dash).
Insert the USB into the bottom of the Super Gizmo to turn it on. Note that the first time ever booting up may take longer to initialize the software for the first time.
Mount your Super Gizmo and you're good to go!
How to Use
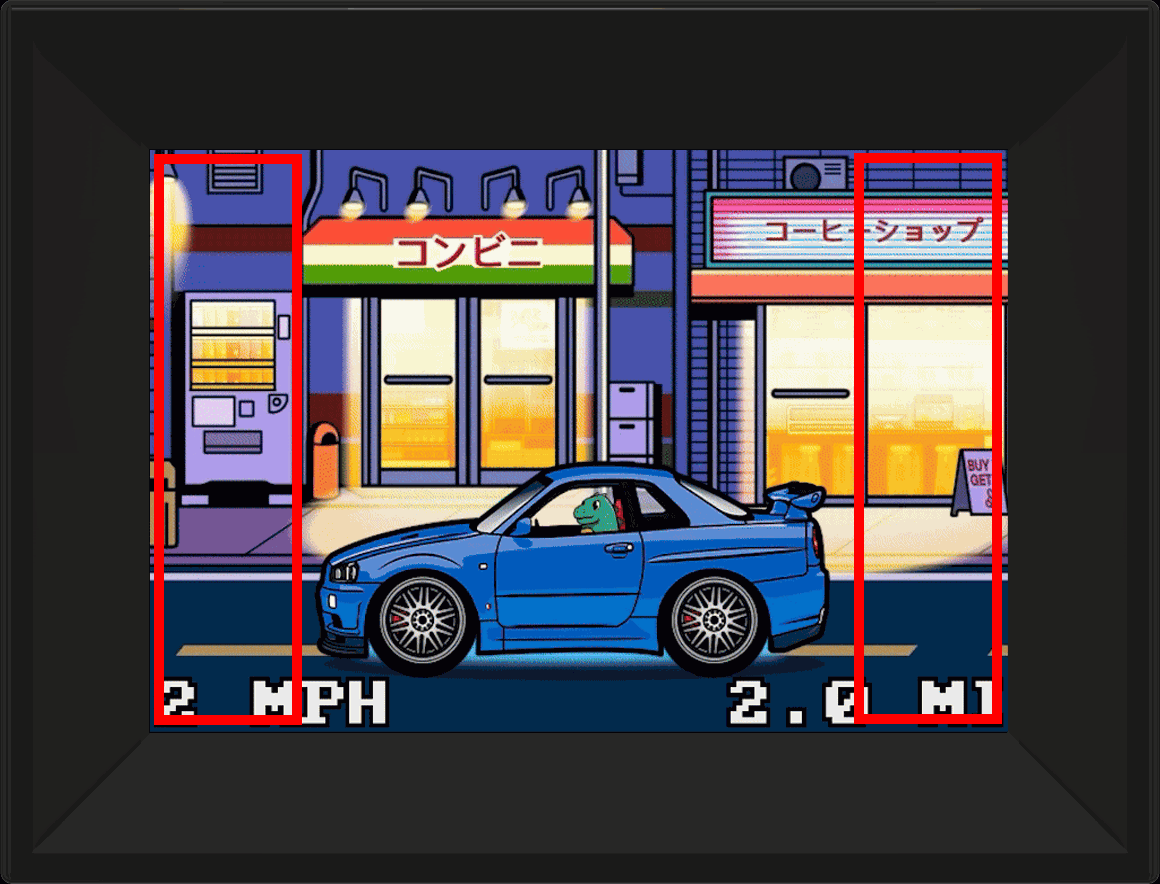
Navigate screens by tapping on the left or right-hand side of the screen.
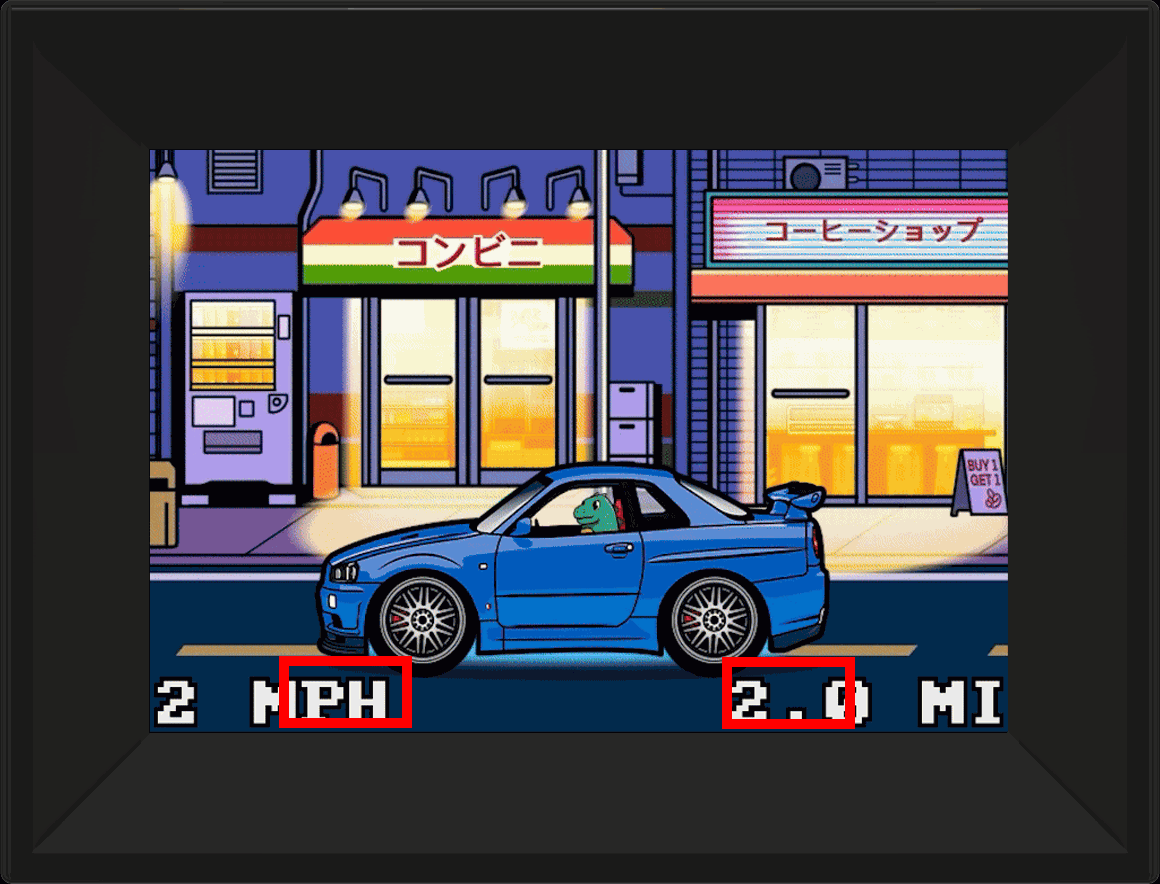
Change units on the Speed display by tapping on the inner corner of either the speed data or tripometer. Your preferred data type will stay saved. Customize your car by tapping on it (must have all achievements unlocked first)!

Customize your turbo by tapping on it (must have all achievements unlocked first)!
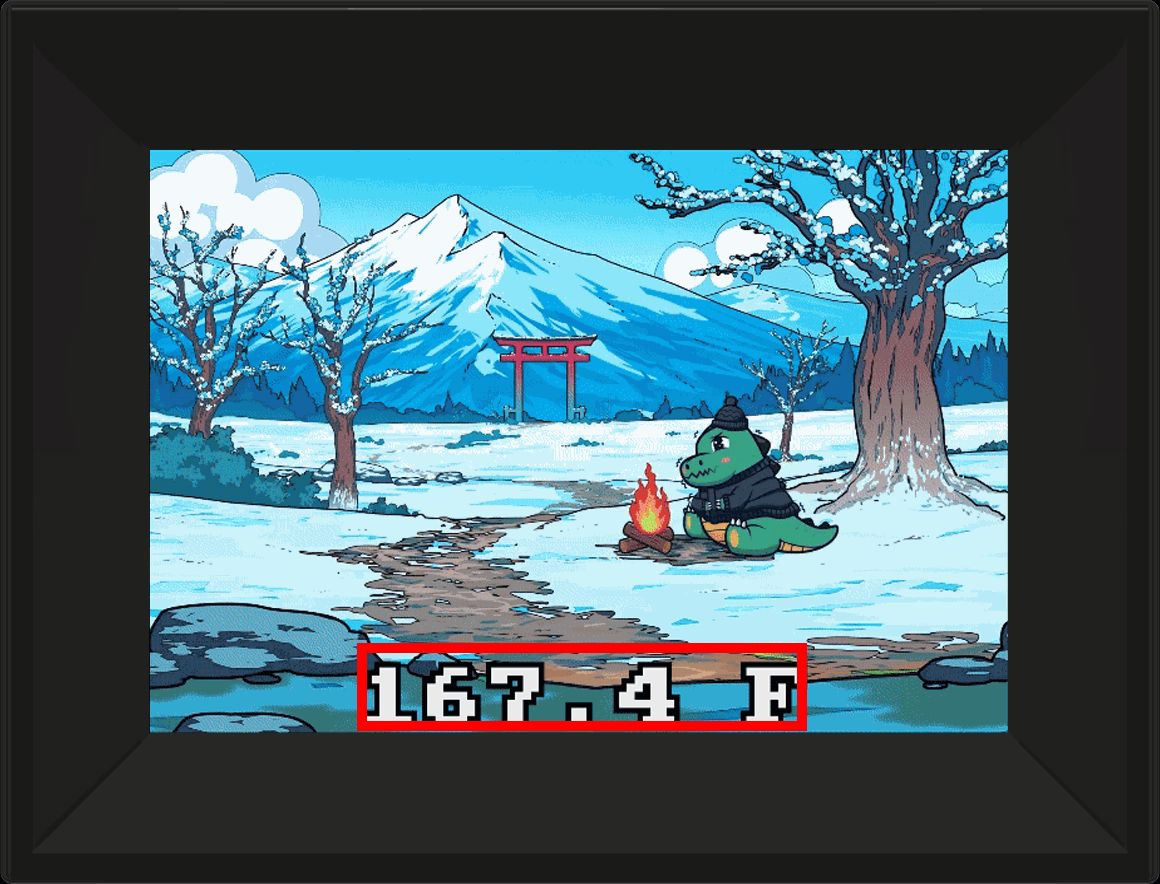
Change units on the Temperature display by tapping on the temperature data. Your preferred data type will stay saved.
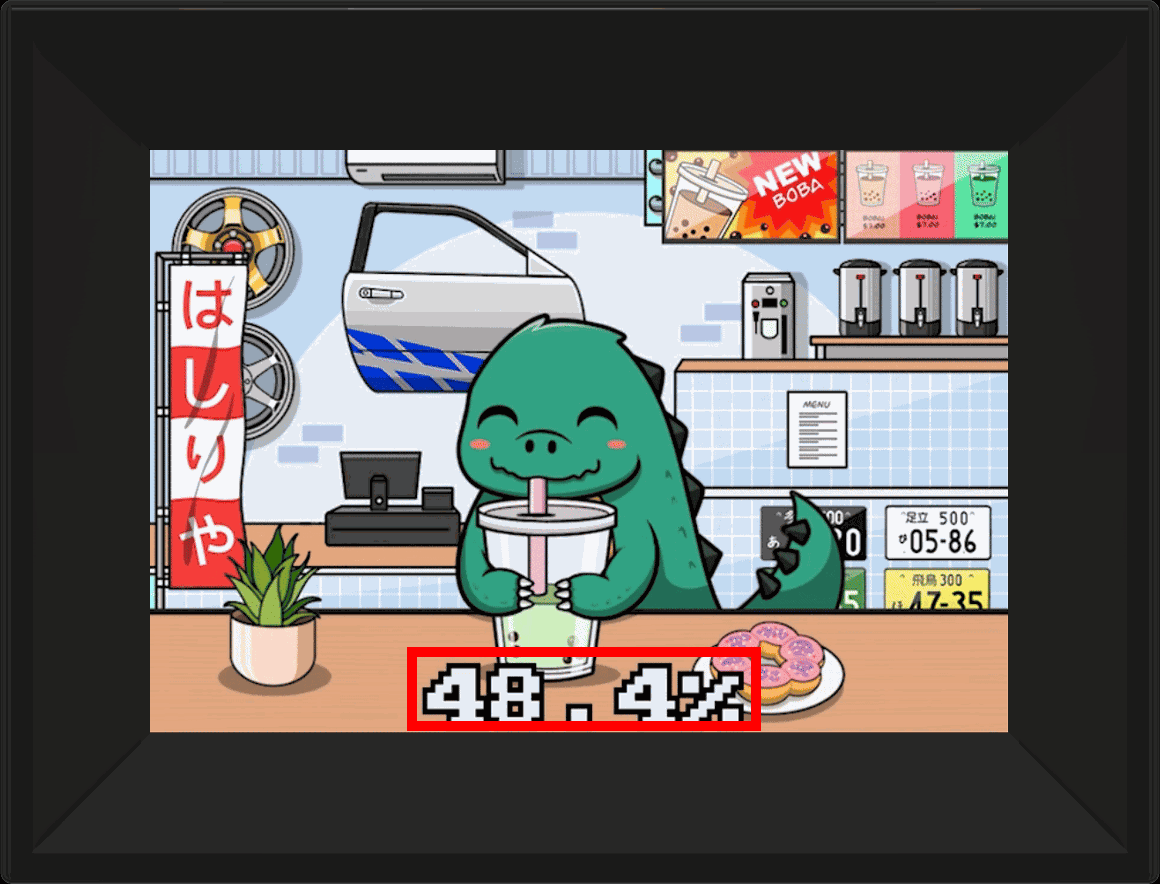
Tap on the Fuel data to initialize your data. If your car offers both fuel level and fuel rate data, you'll be able to change between the two data types. If your car only offers fuel level or fuel rate, it will stay saved on its corresponding data. Customize your door by tapping on it (must have all achievements unlocked first)!
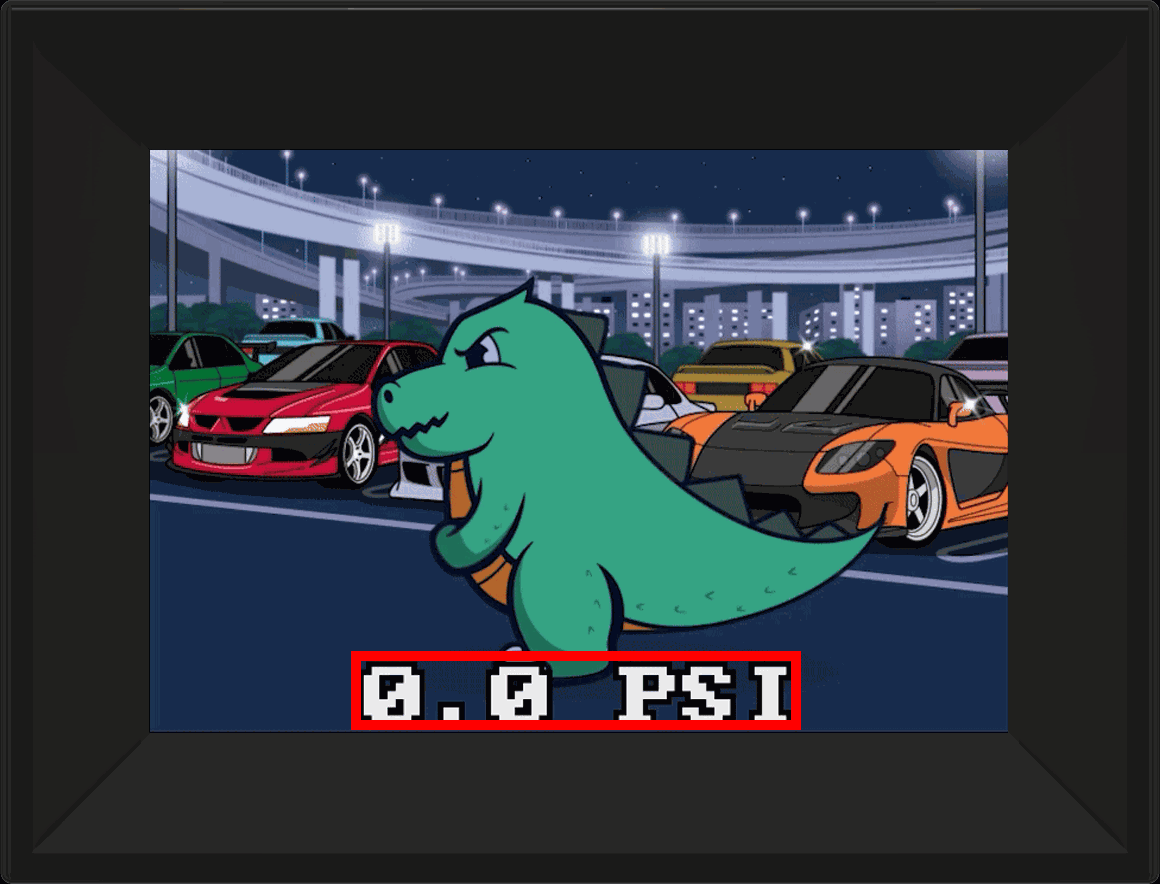
Tap on Boost/Load data to initialize data. If your car offers both boost and load data, you'll be able to switch between the two. If your car offers one or the other, it will remain on its corresponding data type.
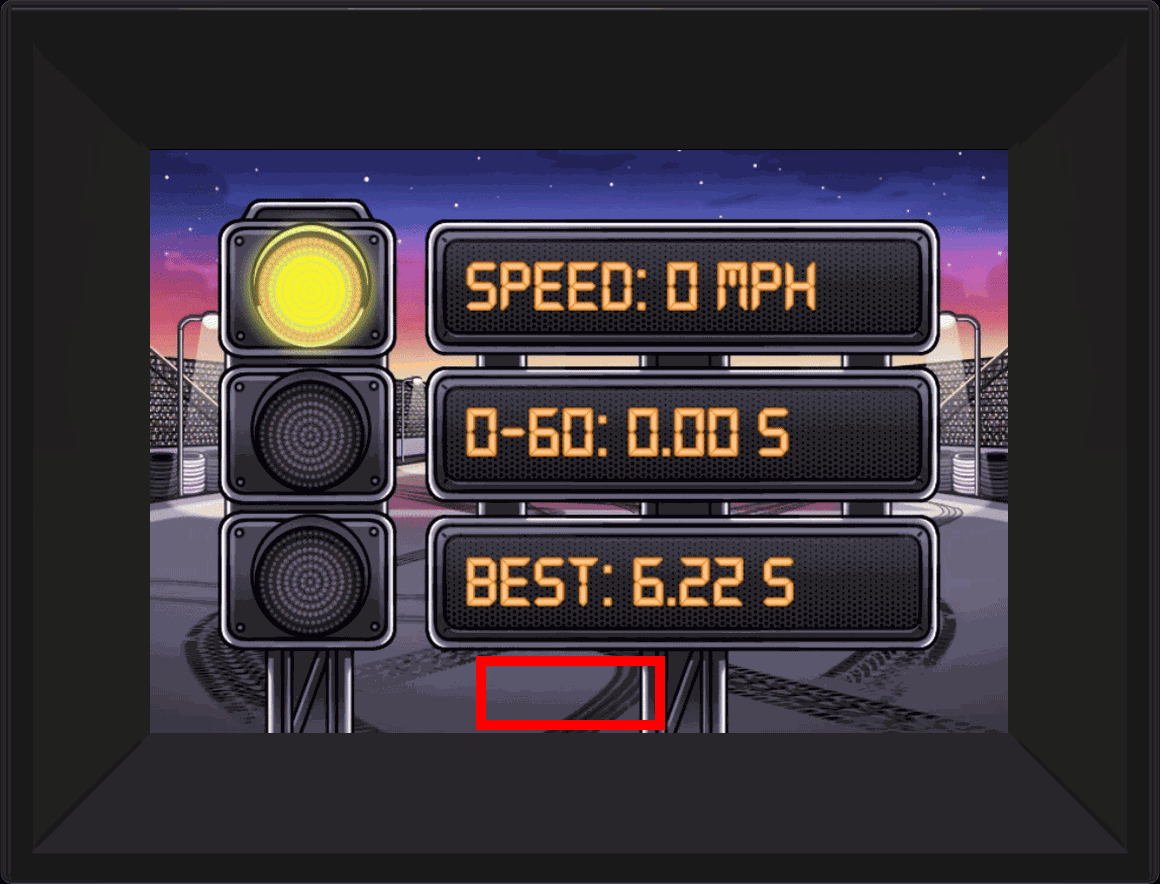
To use the Acceleration test, come to a complete stop to reset the timer and speedometer to zero. To engage the timer, simply accelerate. Once your car reaches 60 mph, it will clock your time and save your best time. To switch to kmh, simply press the bottom of the screen in the center.
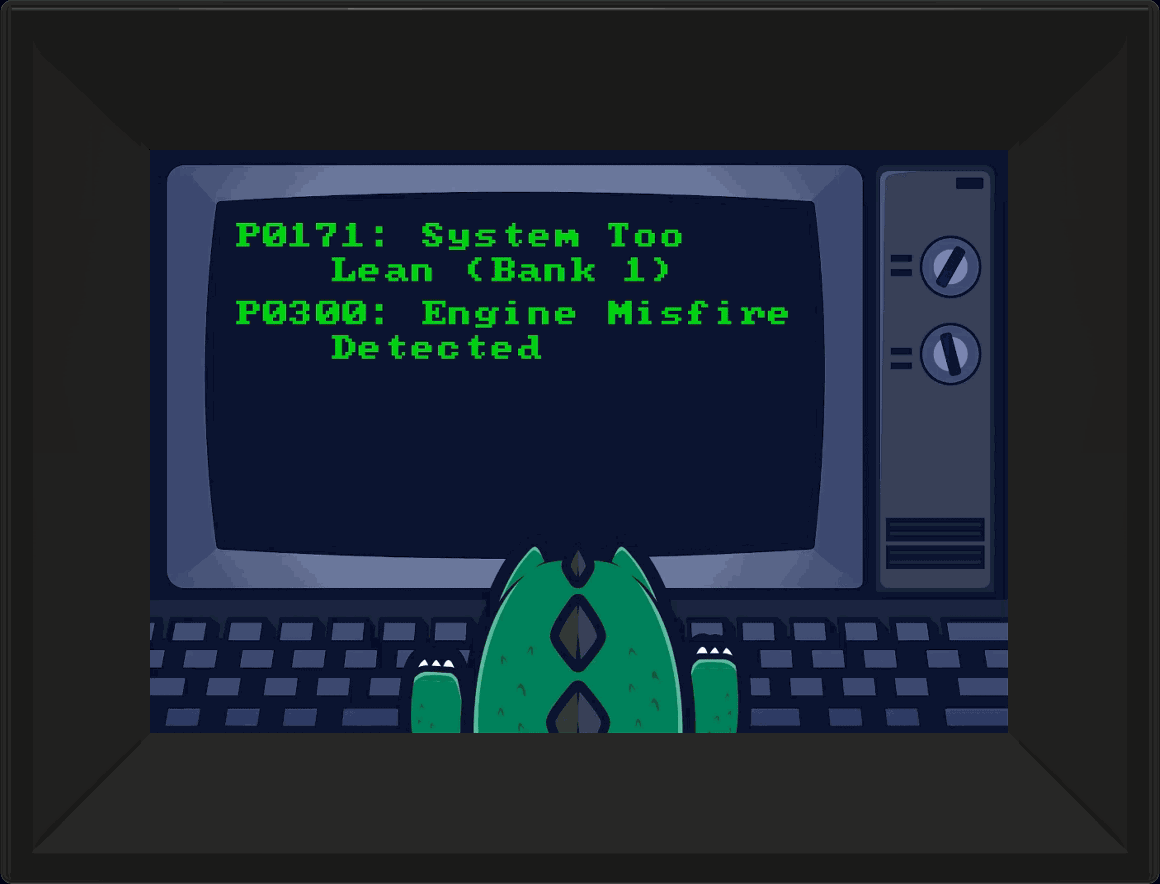
If your car has a check engine light, all of your Diagnostic Trouble Code (DTC) Parameter IDs (PIDs) will show up on the DTC screen. For most cars, you'll see PIDs and descriptions. For older cars, you may only see PID data, which can be searched online. If you don't have any codes at the moment, it will say "No DTCs to report." If your car gets a new code, a pop notification will inform you.
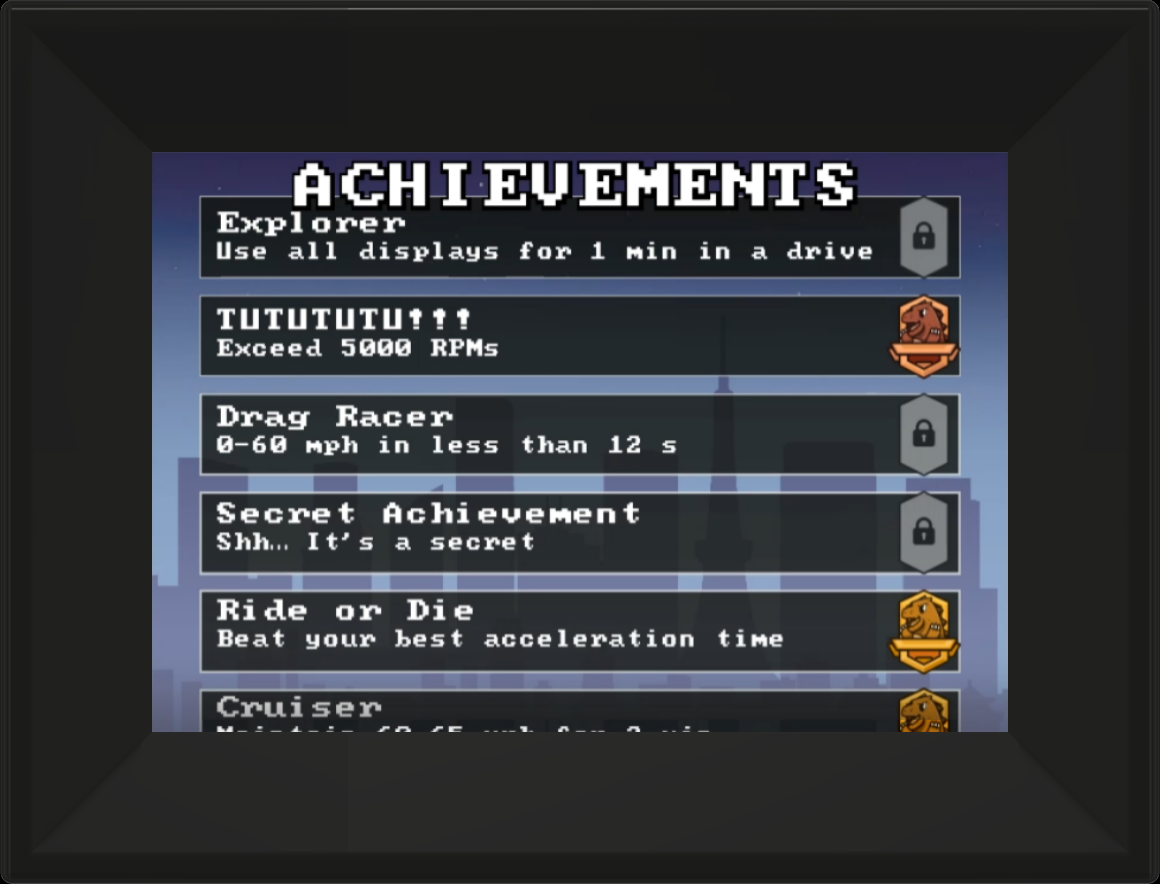
Follow the instructions on the Achievements Display to unlock achievements! Once you unlock all achievements, you'll be able to customize your car, turbo, and door on the Speed, RPM, and Fuel displays, respectively.
Navigate screens by tapping on the left or right-hand side of the screen.
Change units on the Speed display by tapping on the inner corner of either the speed data or tripometer. Your preferred data type will stay saved. Customize your car by tapping on it (must have all achievements unlocked first)!
Customize your turbo by tapping on it (must have all achievements unlocked first)!
Change units on the Temperature display by tapping on the temperature data. Your preferred data type will stay saved.
Tap on the Fuel data to initialize your data. If your car offers both fuel level and fuel rate data, you'll be able to change between the two data types. If your car only offers fuel level or fuel rate, it will stay saved on its corresponding data. Customize your door by tapping on it (must have all achievements unlocked first)!
Tap on Boost/Load data to initialize data. If your car offers both boost and load data, you'll be able to switch between the two. If your car offers one or the other, it will remain on its corresponding data type.
To use the Acceleration test, come to a complete stop to reset the timer and speedometer to zero. To engage the timer, simply accelerate. Once your car reaches 60 mph, it will clock your time and save your best time. To switch to kmh, simply press the bottom of the screen in the center.
If your car has a check engine light, all of your Diagnostic Trouble Code (DTC) Parameter IDs (PIDs) will show up on the DTC screen. For most cars, you'll see PIDs and descriptions. For older cars, you may only see PID data, which can be searched online. If you don't have any codes at the moment, it will say "No DTCs to report." If your car gets a new code, a pop notification will inform you.
Follow the instructions on the Achievements Display to unlock achievements! Once you unlock all achievements, you'll be able to customize your car, turbo, and door on the Speed, RPM, and Fuel displays, respectively.
Shut Down
Turn off the Super Gizmo by simply pressing the switch on the power cord! Make sure to turn off the Super Gizmo whenever your car is not turned on to ensure you don't drain your car's battery.
Turn off the Super Gizmo by simply pressing the switch on the power cord! Make sure to turn off the Super Gizmo whenever your car is not turned on to ensure you don't drain your car's battery.
Troubleshooting
The Super Gizmo is built to be reliable and was thoroughly tested, but like any tech, a few setup quirks may come up. Here are some quick fixes that usually solve everything fast.
Simple Fixes
1. The power switch on the OBD2 scanner is not in the "on" position (on the back side of the power switch, there is a small triangle, which indicates the direction of the "on" position)
2. OBD2 scanner is not fully plugged into the car / gets loose while driving
3. USB is not fully plugged into the Super Gizmo
4. If everything is plugged in and it still doesn’t boot, your software may need a quick re-flash. Reach out to kyle@supersgarage.com — we’ll help you right away.
No Data Showing
Turn off your Super Gizmo, make sure the OBD2 reader is fully inserted, and turn back on using the power switch on your OBD2 scanner. If your Super Gizmo still doesn't show data, try testing it in another vehicle to confirm it's the gauge.
If you're still having issues displaying your data, please reach out to kyle@supersgarage.com to have your software re-flashed.
Black Screen
Make sure everything is plugged in firmly and turn off Super Gizmo and turn on again using the power switch on your OBD2 scanner.
To see if the Super Gizmo is getting power, take it out of its case, plug in the USB with the OBD2 scanner plugged into the car, and look for a small blue light.
If the board is getting power, and the screen looks like it's getting power but doesn't boot up, the software may need to be re-flashed. If this is the case, please reach out to kyle@supersgarage.com for assistance.
Change Cases
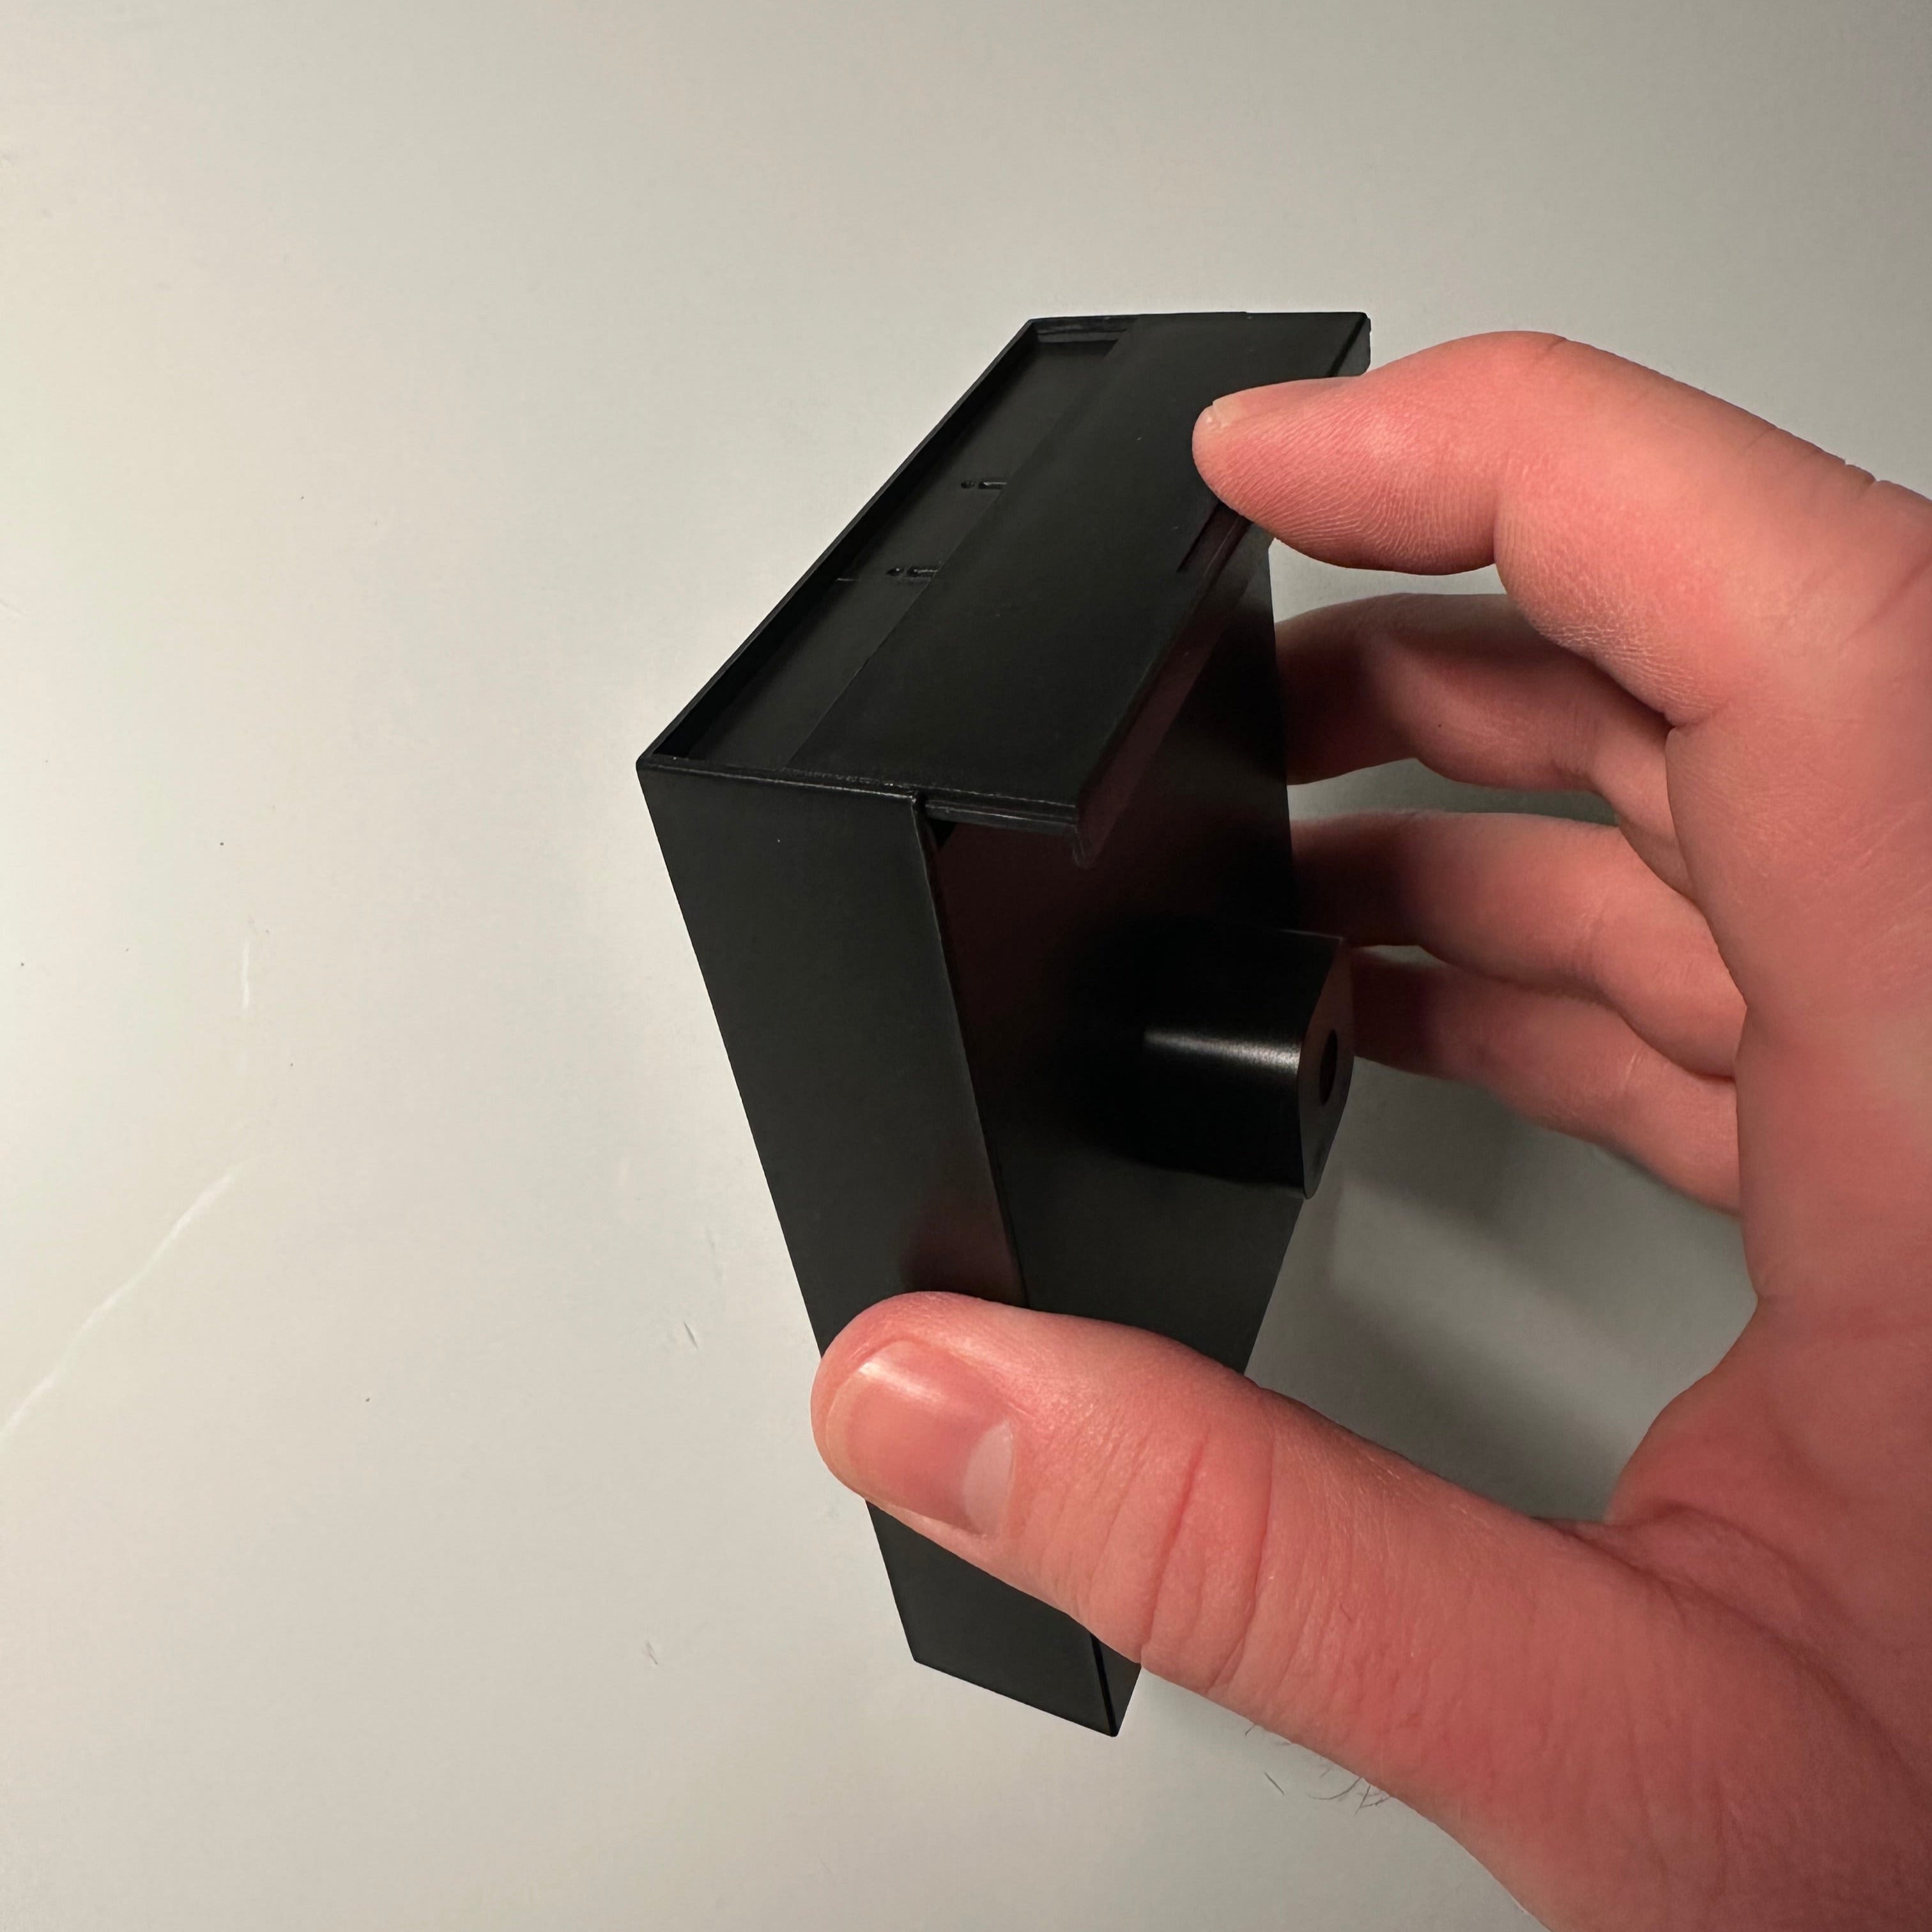
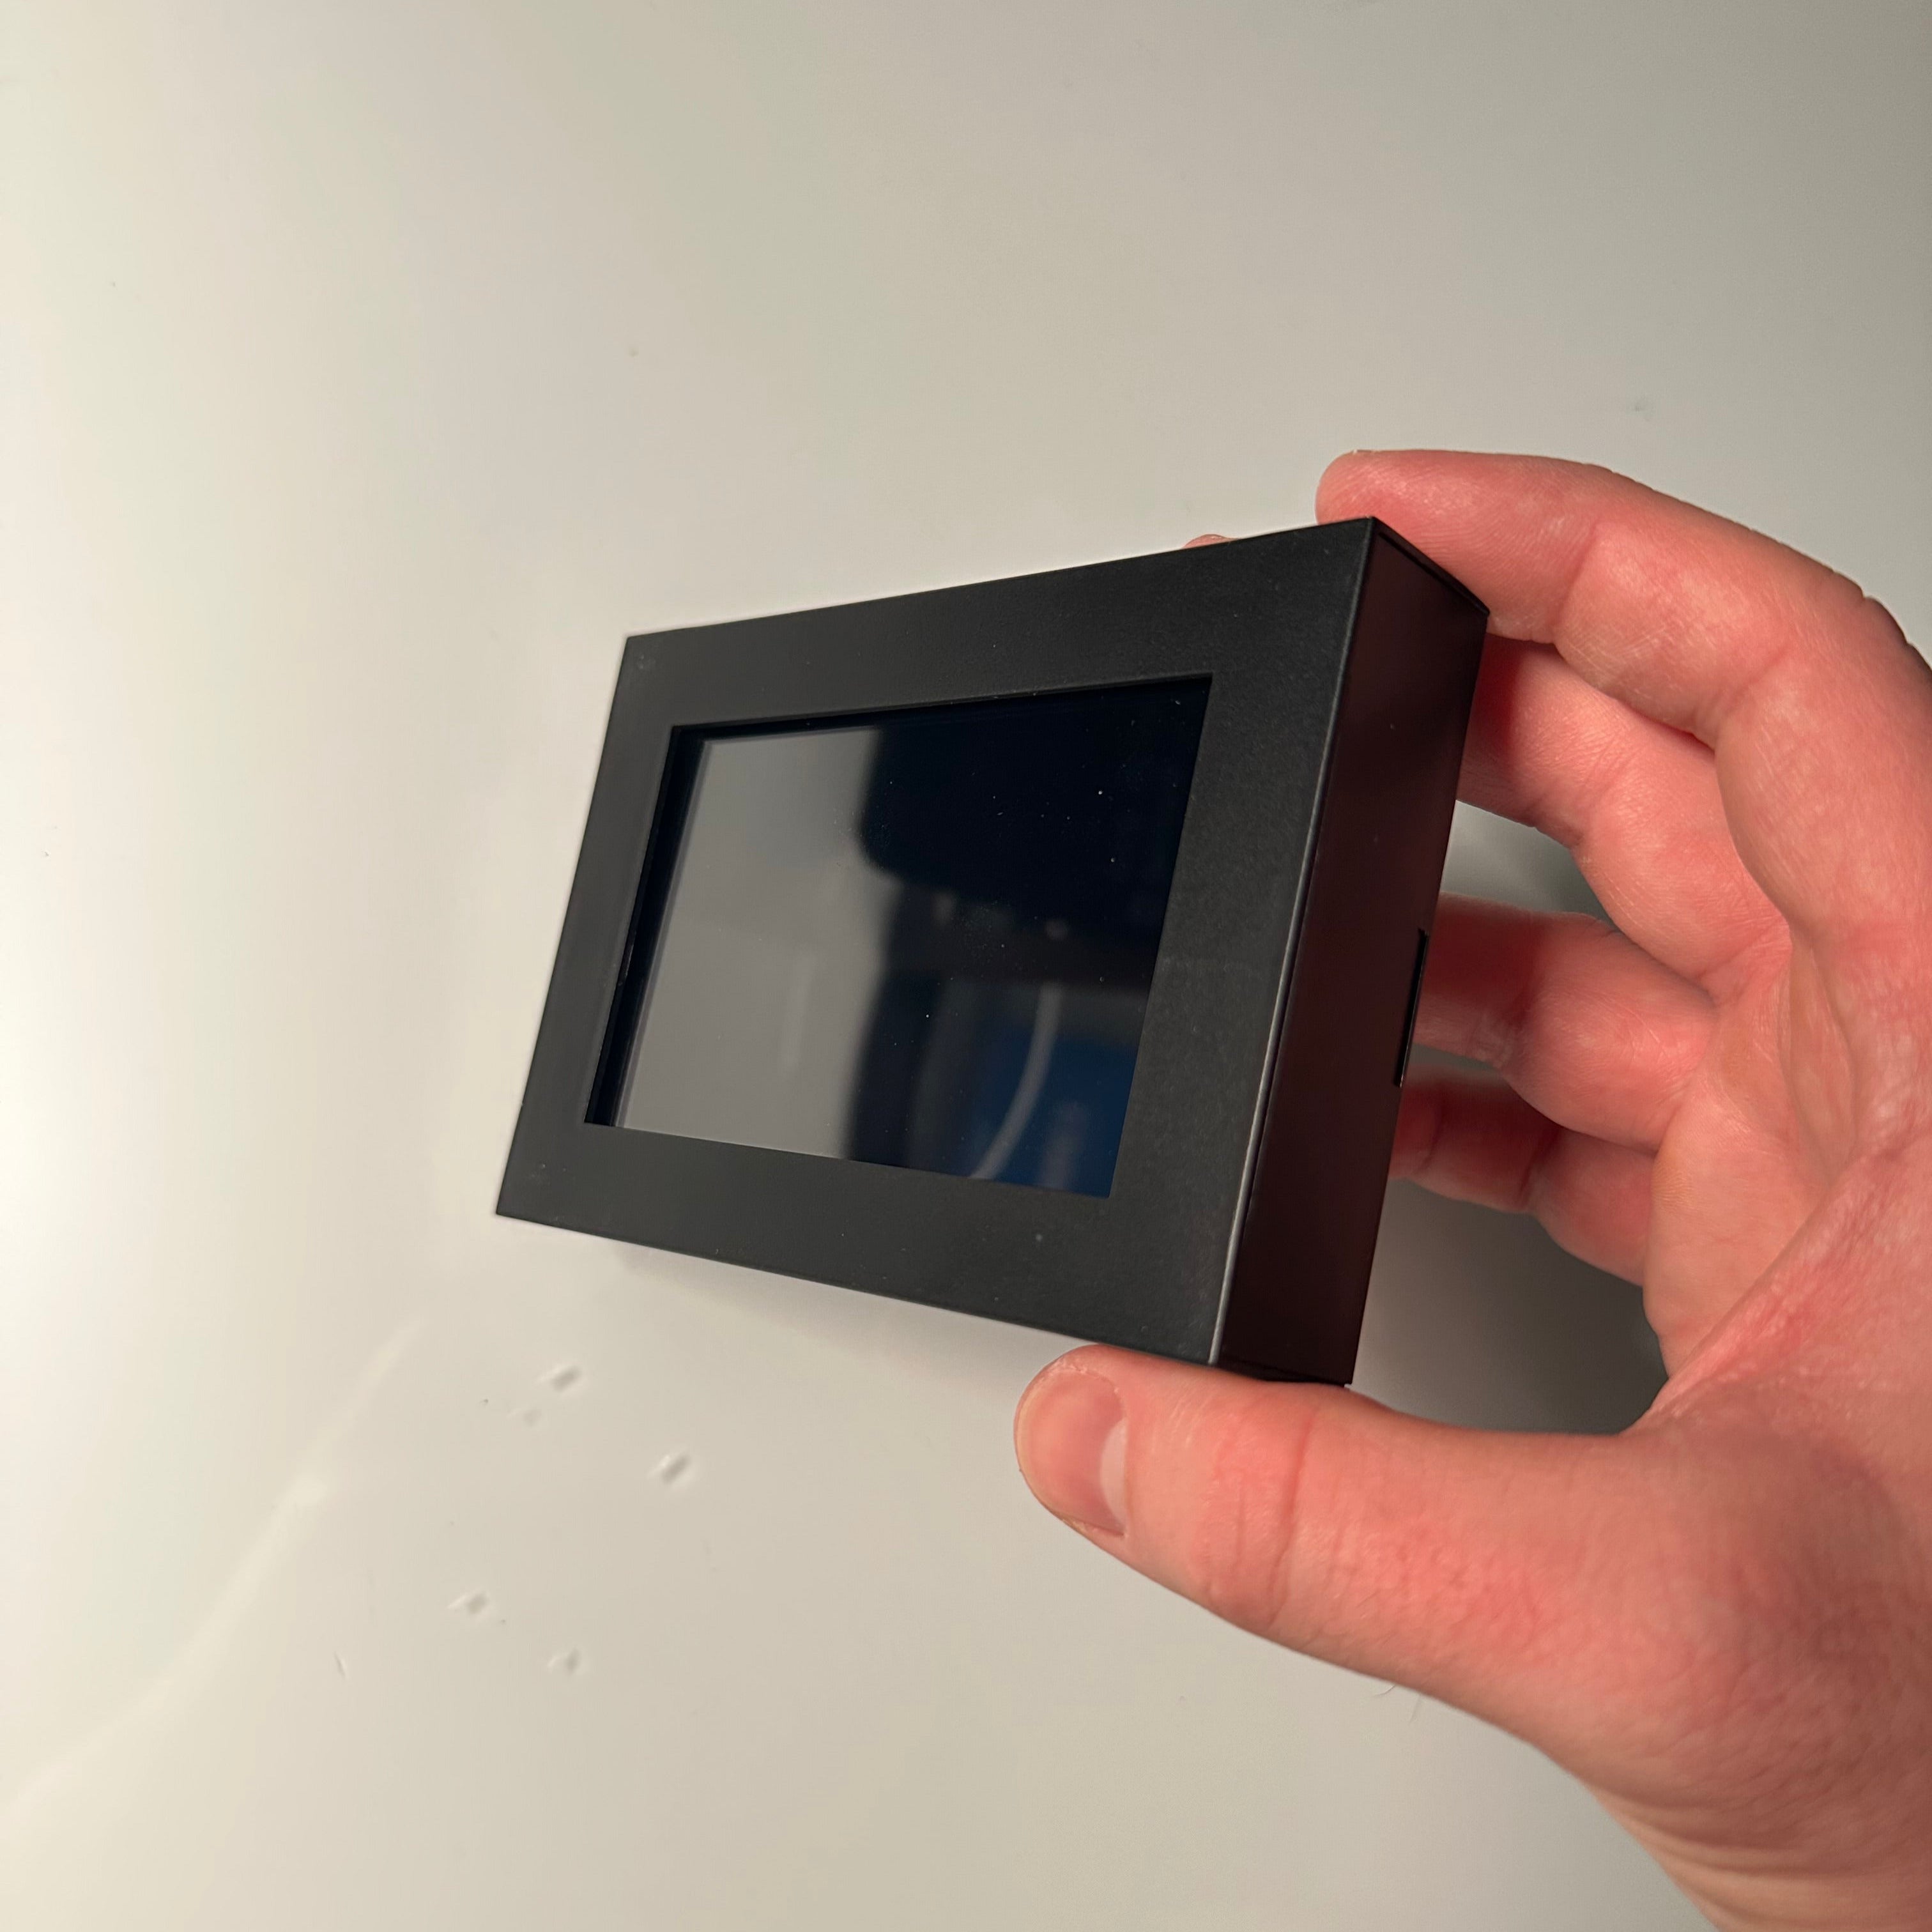
Slip off the cap on the outside of the Super Gizmo.
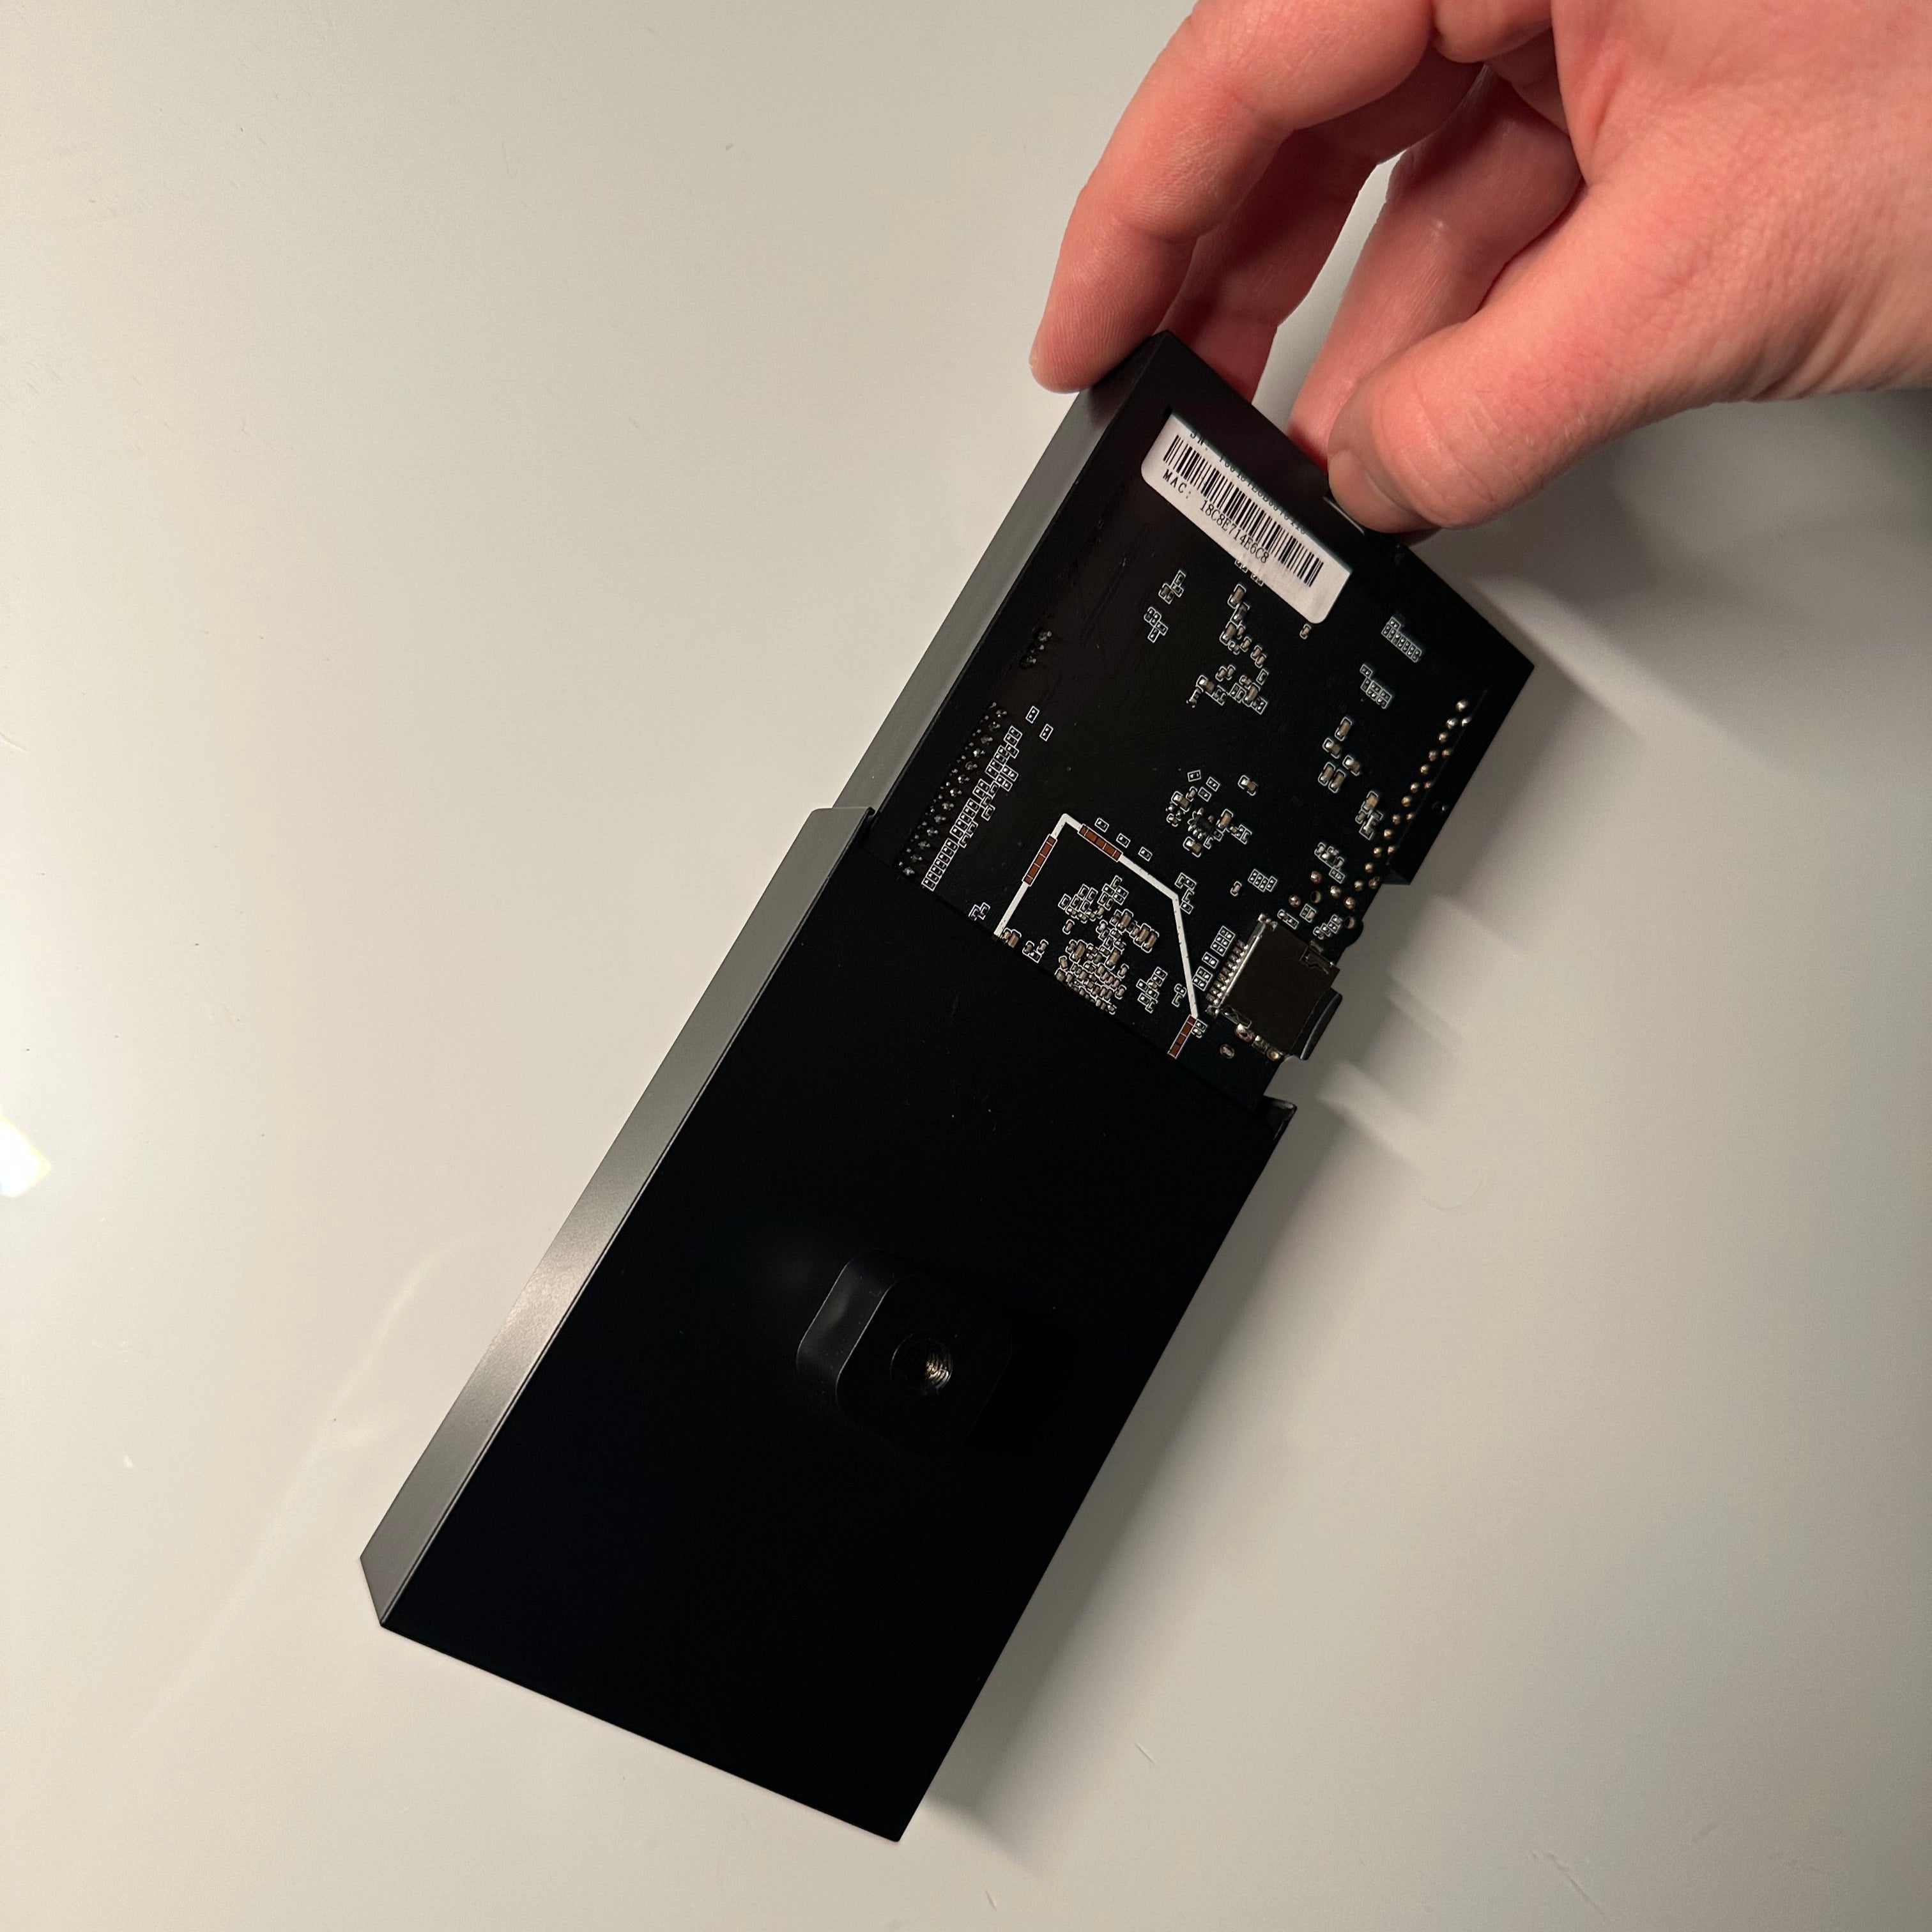
Using the notch on the inner Super Gizmo case, pull out your Super Gizmo.
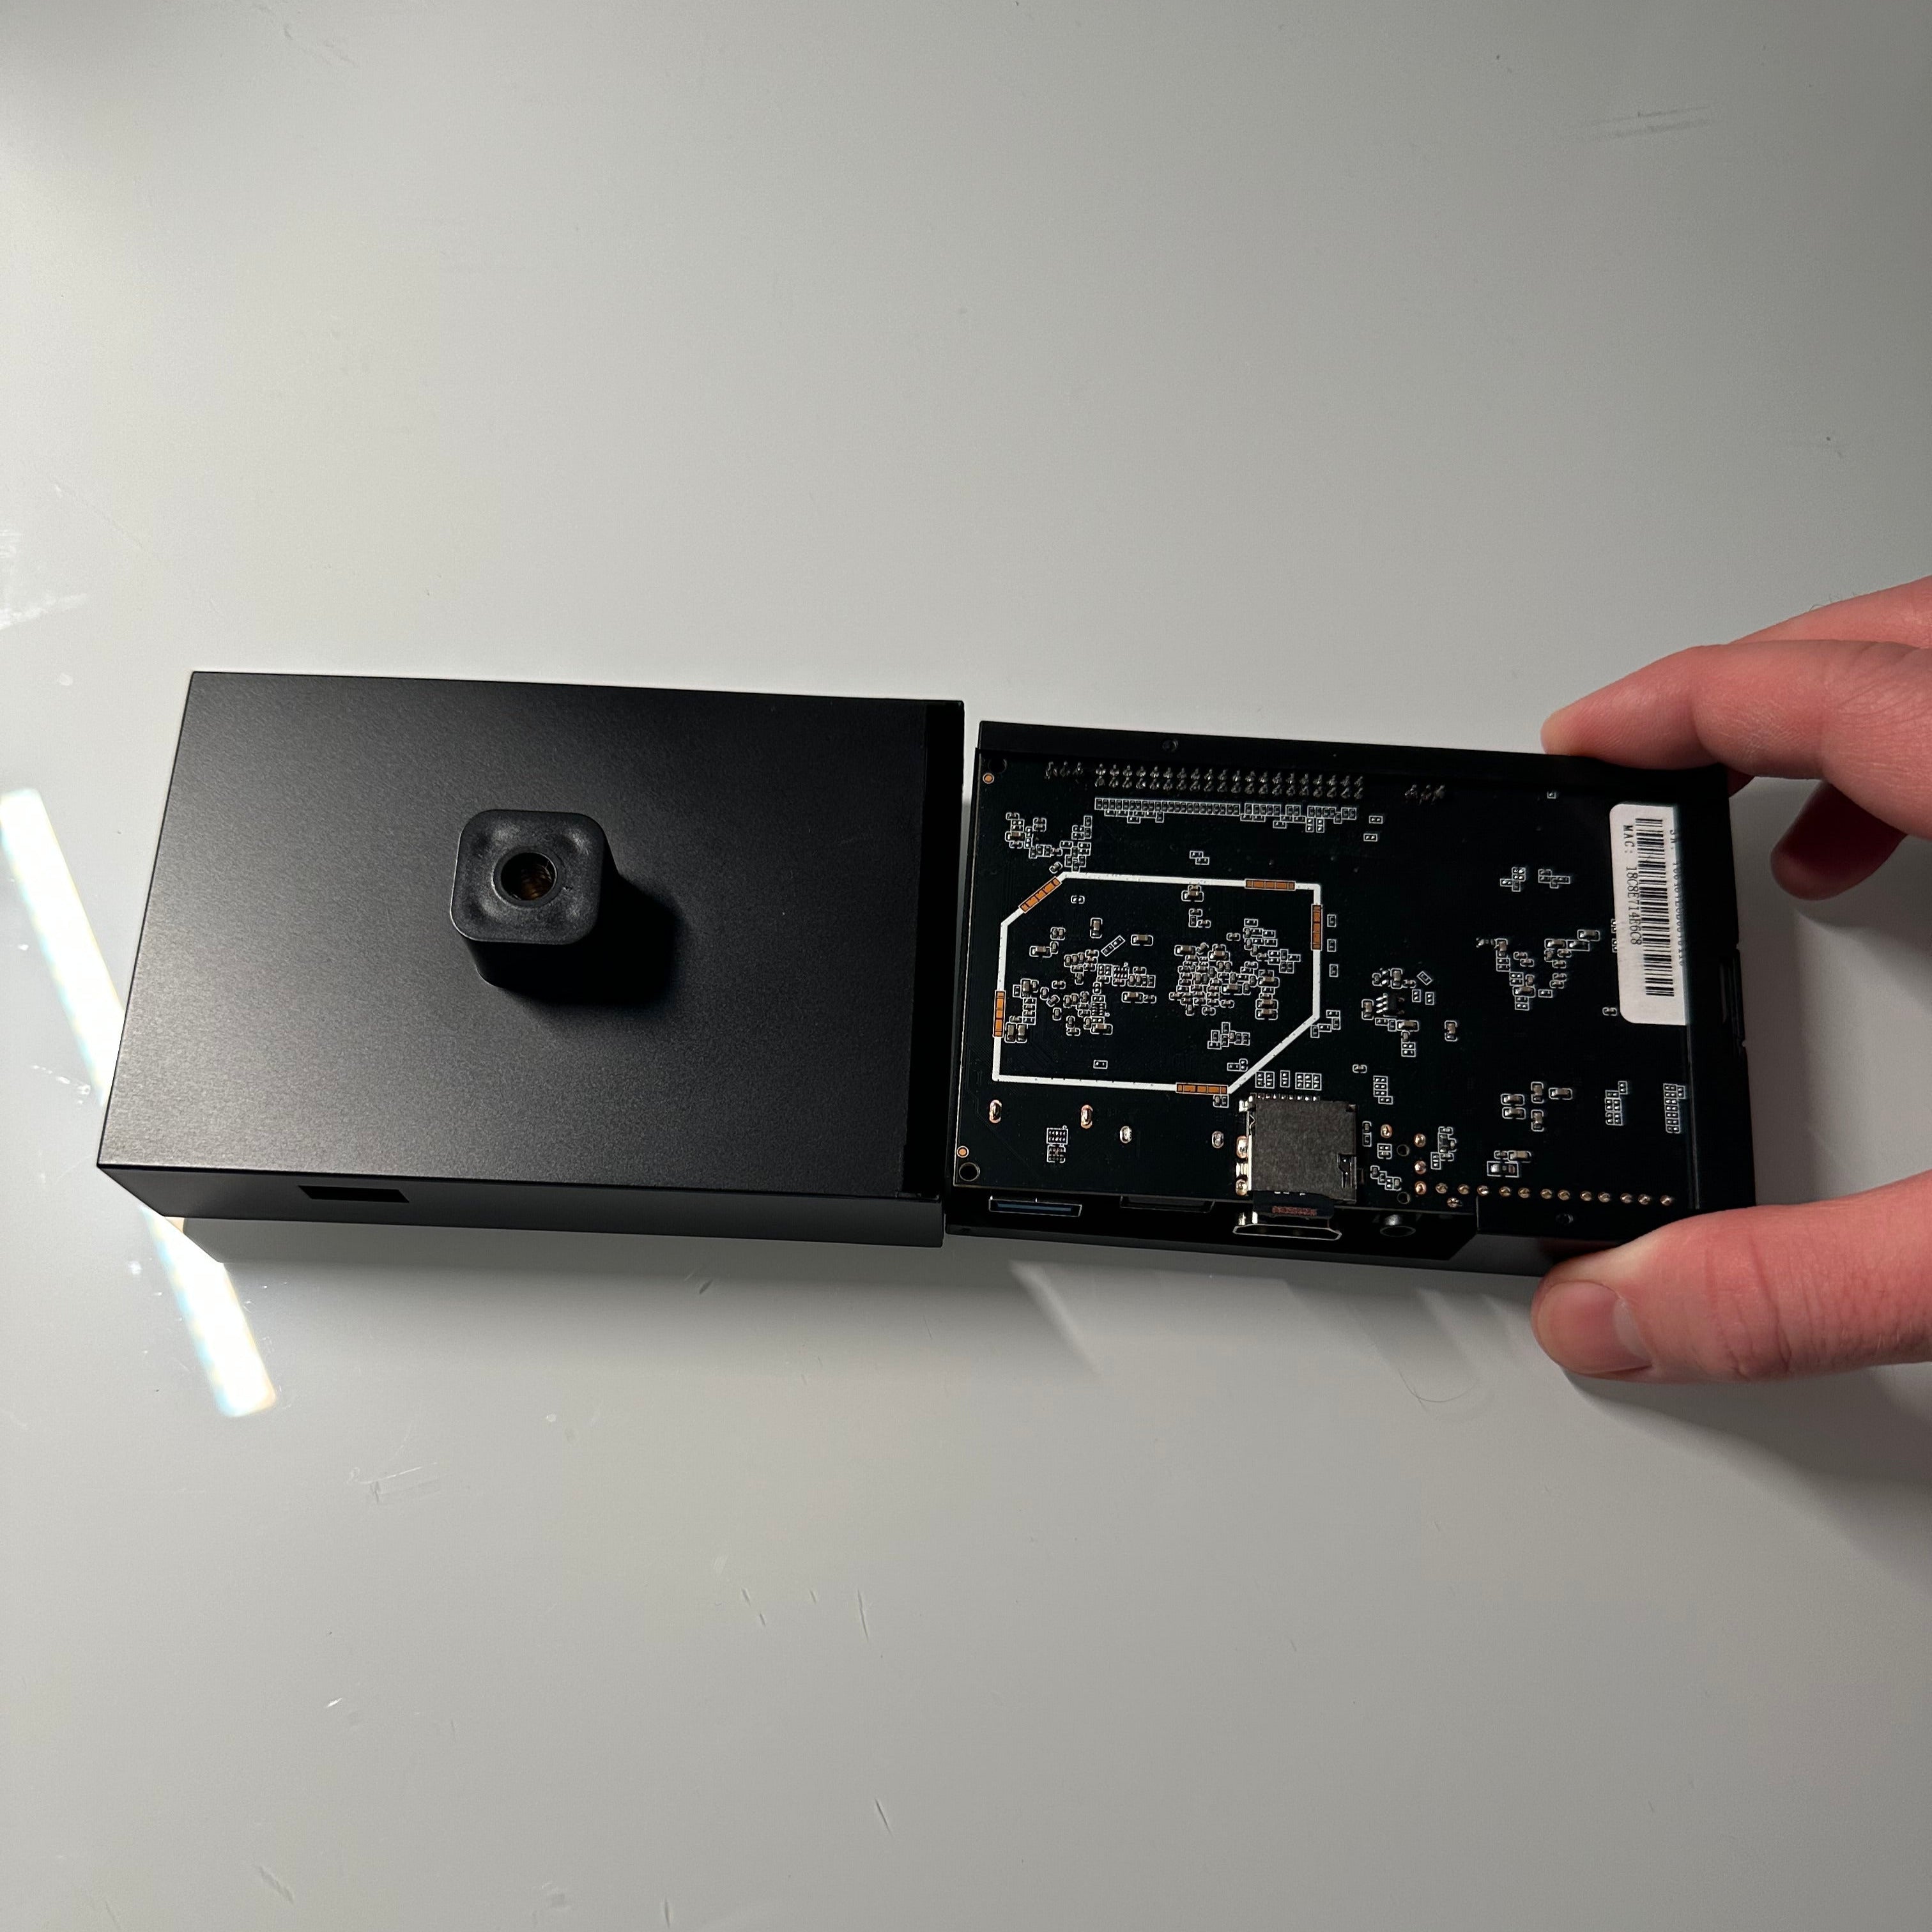
Slide your inner Super Gizmo assembly into its new case. Use the USB port hole on the case and USB port on the Super Gizmo as reference to make sure you're inserting it the correct way.
Attach the outer cap of your Super Gizmo case and you're all set!
Slip off the cap on the outside of the Super Gizmo.
Using the notch on the inner Super Gizmo case, pull out your Super Gizmo.
Slide your inner Super Gizmo assembly into its new case. Use the USB port hole on the case and USB port on the Super Gizmo as reference to make sure you're inserting it the correct way.
Attach the outer cap of your Super Gizmo case and you're all set!
Update Software
Make sure your Super Gizmo is powered off and unplugged.
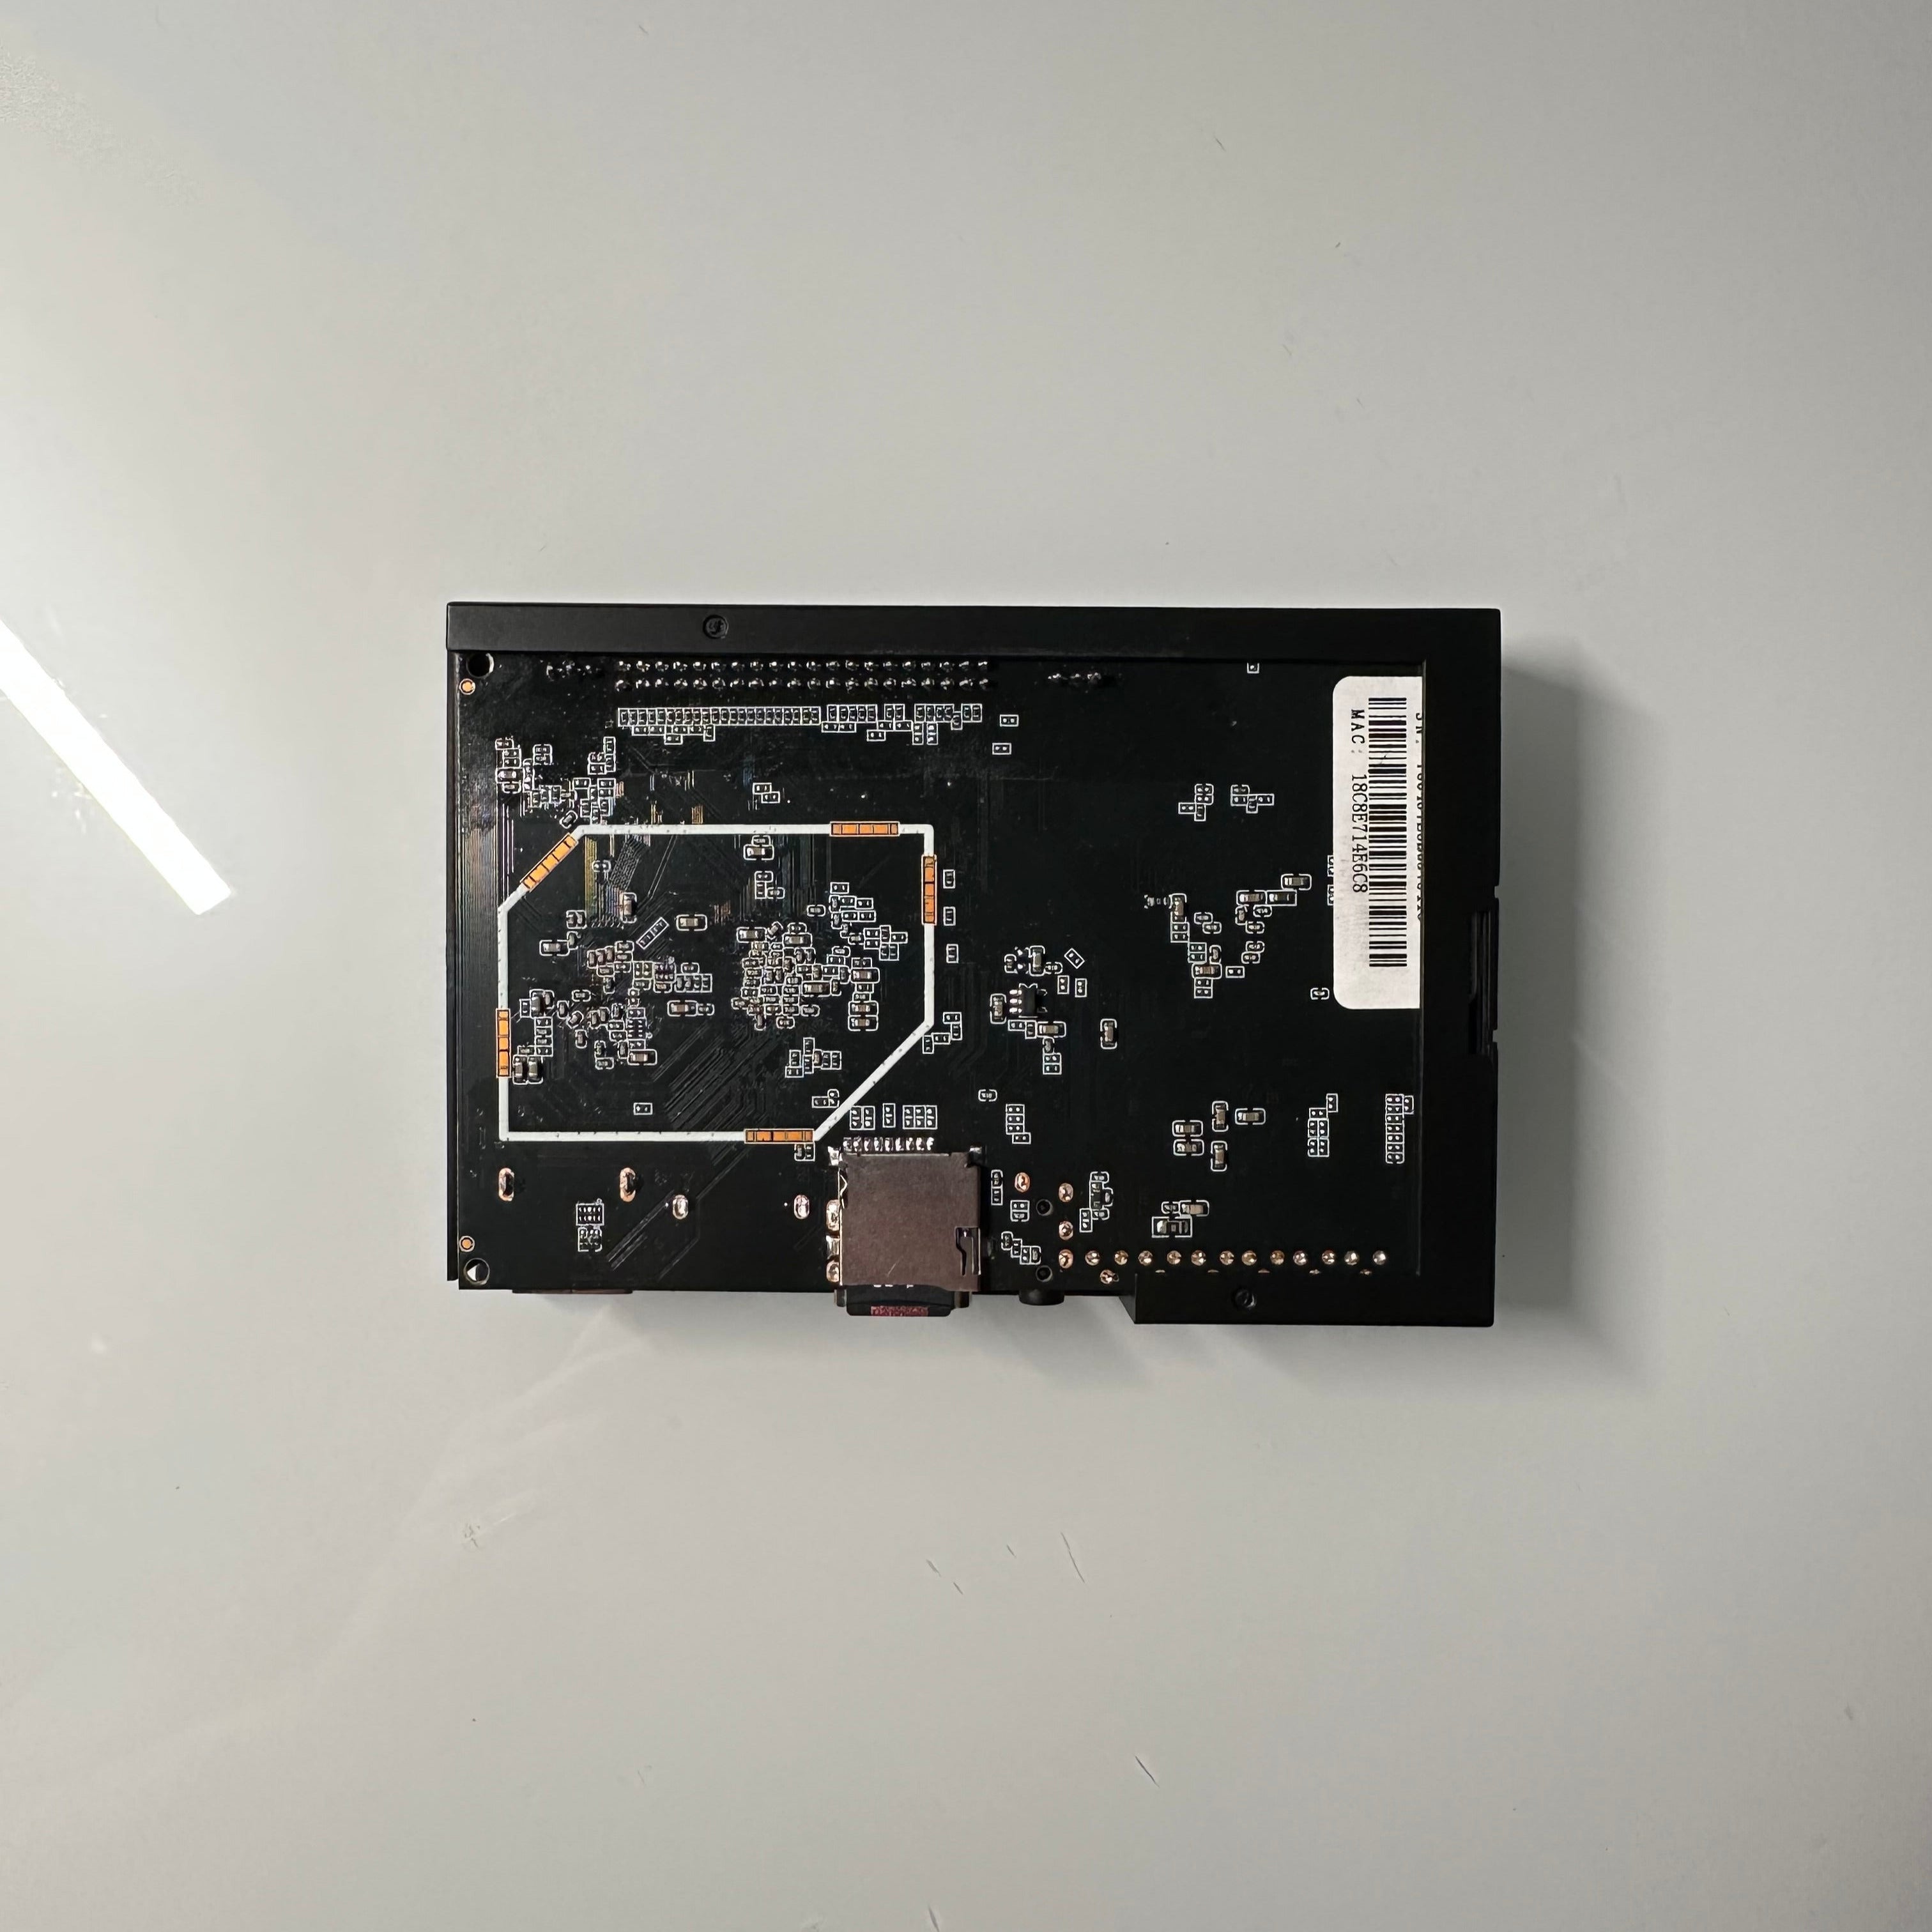
Remove the inner Super Gizmo assembly from its case (see Change Case Colors instructions).
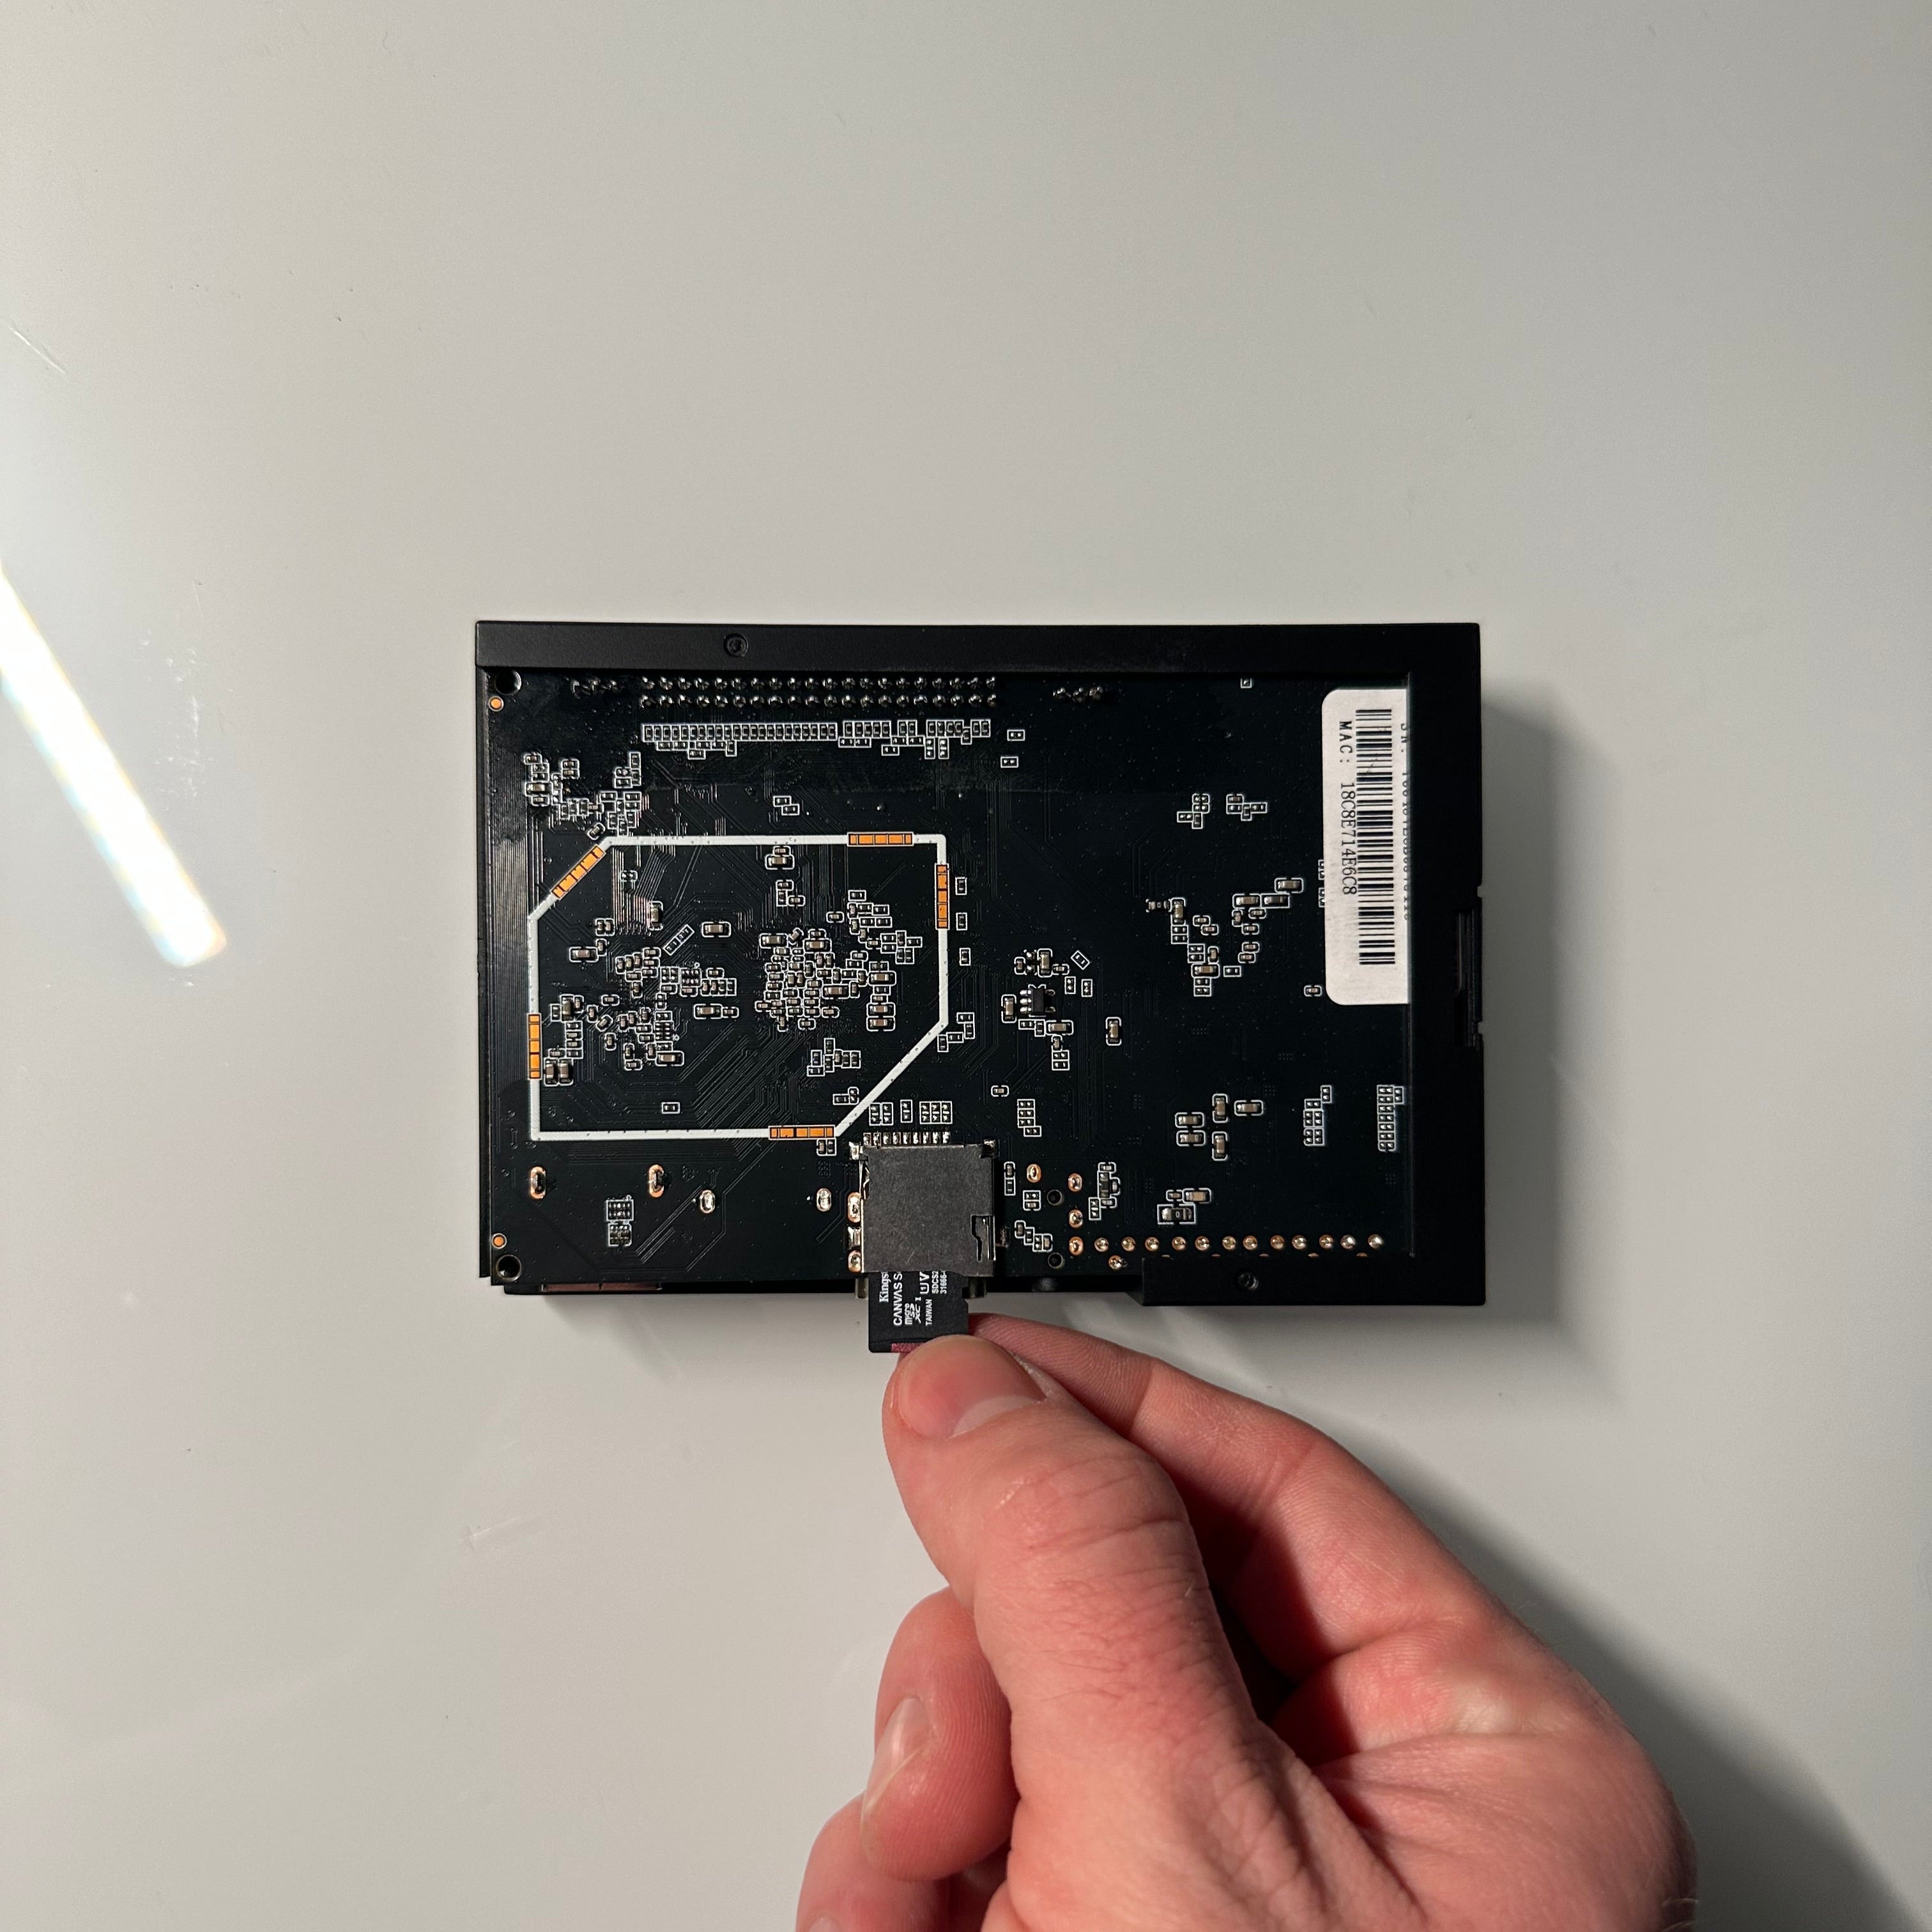
Press on the microSD card to unlock it, then pull it out (you'll hear a click during the press).
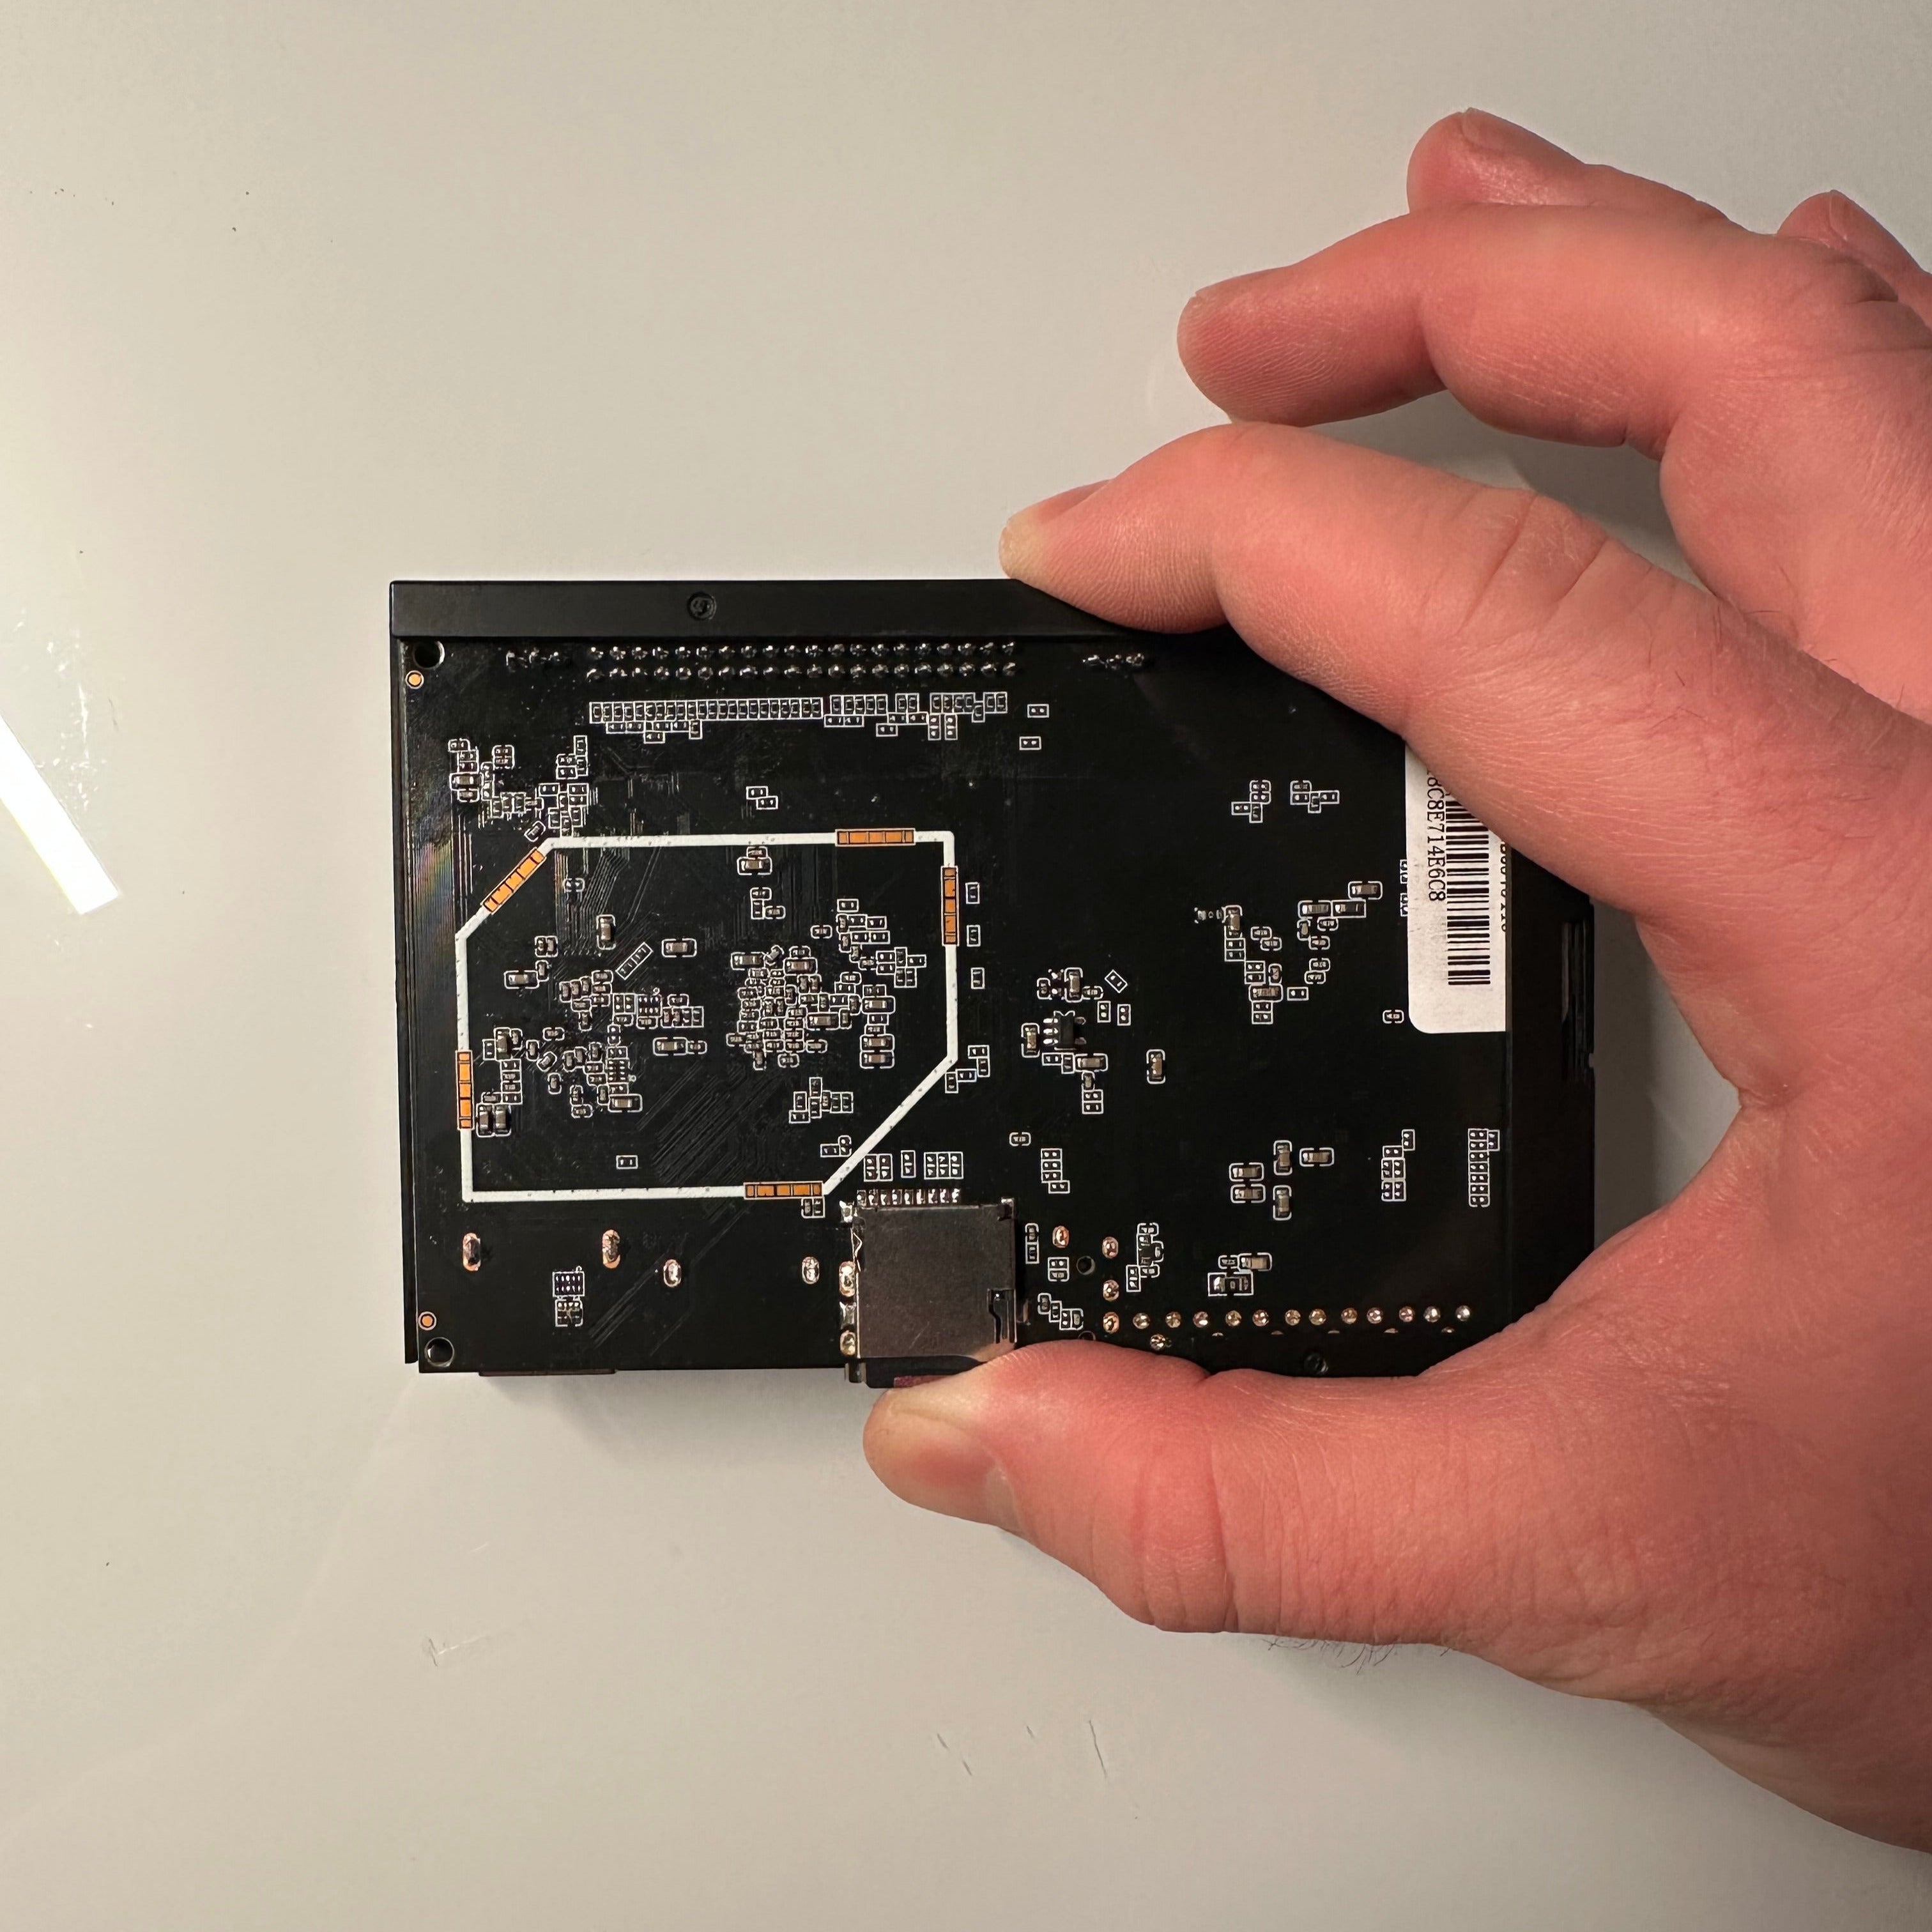
Insert the new microSD card and press to lock it in place (you'll hear a click during the press).
Insert the inner Super Gizmo assembly back into its case and attach the outer cap.
Turn your Super Gizmo back on to initialize the new update. New updates may take longer to boot up the first time.
Make sure your Super Gizmo is powered off and unplugged.
Remove the inner Super Gizmo assembly from its case (see Change Case Colors instructions).
Press on the microSD card to unlock it, then pull it out (you'll hear a click during the press).
Insert the new microSD card and press to lock it in place (you'll hear a click during the press).
Insert the inner Super Gizmo assembly back into its case and attach the outer cap.
Turn your Super Gizmo back on to initialize the new update. New updates may take longer to boot up the first time.